Tag: 3d Printer

Table Brackets

IMAG0053

This week, as we move things around and rearrange the spaces here at the media center, I have taken on the job of designing and 3D printing table brackets/stoppers for the table. This will allow us to run the cables we use for the equipment behind the tables and they will keep the cables from getting mashed up against the wall. The process for this was simple and with my knowledge and experience with AutoCAD, I was able to design and print them in no time (well, in the many hours it took to print them).


Designing the BracketsAutoCAD 2014ScreenSnapz001

As I said, the design for the brackets were fairly easy. Basically, all I had to do was measure the thickness of all the tables we were putting brackets on. Here at the media center, we have two types of tables, Gladiator and Ikea. Once I got the measurements for the tables. I went into the AutoCAD program and drew the bracket designs using three 3D boxes. Each bracket was going to have one leg that was longer than the other so that the bracket would latch firmly on the table. One problem that I had when finishing the design was making sure all the boxes were flush so that the printer would be able to print them correctly. However, I found out that all I had to do was use the align tool and everything would be okay.

Printing the BracketsIMAG0051

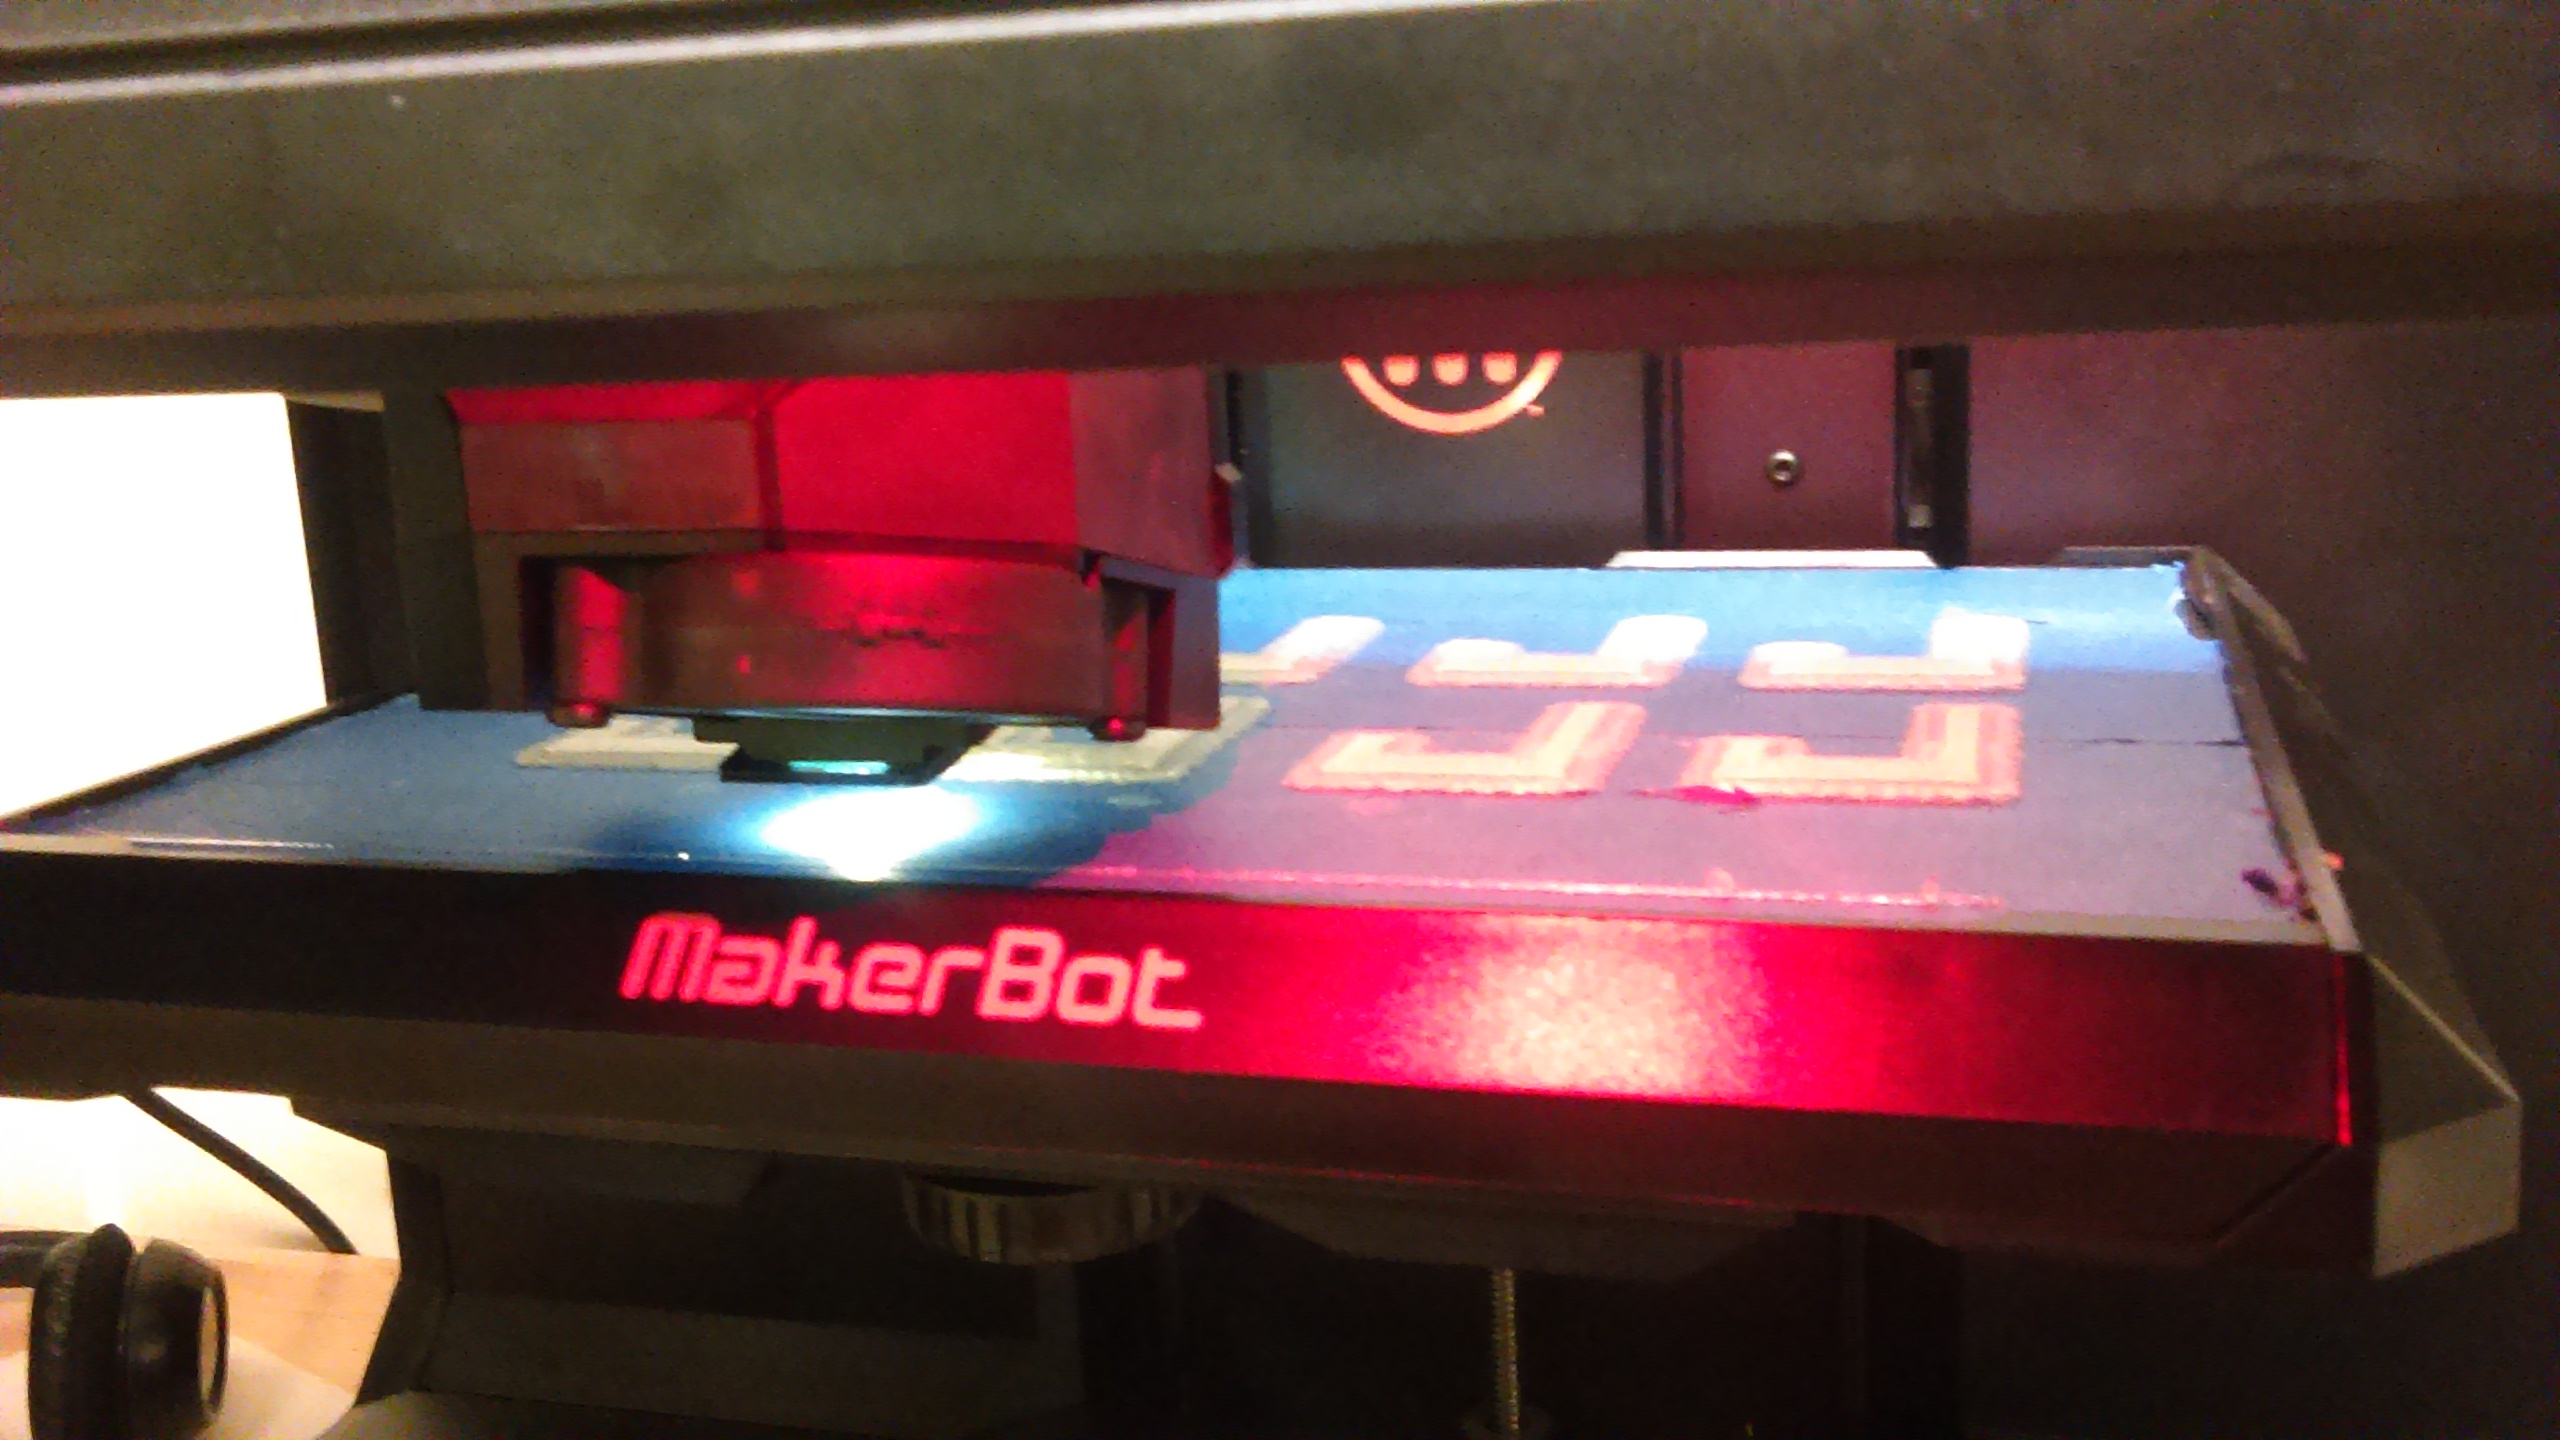
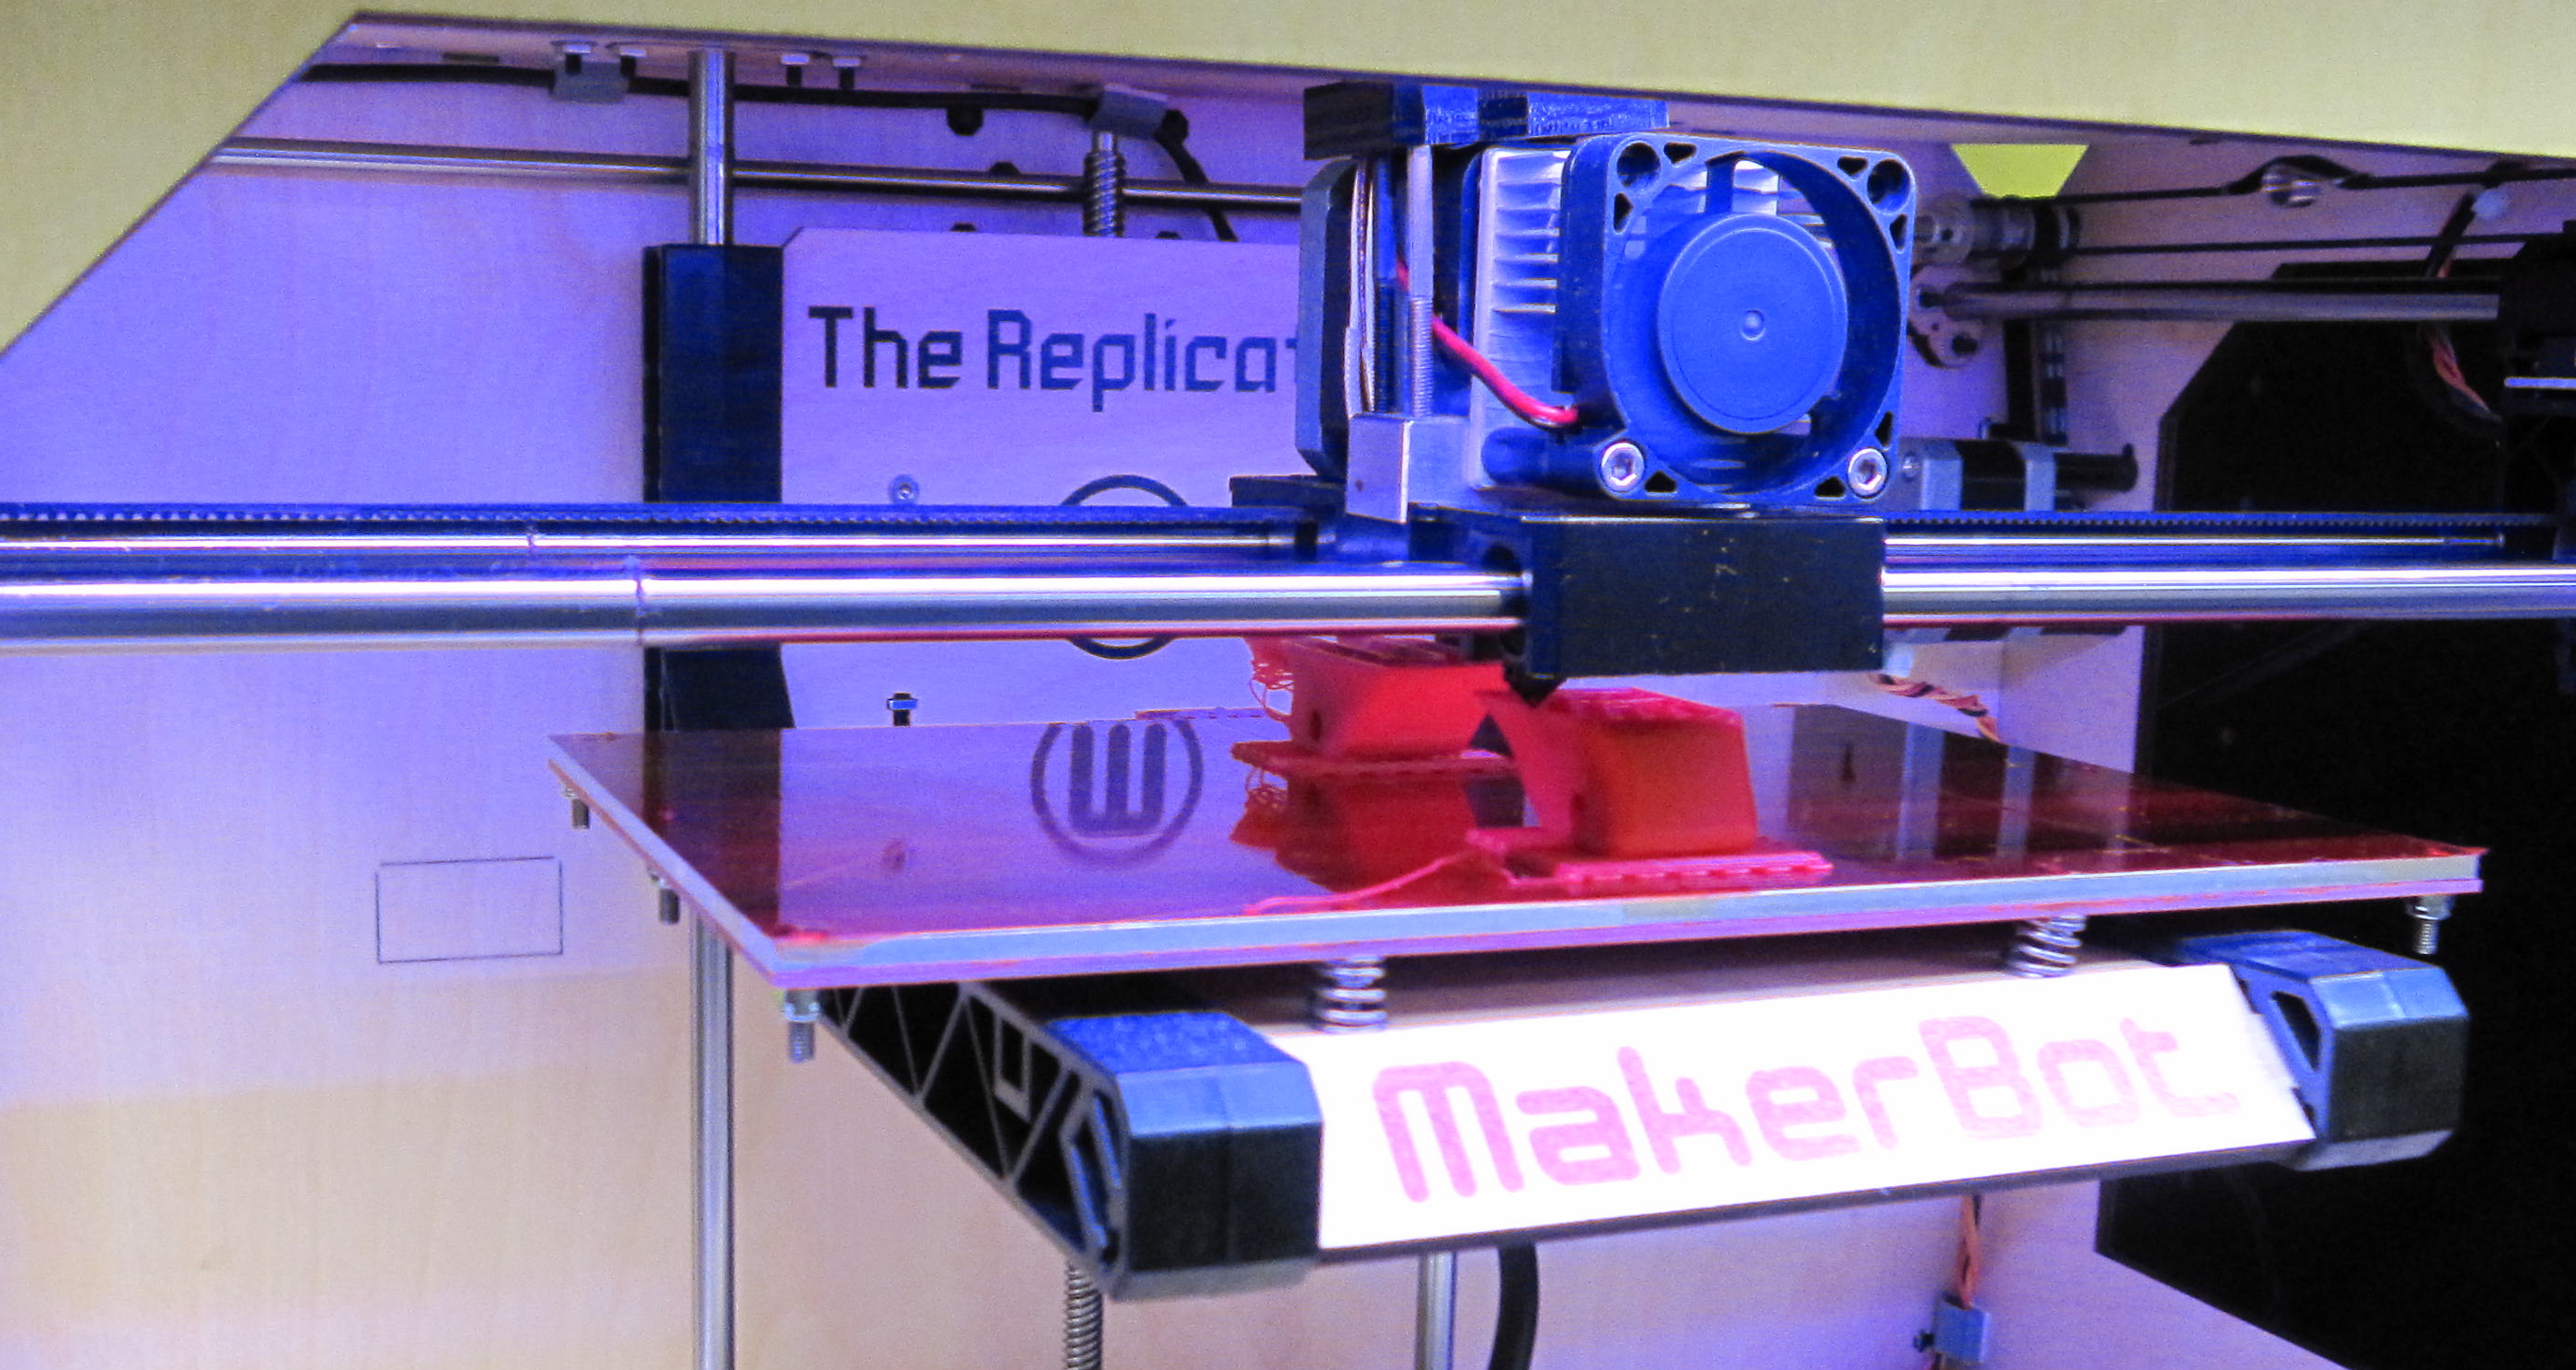
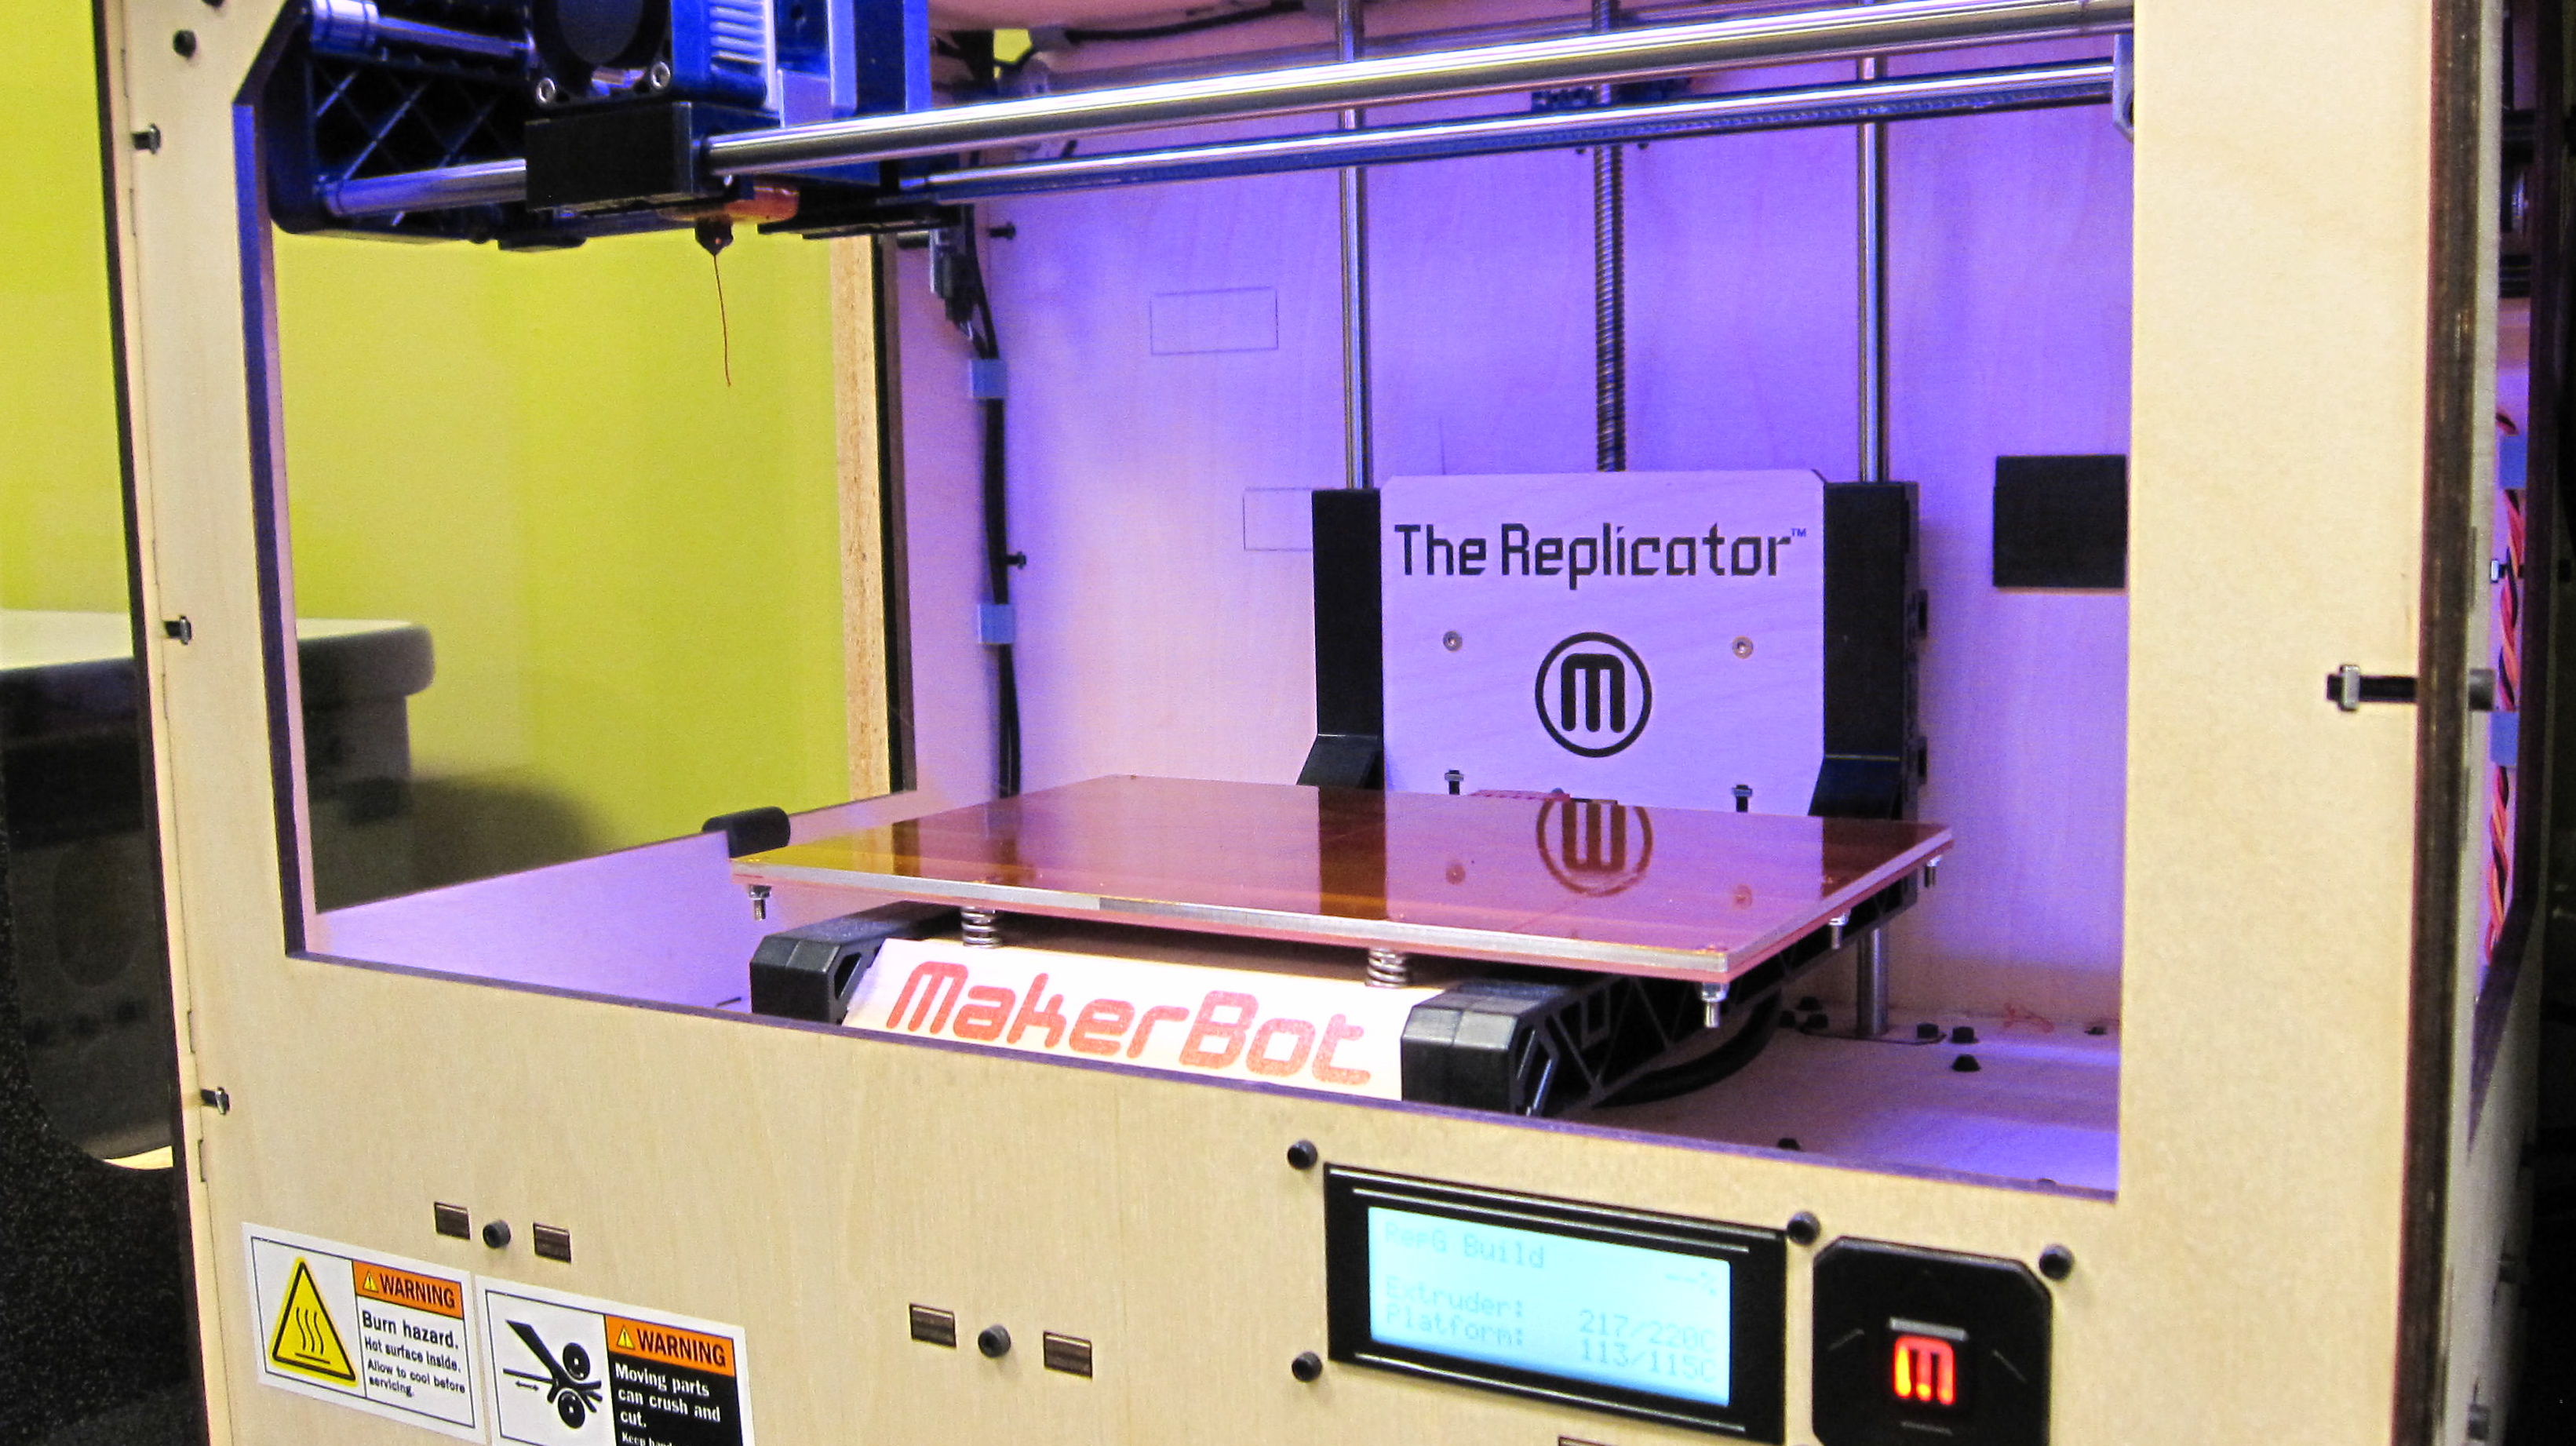
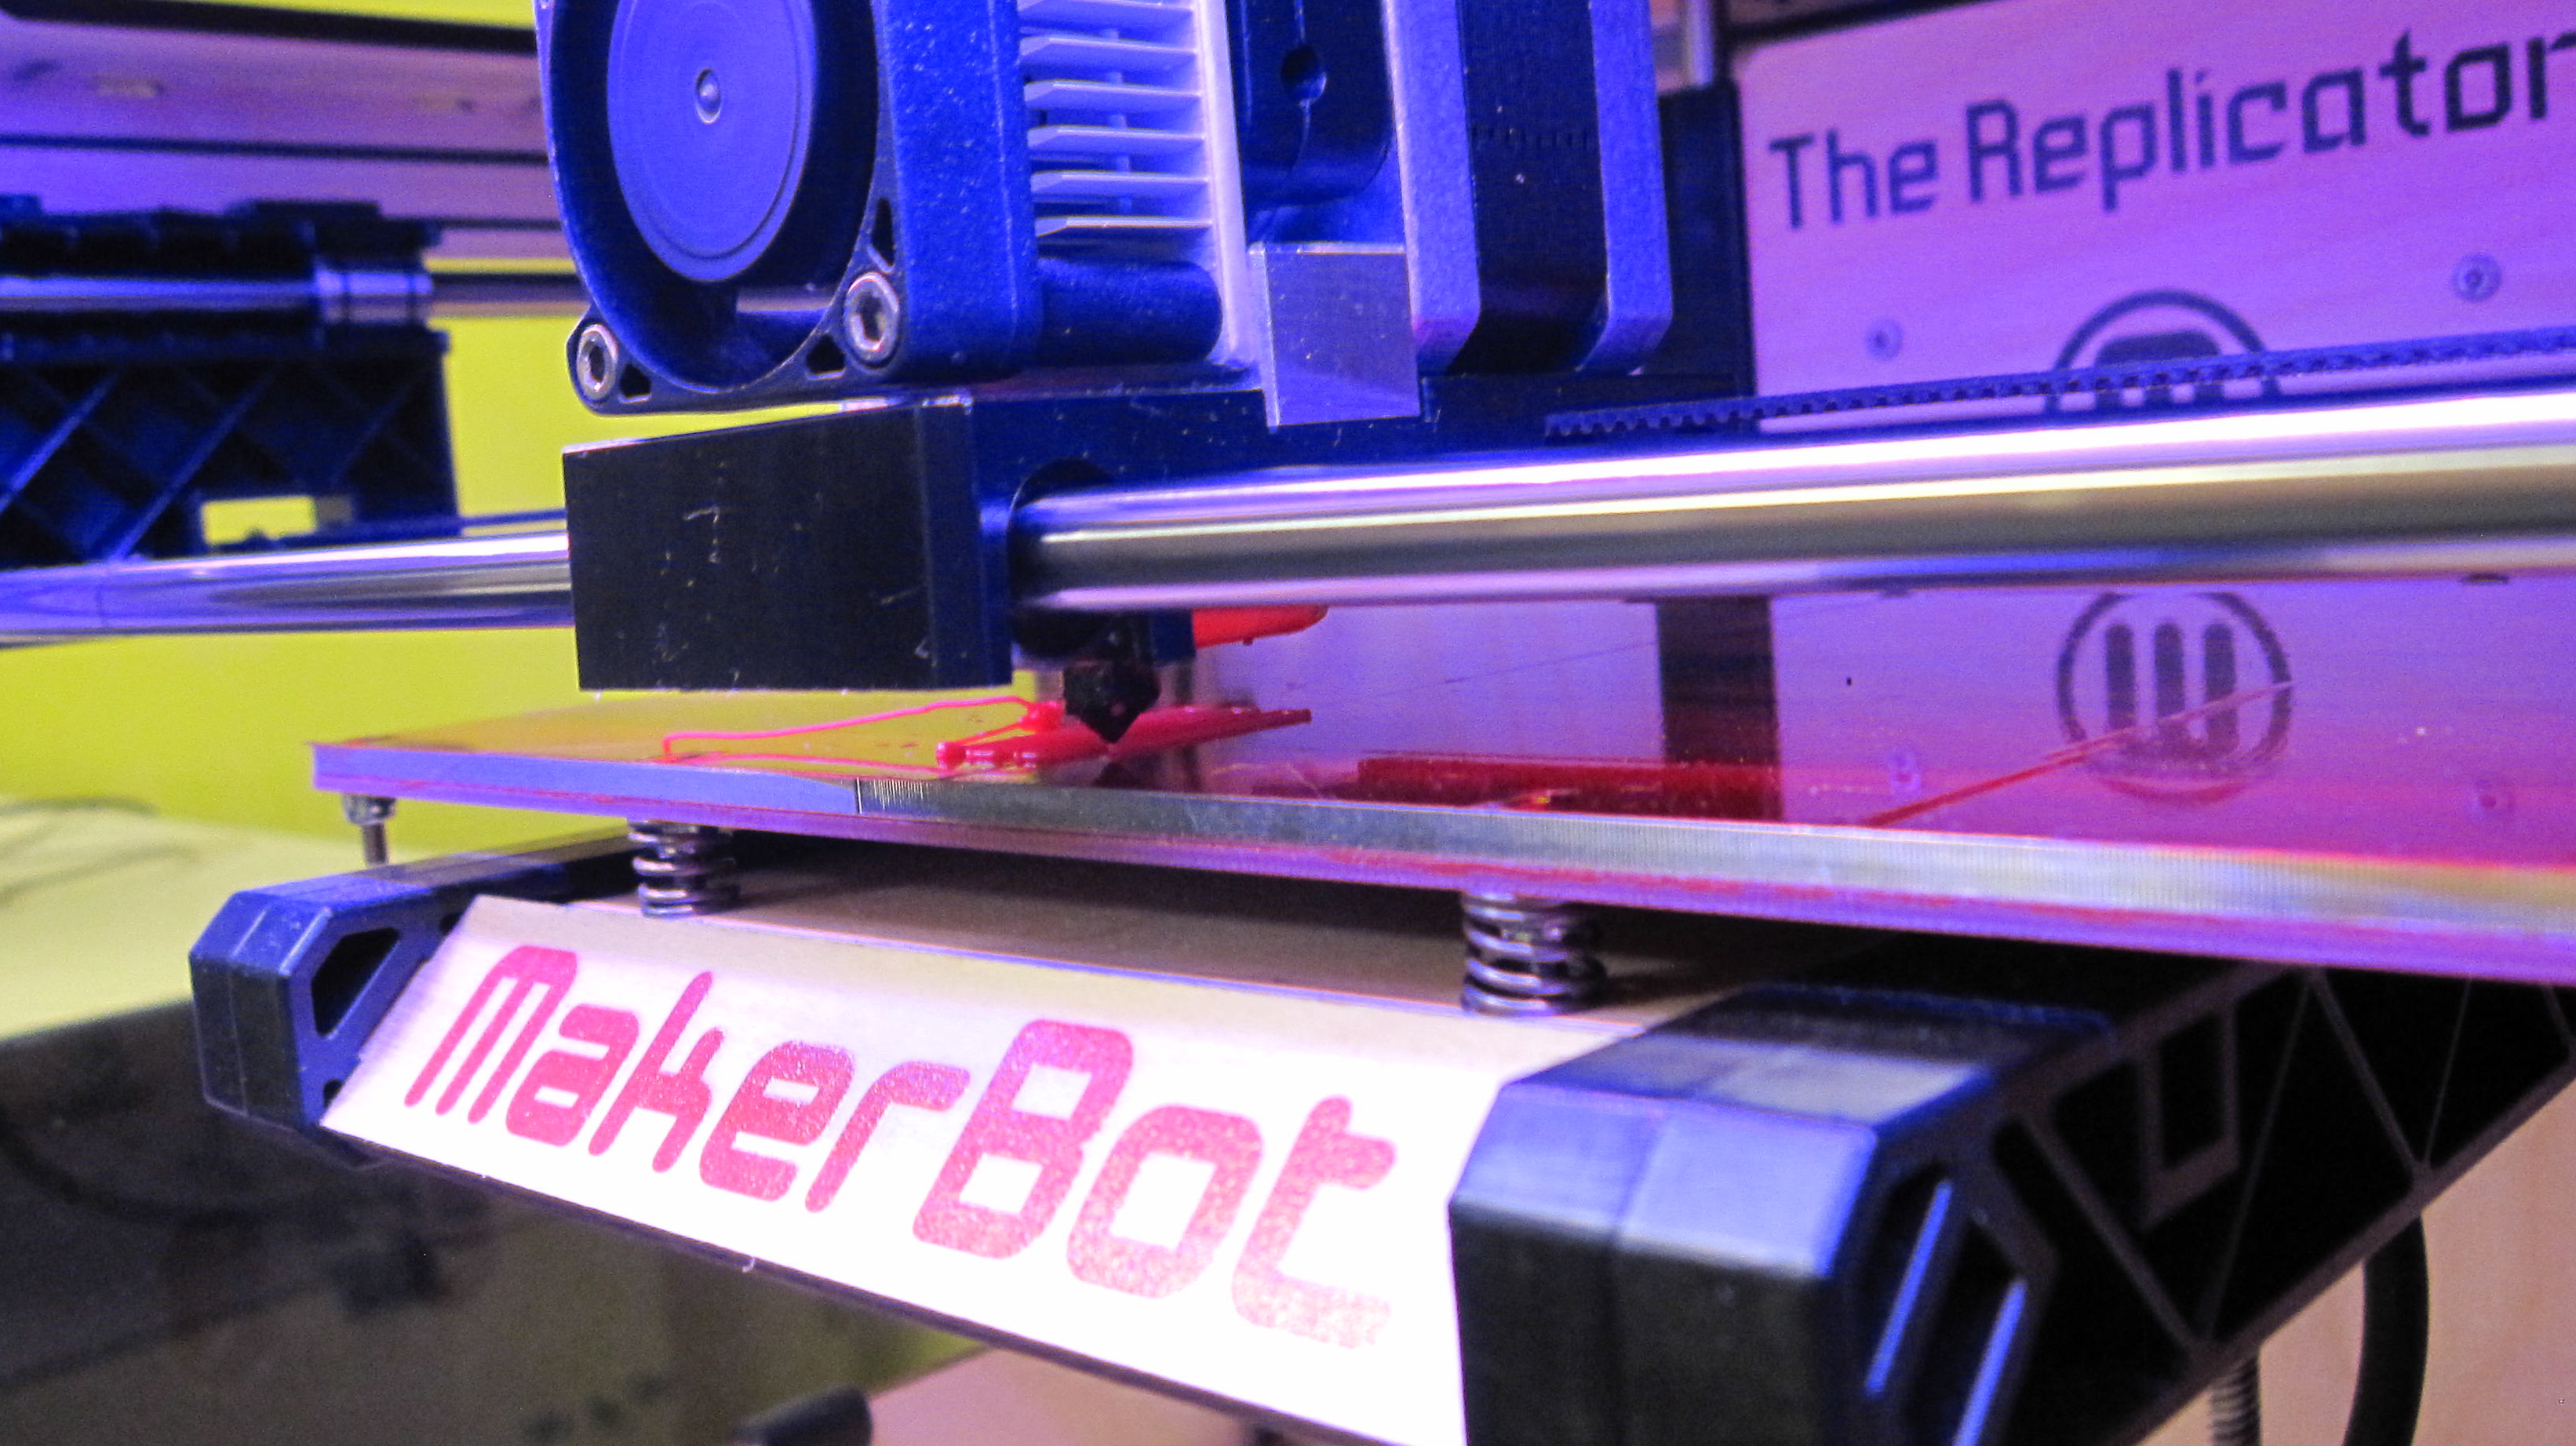
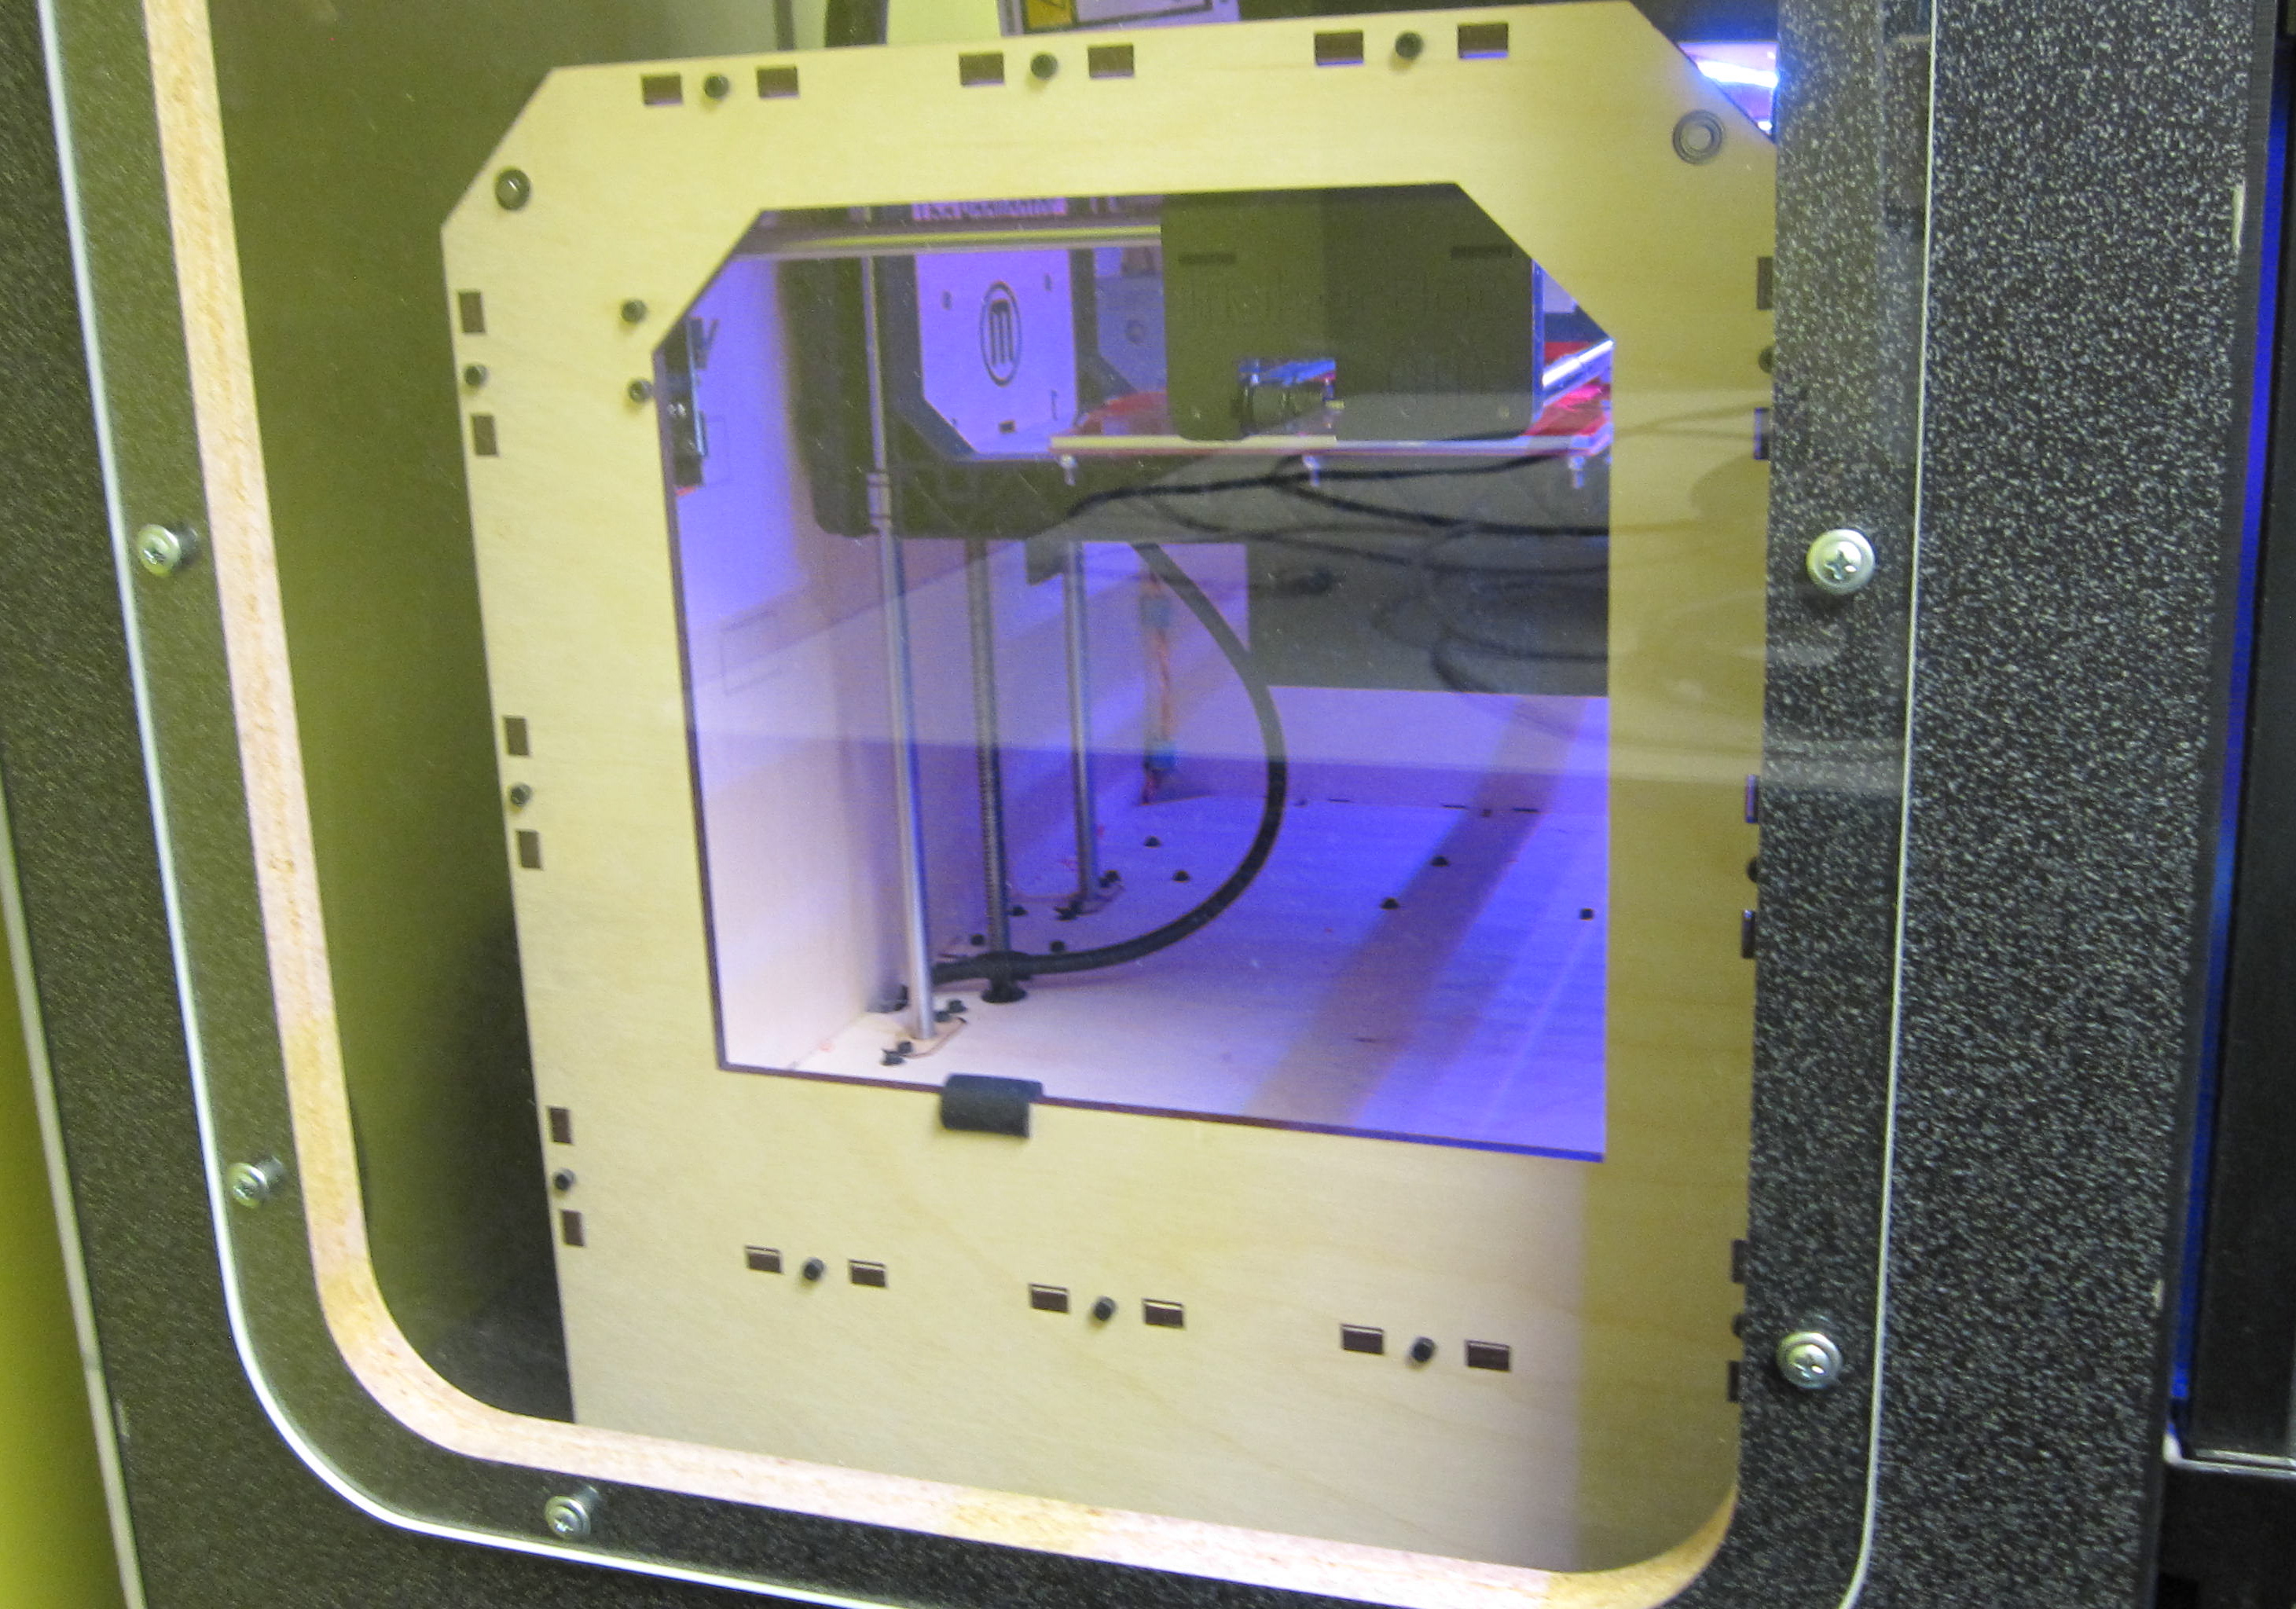
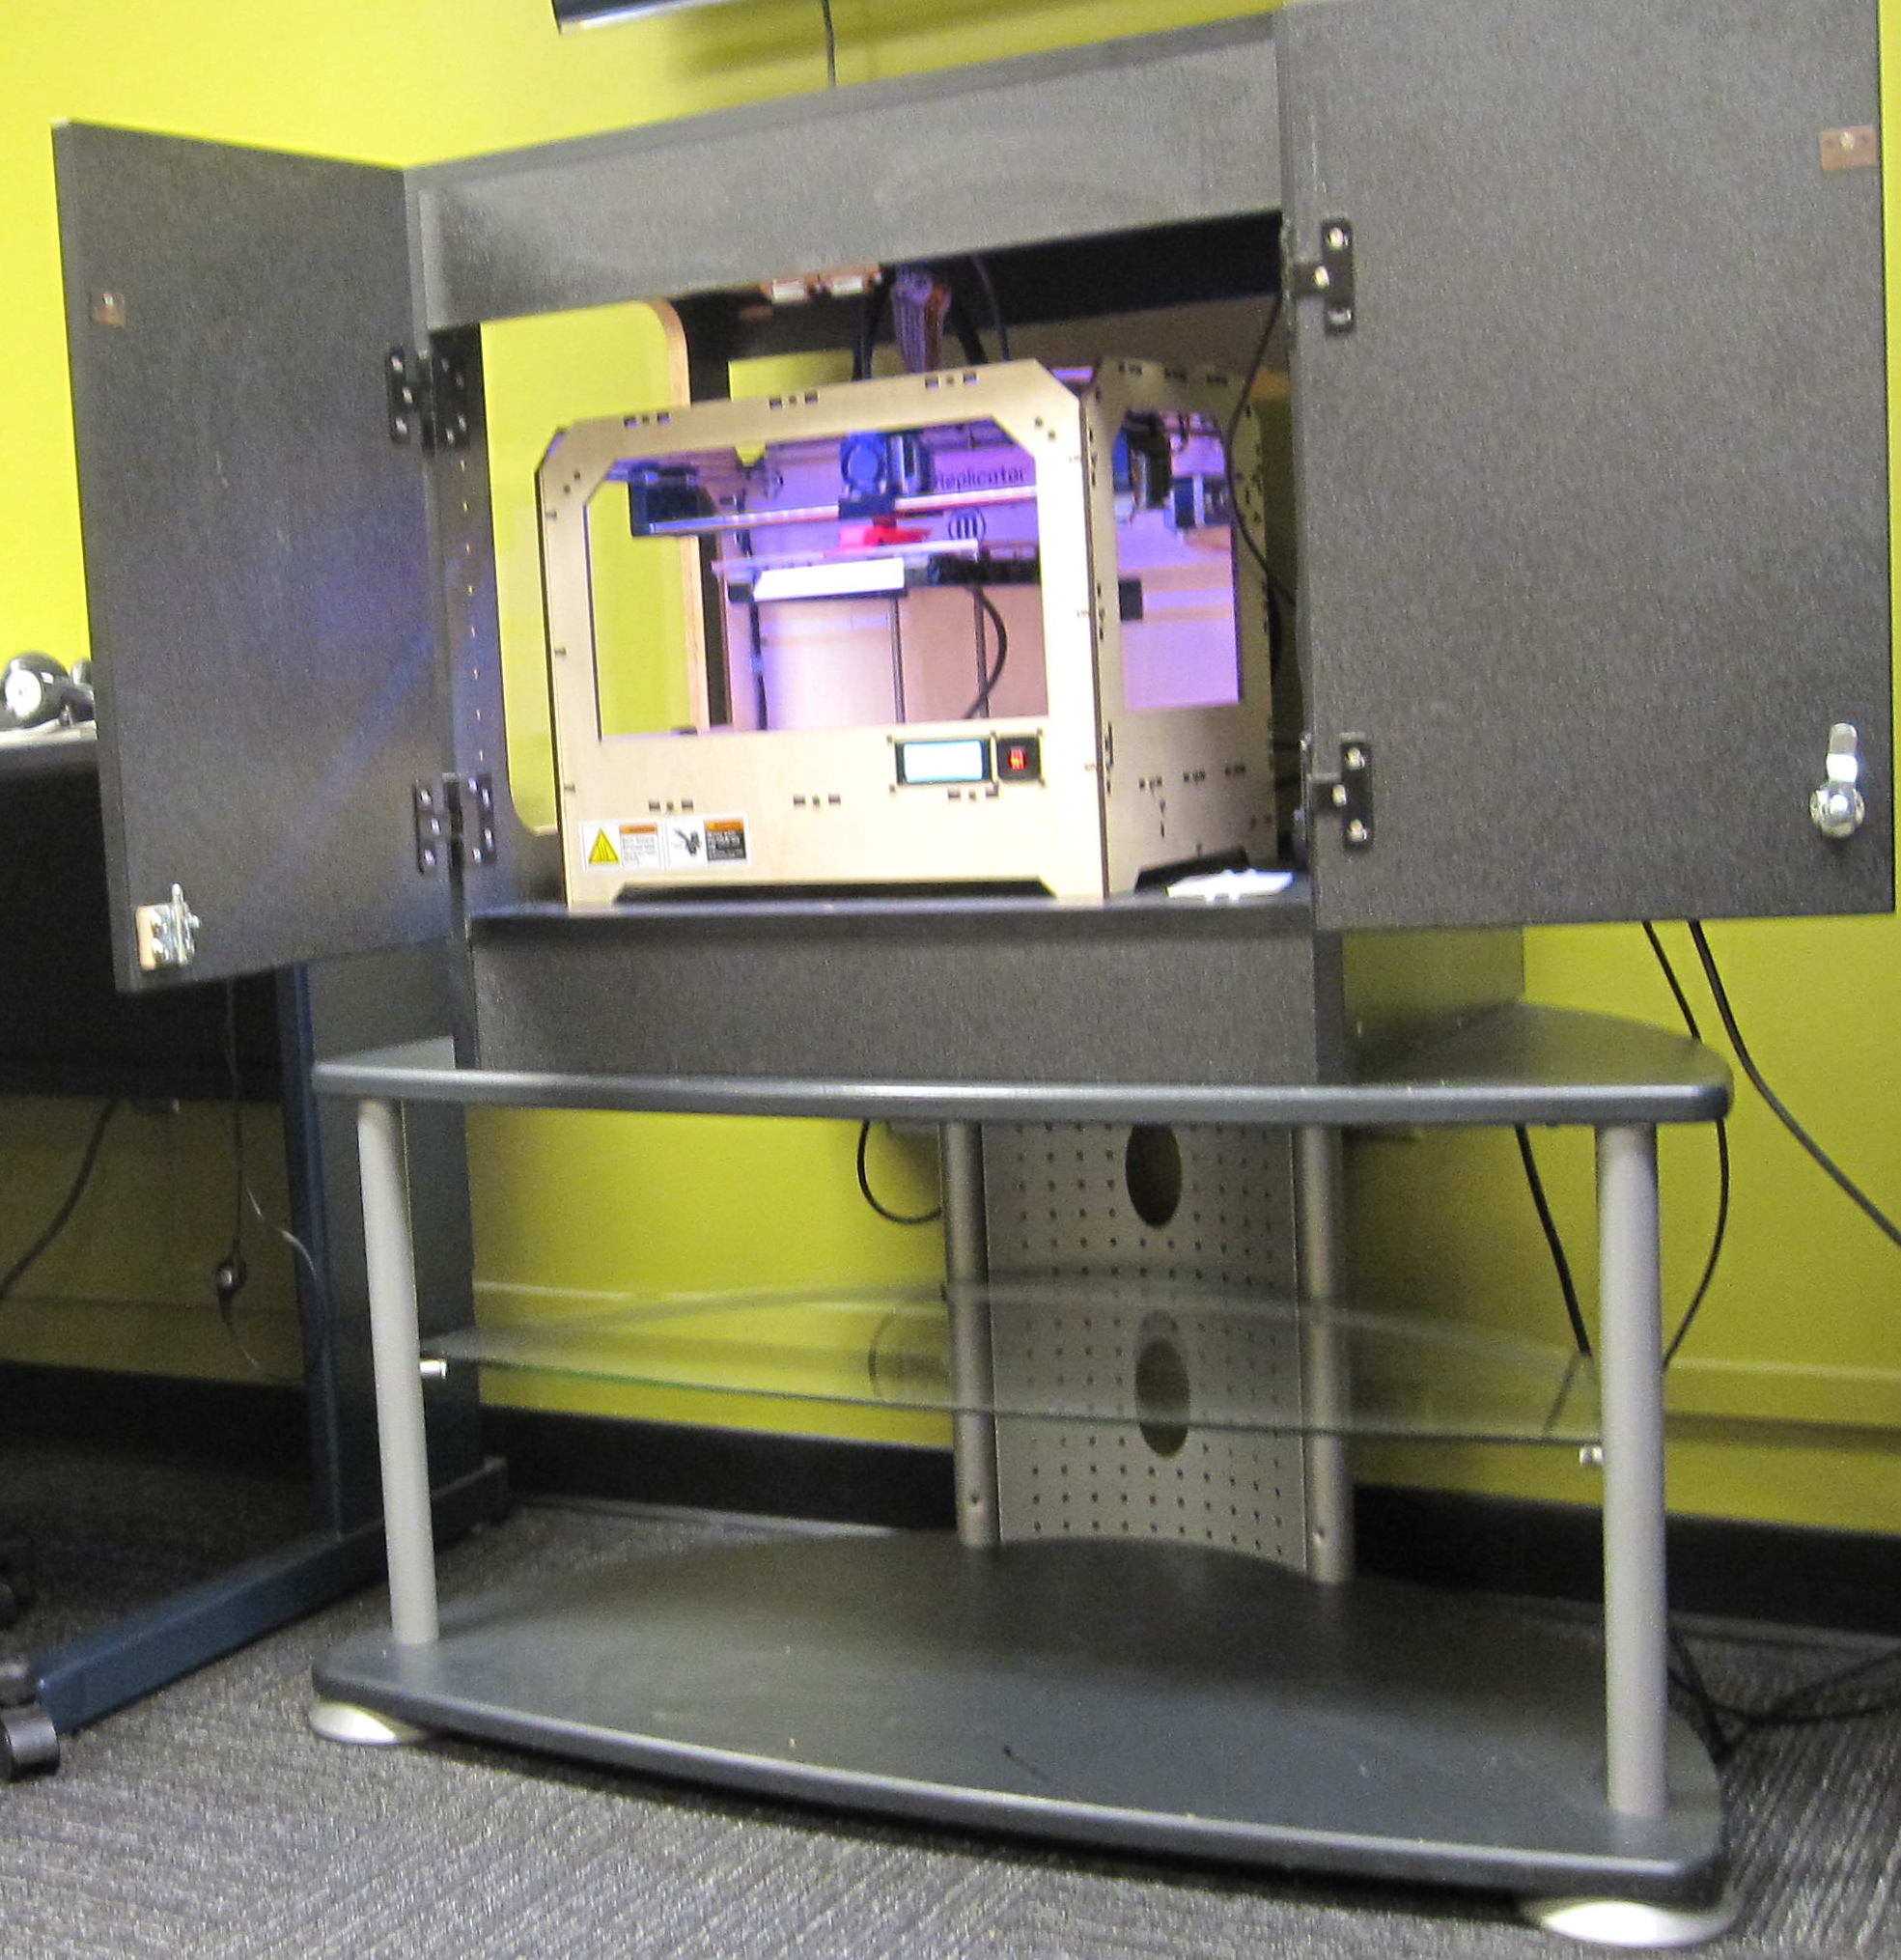
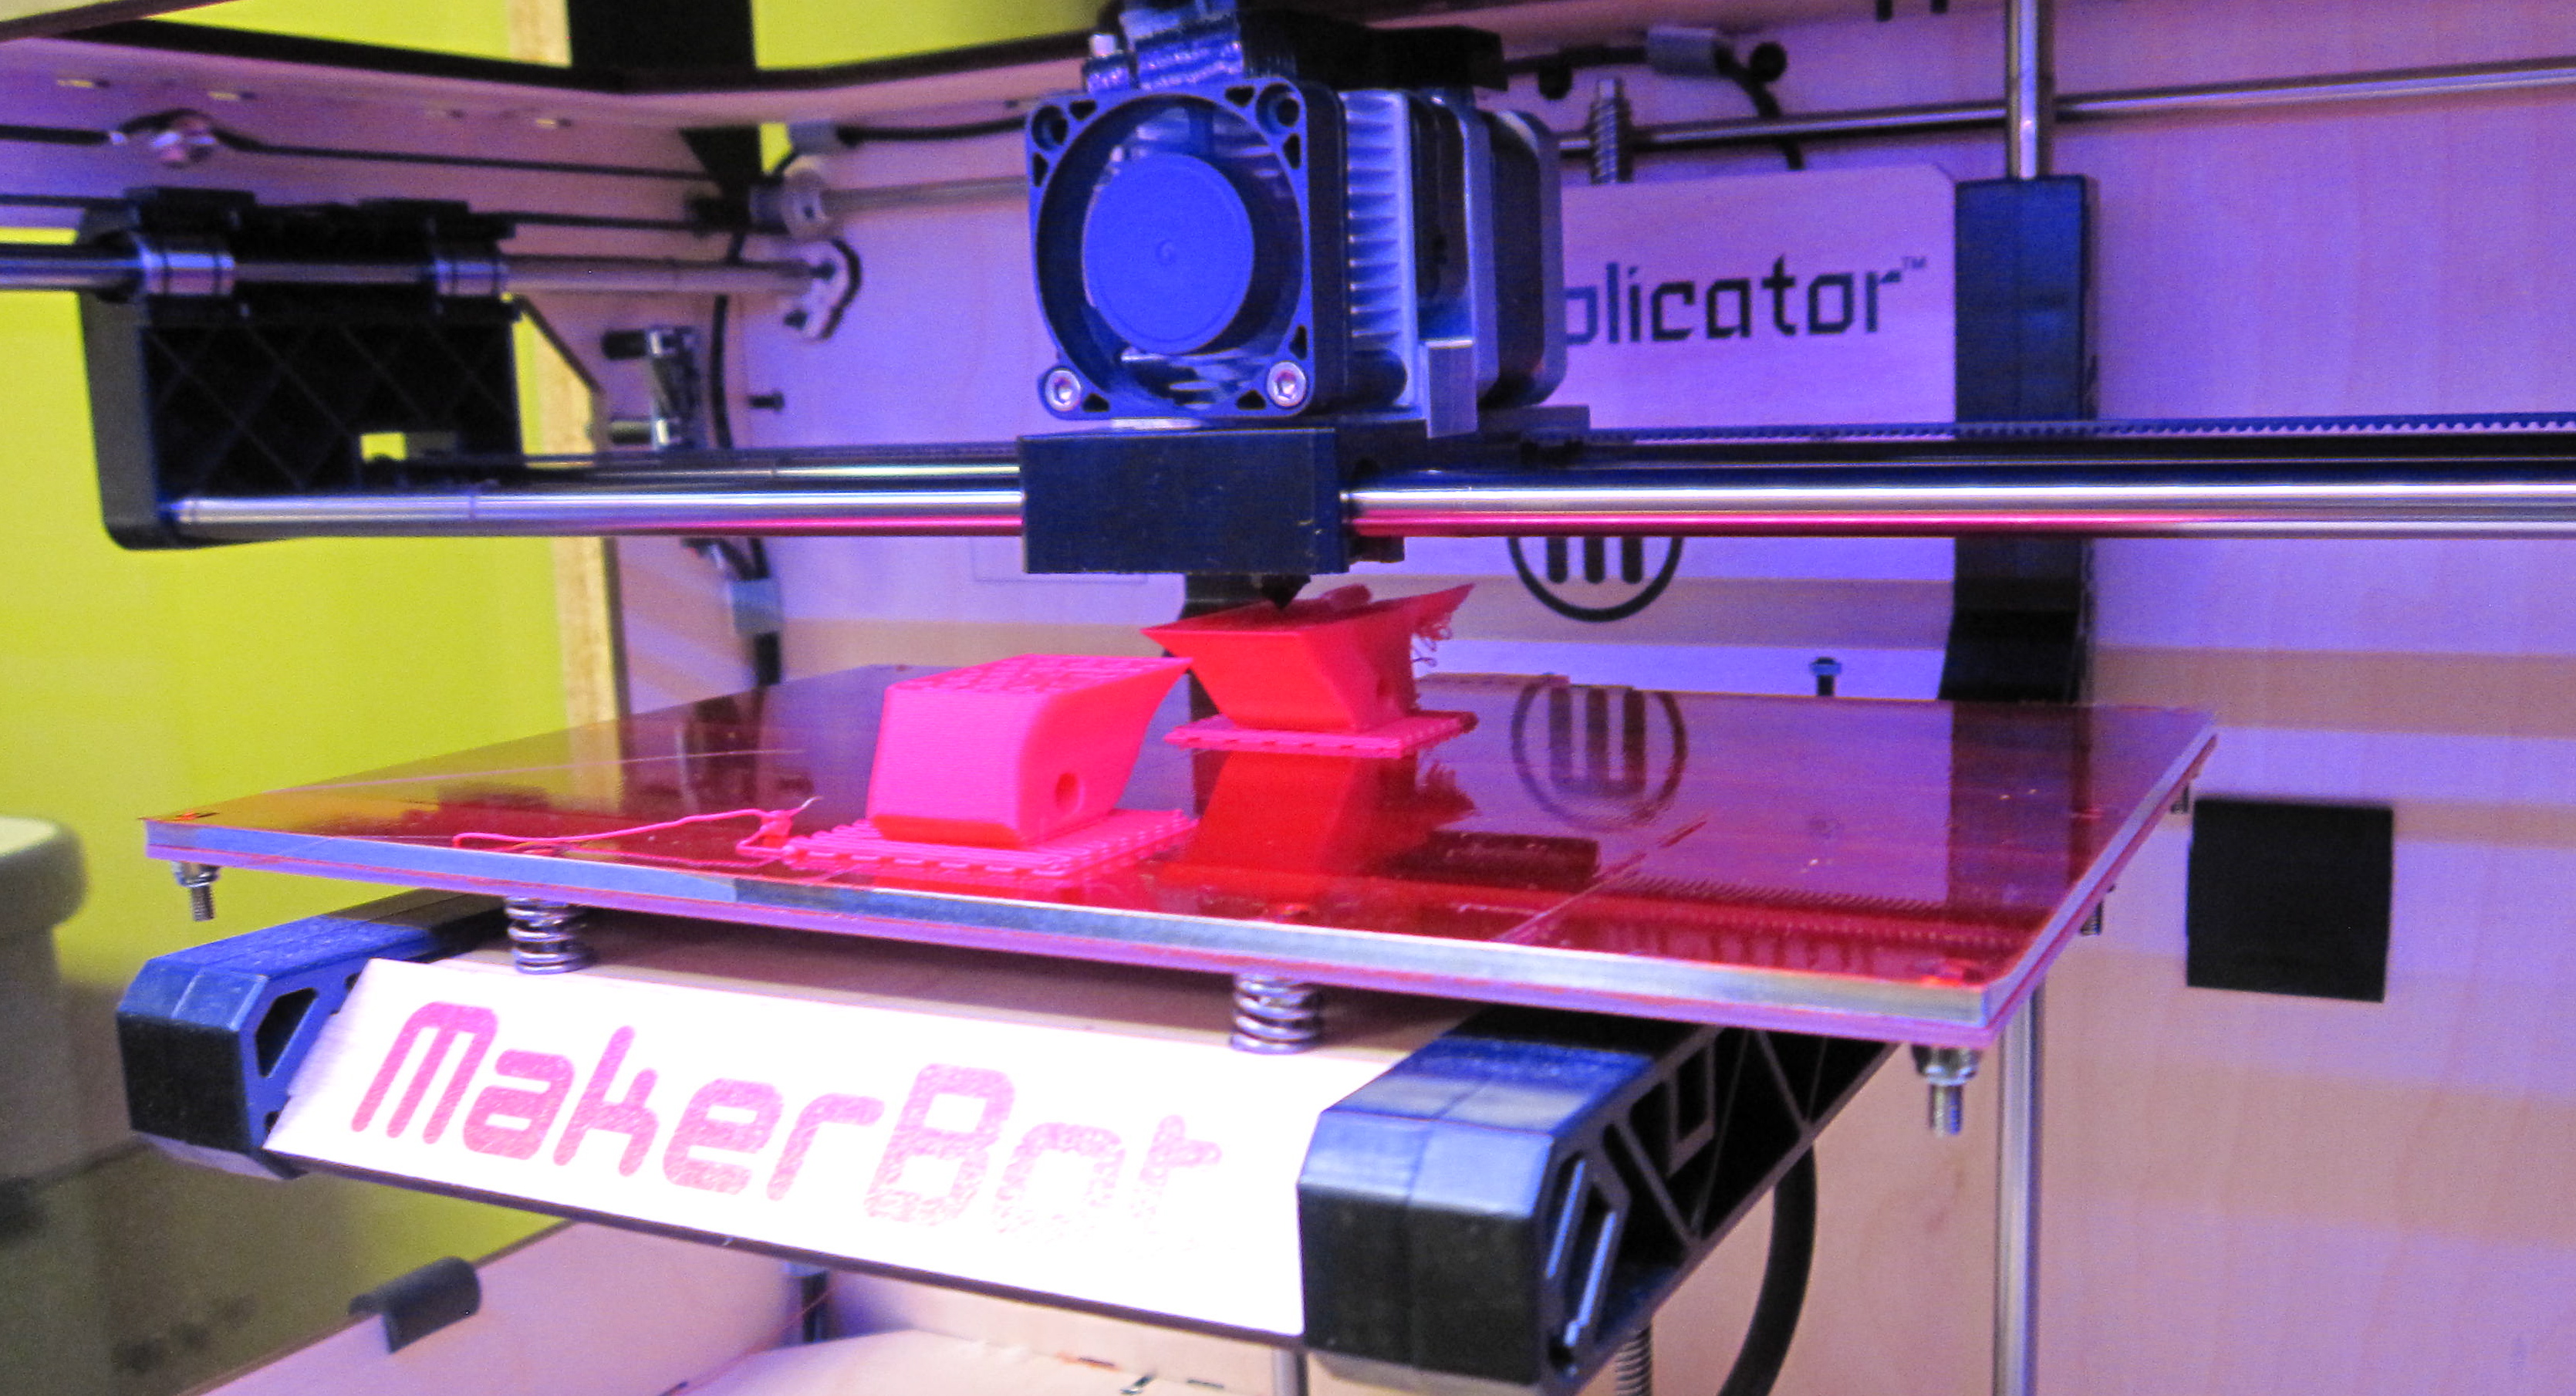
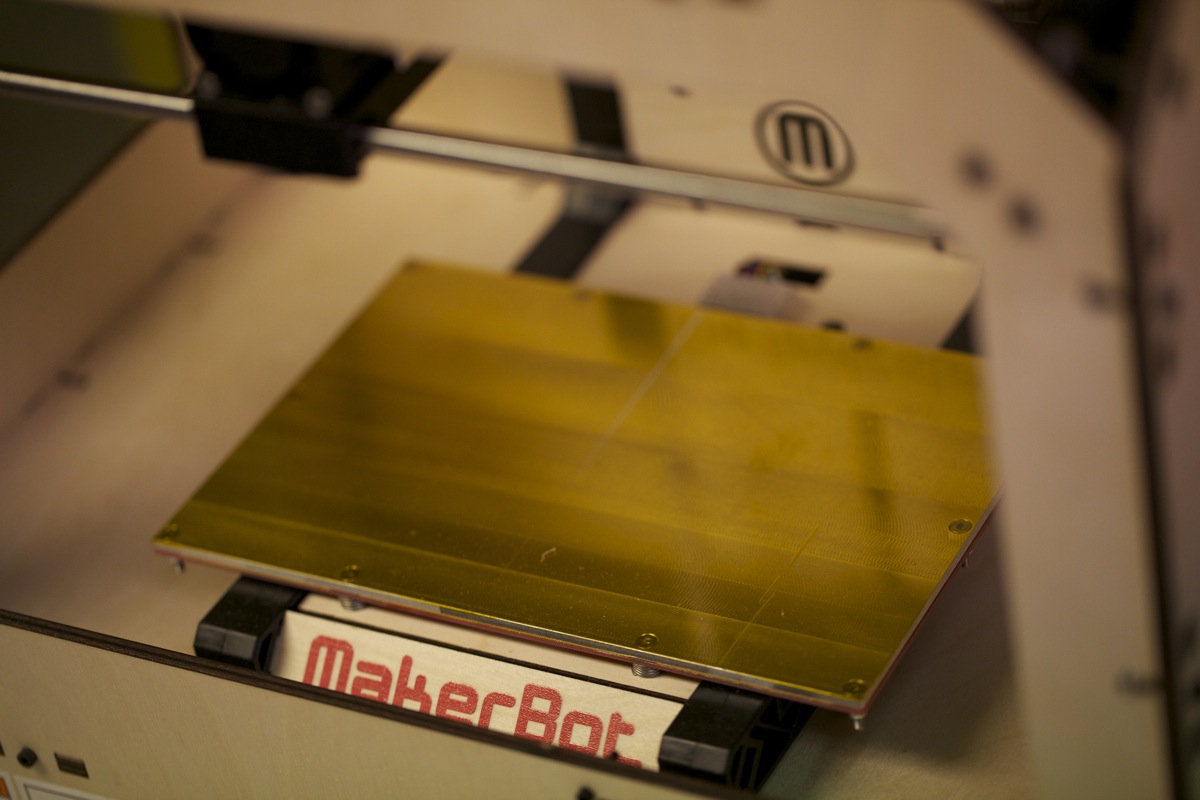
Once I was finished designing the brackets, I would export the design file to an .stl file, which could be used in the Makerbot program, which is the program used to sync with the printer. Once I loaded the files up in the Makerbot program, I could set up the print layout and how many brackets I wanted to print at once. Once I was done doing that, I would export that print file to a USB Memory Stick that I would then plug into the printer. After that, bingo, I was printing functional brackets for our tables.


BloopersIMAG0050

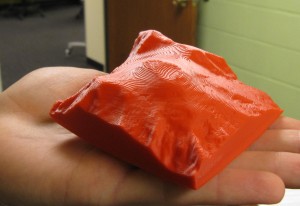
Now we didn’t do all this the first try, we did a lot of experimentation with different designs and tried to print using our old 3D printer. But as Thomas Edison once said, “I haven’t failed, I’ve just found 10,000 ways that won’t work”.


3D Scanner

Announcing the newest edition to the Media Center: our new NextEngine 3D scanner! To complement the Makerbot 3D printer, we now have the capability to produce high definition 3D meshes of small objects within around two hours. The NextEngine software also allows us to export in the .stl format – a format that can be printed on the 3D printer – so in due time we should be able to scan an object and then immediately start turning out plastic copies. I like to think that it brings us just one step closer to having Star Trek replicators.

IMG_8809


IMG_8551


After running a few calibration and test runs, we decided that our first victim for scanning and subsequent replication would be this miniature Buddha figurine. The scanner uses the combination of a camera and an array of lasers to scan objects, meaning that the easiest objects to scan aren’t too dark, light or shiny, and of course finer details and textures are harder to pick up. Ignoring that advice completely, we went ahead and scanned the Buddha figure.

IMG_8548


Scans take about an hour to two hours to complete depending on the detail of the scan – for the Buddha, I used two 360° scans, one at a 0° tilt and one a around a 20° positive tilt to get some of the details on top of Buddhas hands and arms. Each 360° scan family consists of six to sixteen rotations – for this one I used twelve.  Once the scans are complete, the software patches them together into a single 3D model, but sometimes it needs a little manual adjustment to get it just perfect.

IMG_8561

IMG_8559


After some toying with the scans on the NextEngine software we went ahead and printed a copy of Buddha on the Makerbot! Now I would draw your attention to the surprising level of detail on Buddha 2.0’s upper body, and not the fact that his lower half is slightly completely mutilated. Then again, we learned the importance of insuring that there are no holes in the 3D mesh or Makerbot kind of freaks out. Now, we think we’ve figured out a method for getting a 3D scan that is watertight and should produce printings that aren’t bisected.

Everything you need to know about 3D Printing

Cube Hero created a great little post that brings everyone up to speed on everything related to 3D printing.  Even if you don’t have the slightest idea what this new technology is, you will be well versed after reading it.  Also, you will probably be fascinated by the possibilities and suddenly started seeing articles all around about 3D printing.

**side note: did you know that there is word to describe the phenomenon of seeing a word everywhere that you just learned?  I didn’t until recently.  It’s called Baader-MeinhofScreen shot 2013-03-26 at 11.49.10 AM. Now ya know!**

3D Printing Lava Flow Terrain with Prof. Ben Edwards

Since installing our Makerbot Printer in June 2012, we have been batting around ideas on academic uses for it.  Professor Ben Edwards is experimenting with 3d printing volcano lava terrain from 3D grid surfaces.  We initially tried printing a file converted to an .stl format but it was essentially just a surface (think of a sheet floating in mid air with nothing underneath it).  This didn’t work well at all so he has consulted with Chris Boynton of Makerbot to help convert the files from just a surface to a fully printable file with a base and sides.  Voilà! We succeeded.  Ben is working on more ideas, and printing test files, so we can continue working to see how the Makerbot can support his research and classroom instruction.

Trial run printing lava terrain.  The file was just a surface with no base or sides.

Trial run printing lava terrain. The file was just a surface with no base or sides.

Here is how Ben describes the project:

The focus of this project is to create 3-D models of different types of terrain, to be used in helping teach students how to visualize two dimensional surfaces as represented on topographic maps. We start by downloading digital elevation model data, processing the files using ArcGIS, and converting the files to .stl format. The resulting models will be used in teaching labs to help students visualize the shapes of various landscape features and distinguish landforms made in different geomorphic environments (e.g., glaciated valleys versus valleys shaped mainly by stream erosion).

Upgraded print with base and sides built into .stl file.

Upgraded print with base and sides built into .stl file.

New Home for the Makerbot Replicator

Since we purchased our Makerbot Replicator over the summer, we haven’t had a place for it to call home.  It floated around from space to space but thanks to a little bit of furniture repurposing, it has found a place where it can stay for good.  Check it out in the Media Center hallway in its new cabinet.  There is plexiglass on the side so even if it isn’t in action, you can still get a peak inside. Are you interested in seeing it run or do you want to create something on it?  Email mediacenter@dickinson.edu for a tour.

MakerBot has arrived

The latest addition to the Media Center is the MakerBot Replicator 3D printer. Can’t wait to see what great projects our professor have in mind.  Check out what other people have made over on thingiverse.com.

© 2024 Dickinson College Media Center


Academic Technology services: GIS | Media Center | Language Exchange

Theme by Anders NorenUp ↑