
Written by: William Milberry (milberrw@dickinson.edu)
I’ve been an avid photographer for over 20 years and consider myself a little bit of an artist. I think there is a lot of cross-over between using generative AI and photography or even other forms of visual art. Long ago I read the books of legendary photographer Ansel Adams and his words about pre-visualizing your image and using all the tools and techniques to bring it into reality stuck with me. Today anyone can touch the shutter button on their iPhone and take a clean snapshot of something. The difference between that and a beautiful photograph is that the photographer has an idea and chooses the subject, angle, lenses, settings, and editing to make that image in his mind into a reality. I think AI is very much like this where you can ask it for a picture of something and get a passable result (the proverbial snapshot), or you can work all of the levers and get a beautiful original image.
I’ve never studied the prompting techniques used by graphic professionals who use AI in their work. They probably know a lot more than I’ve discovered. But, here is what I work by…
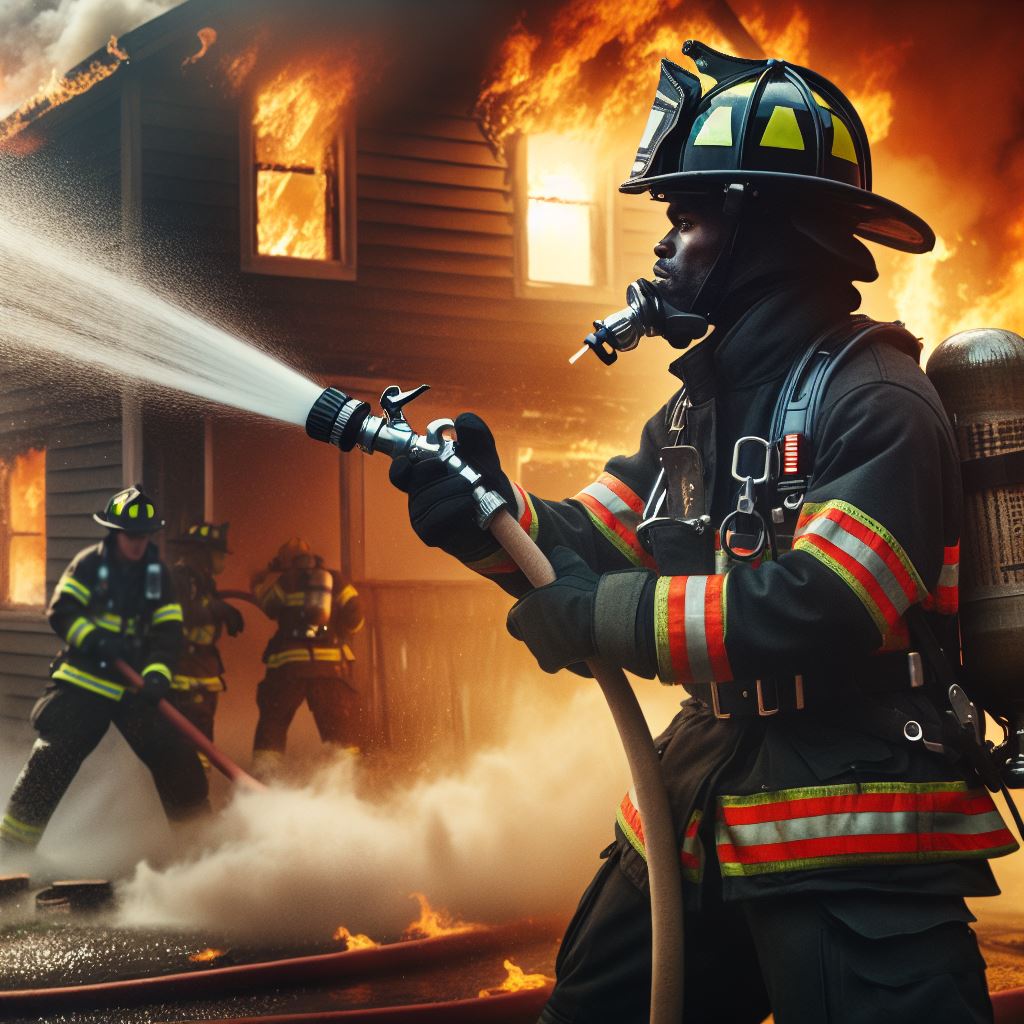
If you ask an AI like Microsoft Copilot Chat something like “generate a photo of a fireman” It will give you a representative image that resembles the typical photos of firemen that it’s been trained on. I consider this the equivalent of an iPhone snapshot (see image below).
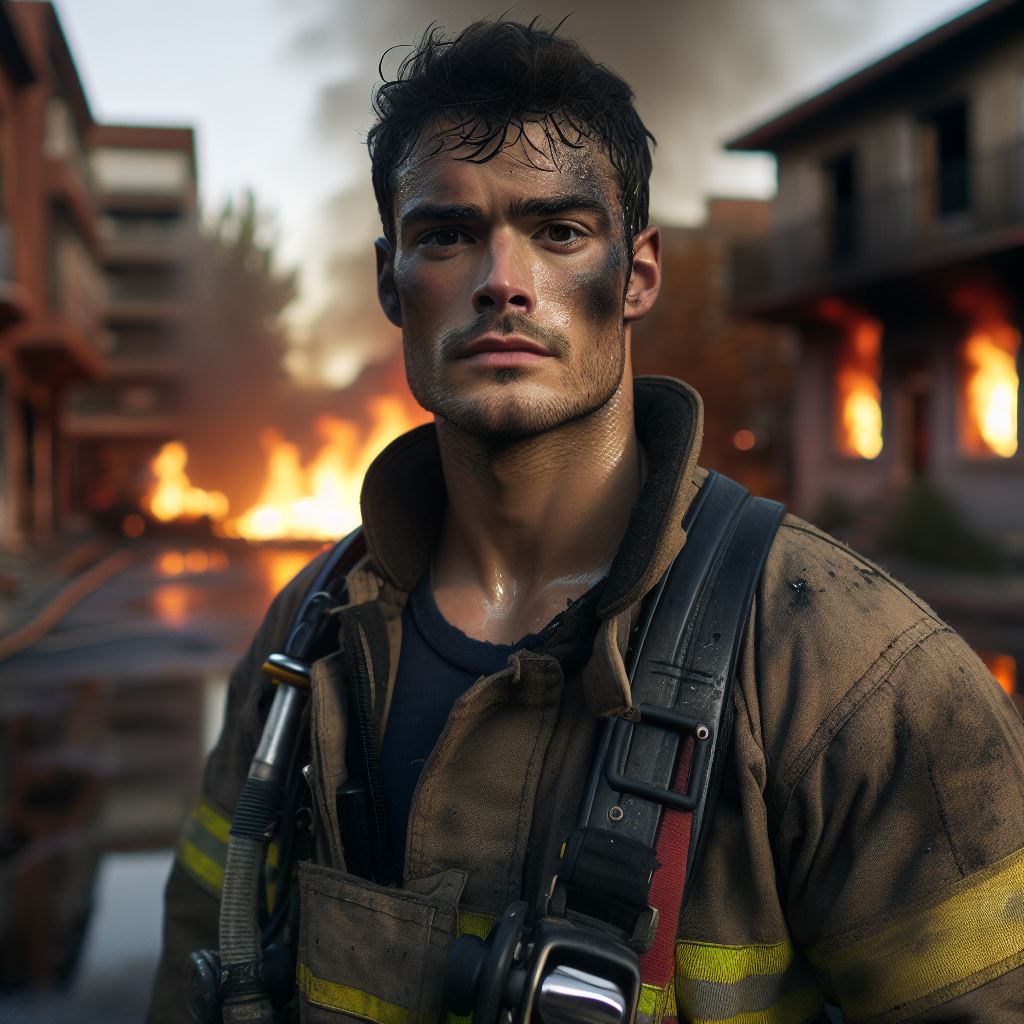
To get something better in my opinion, you have to feed it detail about the subject and how you wanted it presented. A prompt like “Generate a three quarters body shot of a fireman, looking at the camera, and standing in front of a burning building. He should have sweat on his face, look dirty and have a determined look in his eyes.” will start to be less generic and more relatable as it starts to reflect the creator’s imagination.
Beyond the content of the image, AI understands a lot of prompts about presentation. To make better images you can take control and specify how you want it presented with prompts like wide-angle, portrait, cowboy shot, full-body shot, etc. You can take it a step further with prompts about lighting such as diffuse light, direct sunlight, backlighting, etc. On top of that you can also specify if you want it to have the look of a particular film stock, medium, era, or even well known artist/director’s style. Prompts like 1960’s cinema, 1980’s TV, Kodachrome film, anime, in the style of Hayao Miyazaki can all flavor and stylize an image.
Not every AI is equally good at these details. I’ve seen some AMAZING things from Midjourney. I haven’t used Microsoft too much, but it seems to be tuned to give somewhat generic images. I use Stable Diffusion locally and it can give some great results, but it needs some technical understanding to use. The key point in this is that you don’t just want to describe the scene or subject but also describe the presentation of it.
Most generative AIs accept natural language like my simple examples above, but they also have syntax and parameters that can be used such as weights attached to different parts of the prompt to affect how much or how little the AI incorporates that particular detail.
Below is a Stable Diffusion XL prompt I used (in conjunction with a model tuned for illustration & animation.) I did this when I was still new to it and copied details from a lot of different example prompts that I liked. Because the prompt is quite cluttered, you can see how Stable Diffusion incorporated some of what I asked for but not all of it. The numbers after words in the prompt are weights. (silhouette:1.25) means silhouette should be given 125% weight because it was a very important aspect of what I wanted to create.
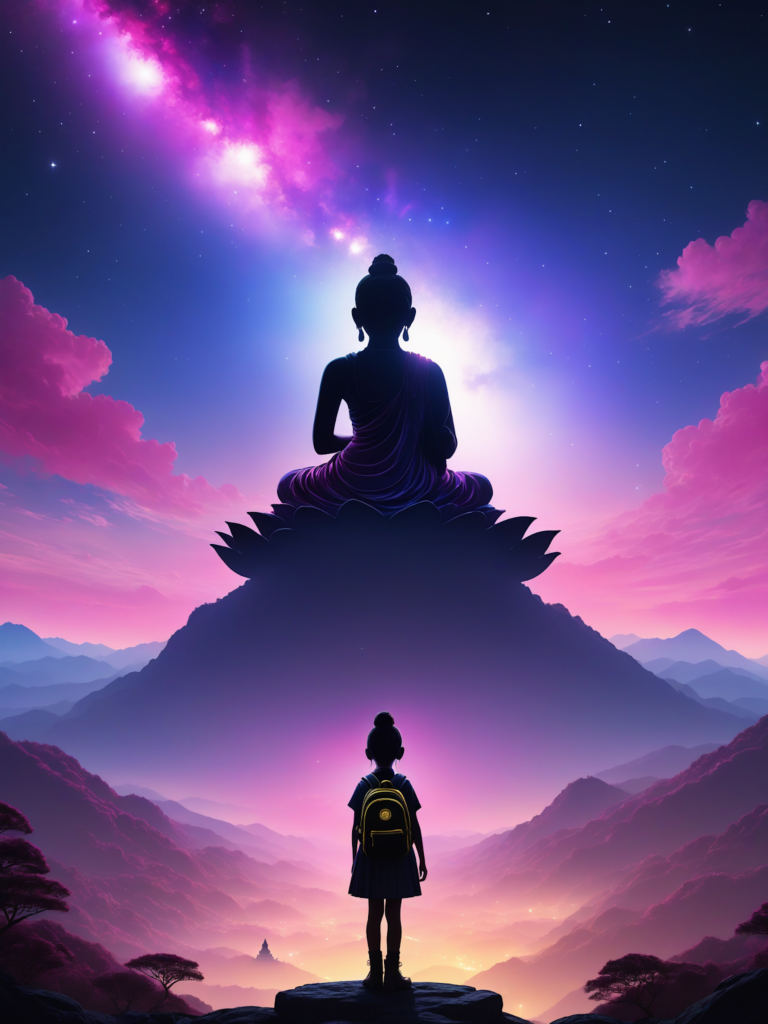
ultra wide angle, (silhouette:1.25),1girl, 15 year old girl, in skirt, (short feathered hair), wearing boots and black backpack, standing on mountain overlooking a distant giant and fat Buddha statue sitting in lotus position on a hill facing the girl, hazy distance, dark background with two merging galaxies in the sky, blacklight, wide shot, full body, somber expression, looking up, dark energy, vibrant magenta, portal to another world, flat color, flat shading, ultra realistic,highres,superb,8k wallpaper, extremely detailed, intricate, limited palette, pink, yellow
Negative prompt: easynegative,(badv2:0.8),(badhandv4:1.18),(bad quality:1.4),(low quality, worst quality:1.14),watermark,(blurry),(cropped),(nsfw:1.18),(animal)
Steps: 30, Sampler: Euler, CFG scale: 7, Seed: 804295955, Size: 768×1024, Model hash: 65298be5b1, Model: realcartoonXL_v5, Denoising strength: 0.45, Clip skip: 2, Hires upscale: 2, Hires steps: 20, Hires upscaler: R-ESRGAN 4x+, Version: v1.6.1
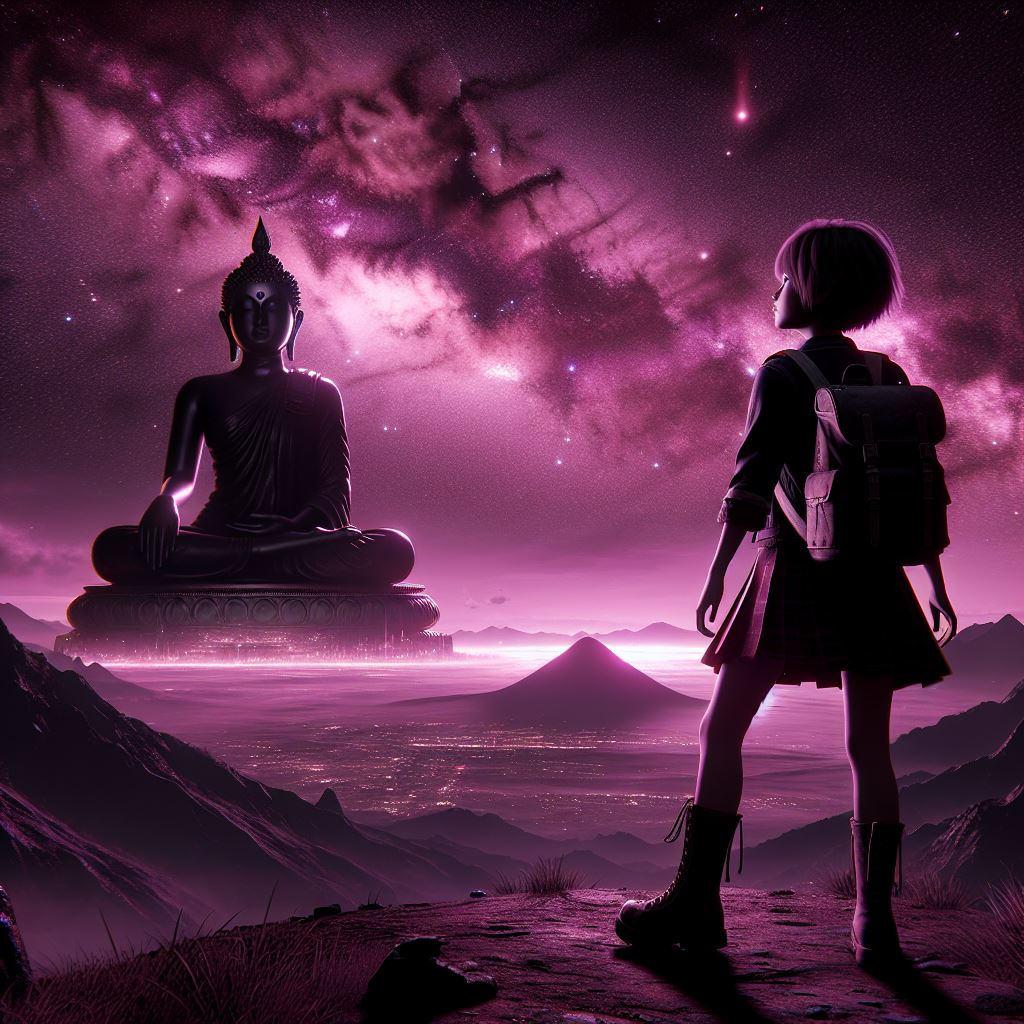
If I trim off some of the Stable Diffusion specific stuff and ask Microsoft “generate an image using this Stable Diffusion prompt…”, it will give me something similar.
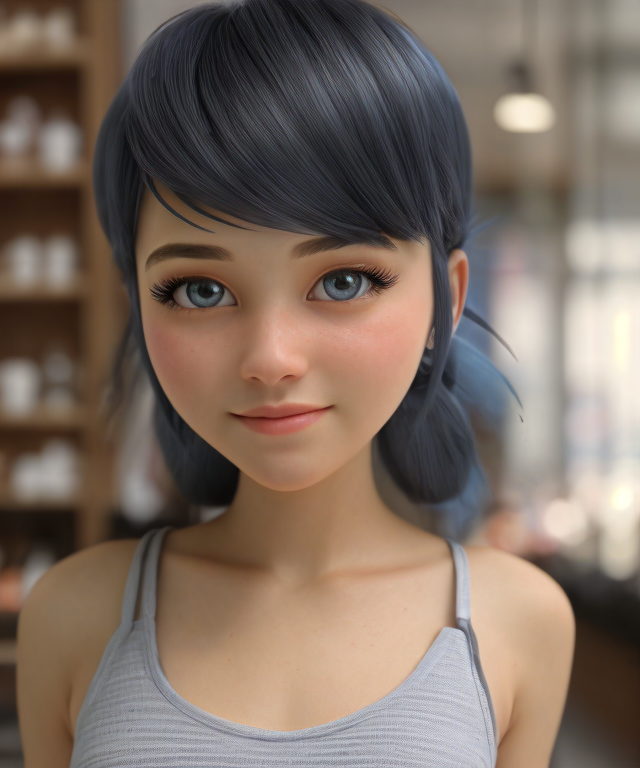
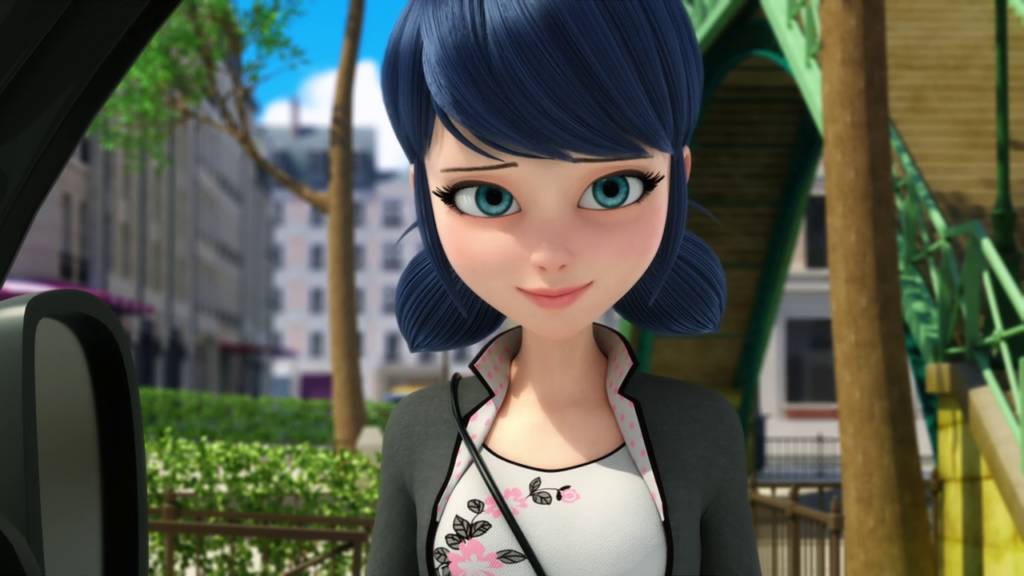
Prompts are only one part of achieving stunning results. Midjourney has different models tuned to different things like animation (the “Niji” model) and photo-realism and you can specify in your prompt which model it uses. Likewise, there is a large community who custom train models that you can download for Stable Diffusion allowing you to do really high-quality work with a specific subjects. There is a popular animated series out of France called Miraculous featuring a female superhero named Ladybug. Using a model tuned for general illustration/animation and an add-on (called a LORA) specifically trained on images from the show, I made a really nice, semi-realistic portrait of the main character Marinette (left is my portrait, right is a screenshot from the show for reference). This type of result can’t really be achieved by prompting alone. You either need customized models OR to use an Image-to-image feature where you give an AI an image and a prompt and it mimics/works from the source image.
Beyond selecting the model, there is a host of settings that dramatically affect the results. Midjourney allows you access to these through parameters you include in the prompt. I use a GUI called Automatic1111 for Stable Diffusion (screenshot below) that gives me access to everything. I’m not certain what level of control Microsoft, Adobe, Grok, and Google Gemini offer (if any).
An AI’s neural network is like taking a road trip from Carlisle to Los Angeles. If you take different turns or different streets on such a long road-trip then what you will see on that trip will vary dramatically. Changing one parameter or even one word in your prompt will cause a different traversal of the AI model’s data resulting in shifts in the image or even a very different image (just like your road trip would be different if you took a different route.) Unlike with graphic software or 3D animation where you can fix a single element, changing a tiny thing in an AI image you otherwise like is very difficult. For that reason, creating AI images for me is an iterative process where I produce dozens of images with prompt and setting variations until I get extremely close to what I want. I then usually polish the little details in Photoshop.
Below is a screenshot of the Automatic1111 GUI for Stable Diffusion. A more capable and complex UI called ComfyUI has become popular, but I still use this older one.
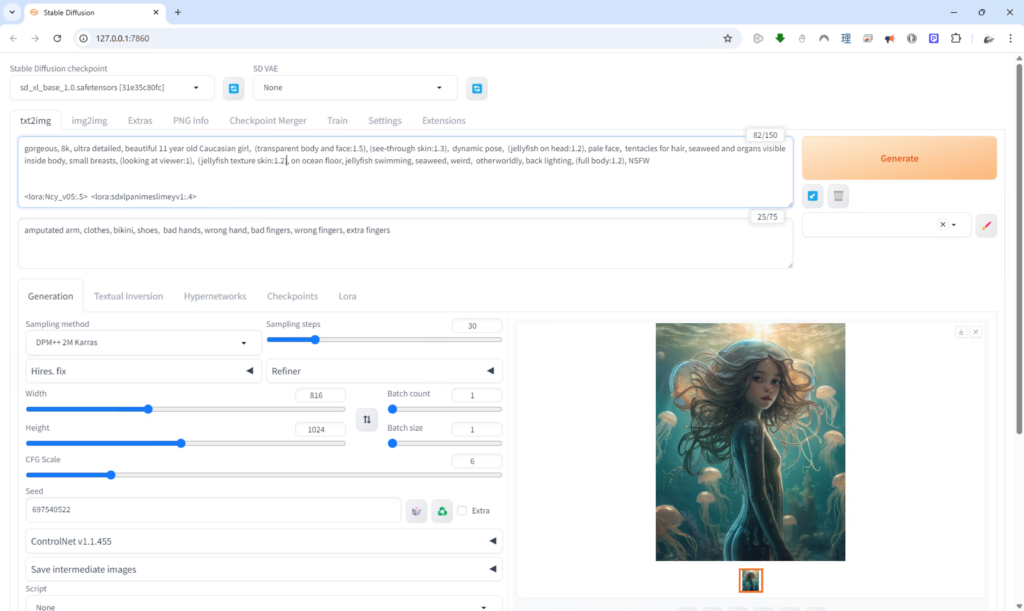
If you read the prompt below you might wonder about some parts of it like “11 year old” and “small breasts”. As I was working on this image, I wanted a younger, somewhat anime-style character but I kept getting a more adult looking character with a more mature figure. So, I started adding terms to counter that until a balance was struck and the character resembled what I was going for. Also, since my Jellymaid characters are anthropomorphic jellyfish, I want them to look natural like they live in the ocean. So, when recognizable clothes showed up on them it didn’t look right. That’s when I put “clothes, bikini, shoes” into the negative prompt (the text box below the prompt), to stop those items from showing up.
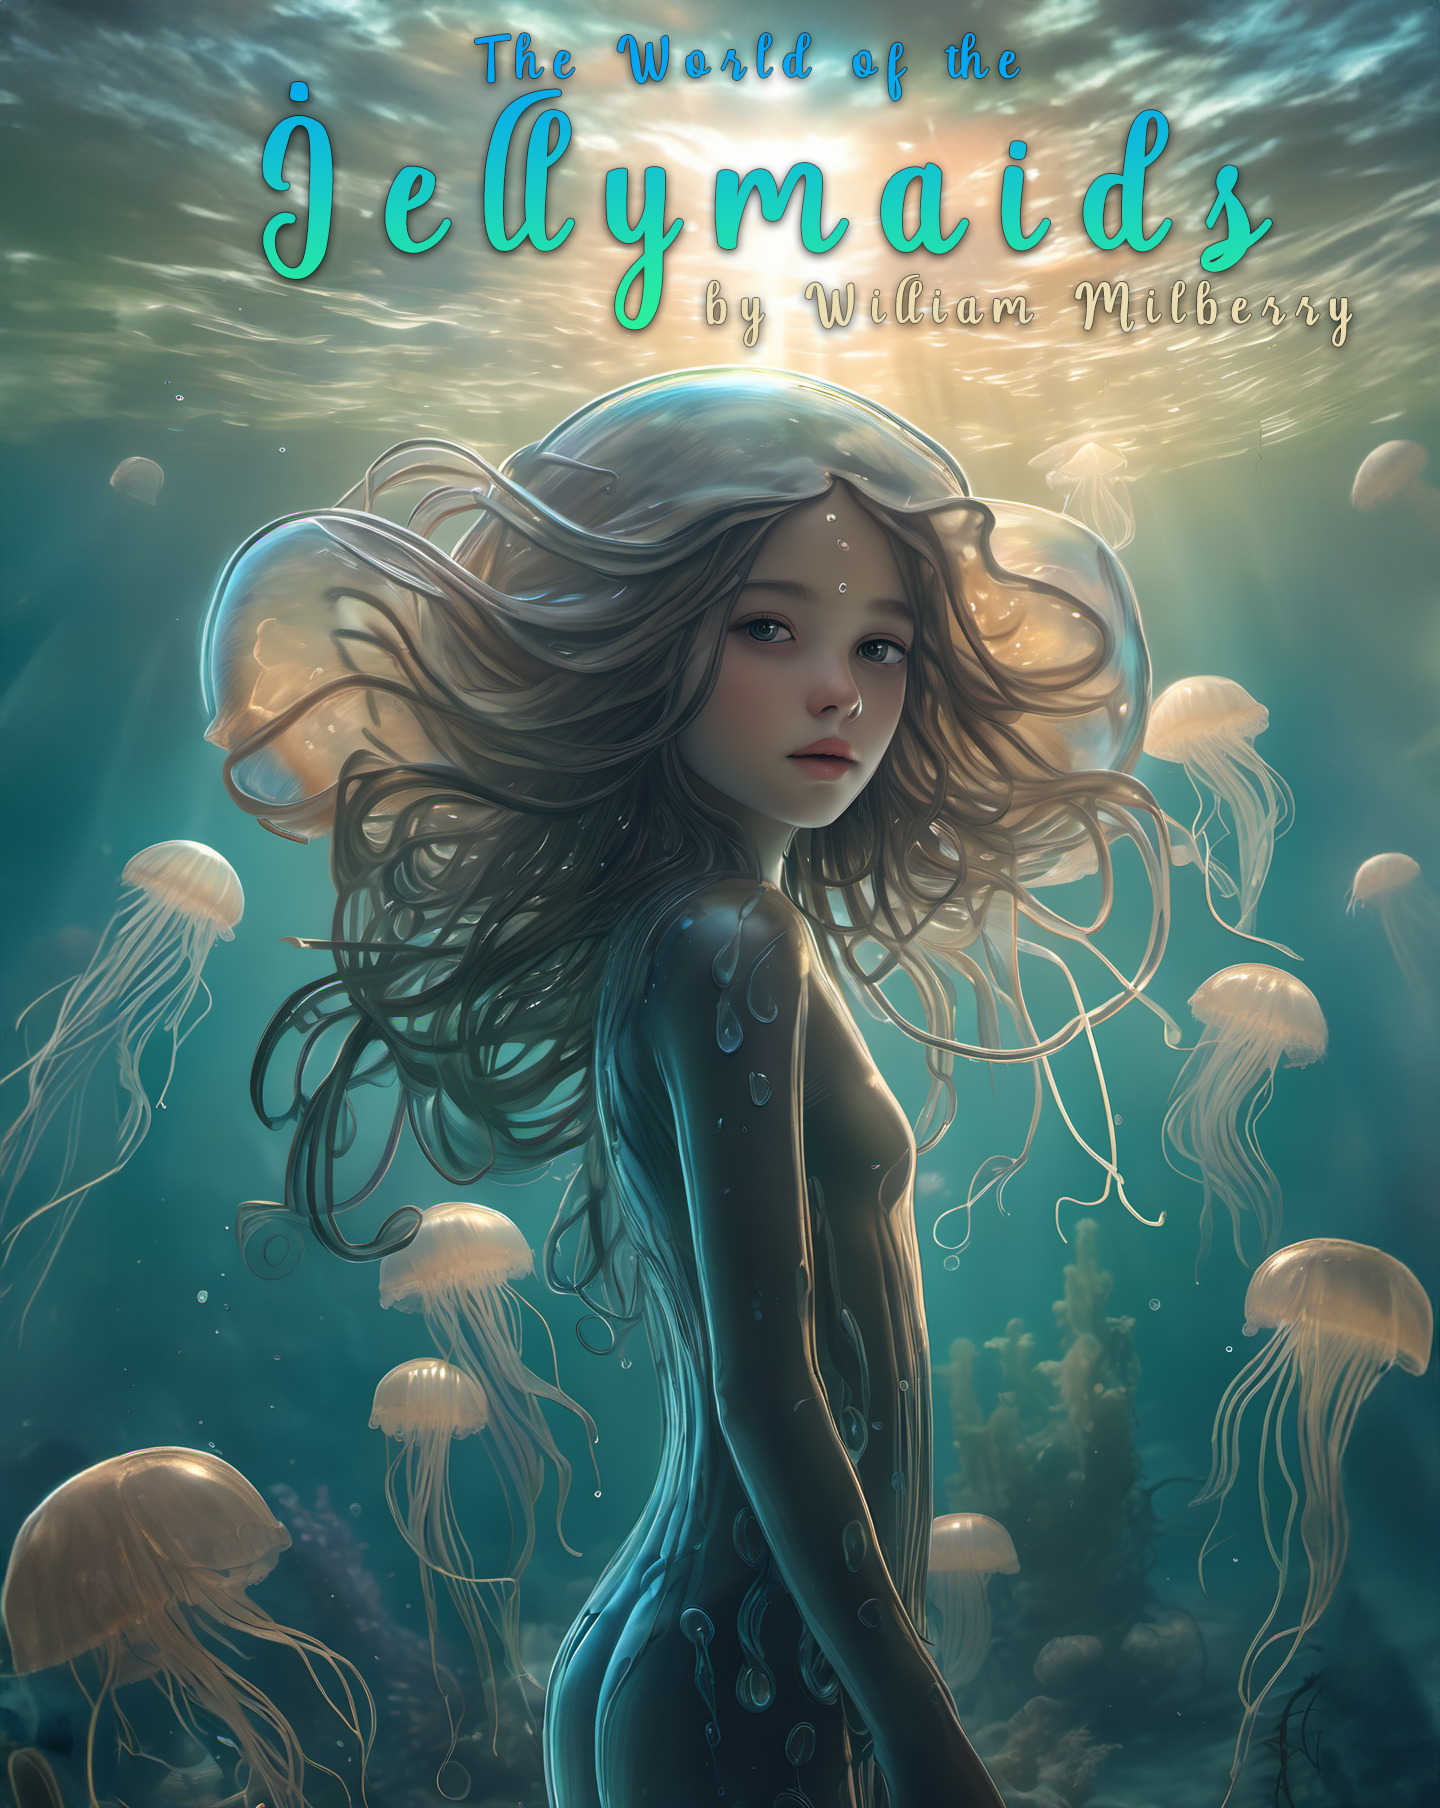
I actually used the AI generative fill in Photoshop to expand the borders of this image
If I had to try to distill what I’ve learned down into some bullet-point tips I would say:
- Specify details of the subject: Don’t just say a subject like “fireman”, “sports car”, or “city road”, but include a judicious description of any details you want it to have like expression, position, features, colors, age, etc.
* Note – many AIs are NOT yet good at applying different details to different people or objects within the same image, so describing two different people will have mixed results - Specify presentation: Specify how you want the image to look ie.) wide-angle, portrait, close-up, film look, strong contrast, faded colors, 1980’s look, blurred background, diffuse lighting, a particular artist’s style, etc., etc.
- If an AI allows negative prompts, make use of it: The negative prompt is what you don’t want in the image, and you should make use of it. If you are getting funky hands you can add “extra fingers”, “deformed hands”, etc. to the negative prompt to help give the hands special attention. Once I described a character with “feathered hair” and wound up with feathers in the image, by adding “feathers, wings” to the negative prompt I was able to use “feathered hair” without actual feathers appearing in the image.
- Use weights if supported. For example, in the Buddha image above “(silhouette:1.25)” specifies 125% importance that it be a silhouette because that aspect more important than other details in the image.
- Use custom models if available: If you are using Midjourney or another AI where you can select from different models, don’t use the generic base model but choose the one most tuned to what you are making (such as photo-realistic or animated.)
- Iterate! – Small changes to prompts or parameters can cause the image to shift and change or even produce vastly different images. Try many variations until you hone in on what you want.
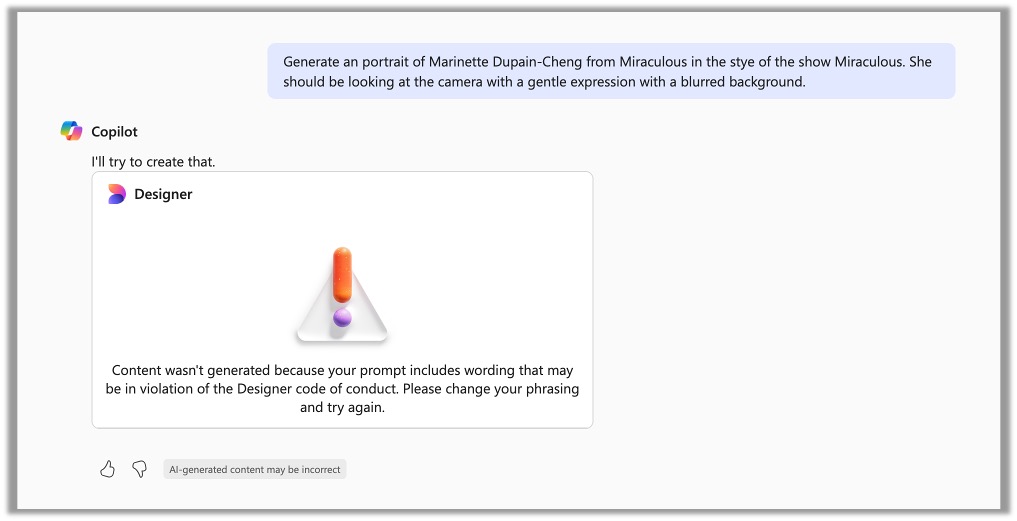
- AI safety & censorship: Most online and commercial generative AI has strong safety and censorship measures in place. They will not accept prompts containing violence, sexuality, drugs, other harmful topics, and sometimes certain copyrighted materials. Some also check their output before giving it to you to ensure nothing that goes against their terms was generated and err heavily on the side of caution. If you get a prompt rejected or a false alarm, consider what might have triggered it in the prompt and try again with slightly different wording. Adobe is the worst when it comes to this.
This is what I know and the conclusions I’ve come to over the past year. I hope it’s useful. If you have any questions or would ever like to get together and talk about this topic more, just let me know!
~ William Milberry (milberrw@dickinson.edu)