
The Canon XA11 is a professional video camera designed for interviews, events, and documentary-style projects. It offers higher video quality and professional audio options than basic camcorders. This camera is best used when clear video and reliable sound are important. This is a more advanced camera and supports professional microphones using XLR cables.
This tutorial covers the essential steps students need to successfully record video and audio using the Canon XA11.
1. Getting Started
- Remove the lens cover
- Slide the switch on the left side to Camera to turn on the camcorder
- Insert an SD card into the memory slot
- Adjust the date and time if prompted
2. Preparing to Record
- Use the LCD screen to frame your shot
- Adjust the camera position as needed
- Use the zoom slowly, or avoid zooming altogether
3. Checking the File Output Type
The Canon XA11 allows you to select your desired recording format before you start recording. By default, it may record as an mp4 file. This is fine as long as what you’re recording is less than 30 minutes.
Planning to record something longer than 30 minutes? You’ll want to change the format to AVCHD so that your recording isn’t broken up into multiple files. To do so:
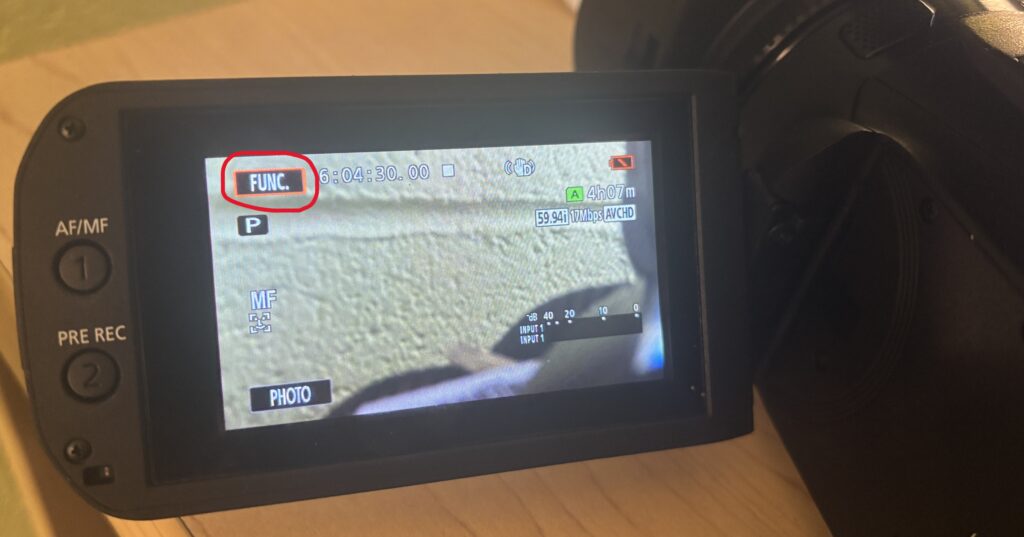
- Press the Func button on the touchscreen
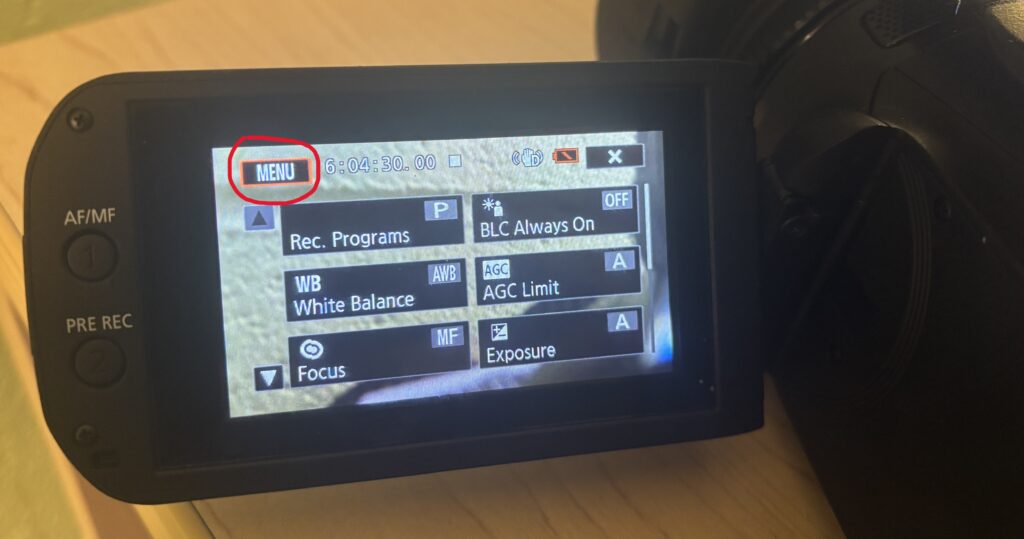
- Press the Menu button that has appeared in the top left of the touchscreen
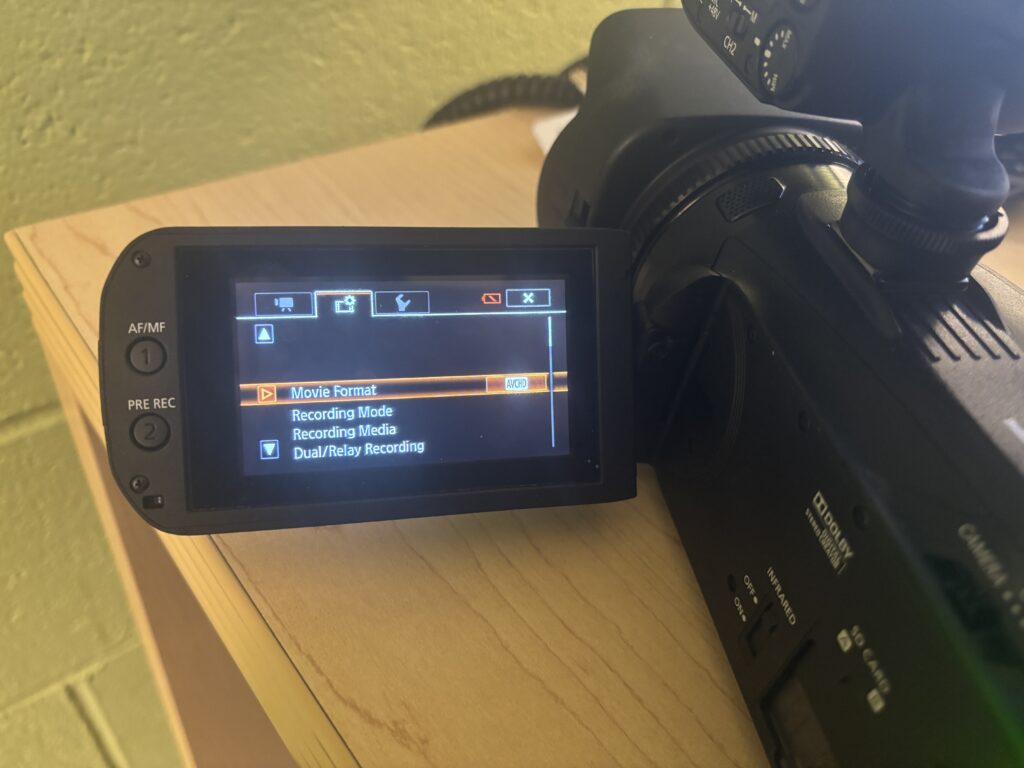
- Select the middle tab that has the film strip and gear icon
- Select Movie Format
- Choose AVCHD
3. Recording Video
- Press the Record button on the back of the camera to start the recording
- Look for the red REC indicator on the screen
- Press the Record button again to stop the recording
4. Audio Setup (Critical Step)
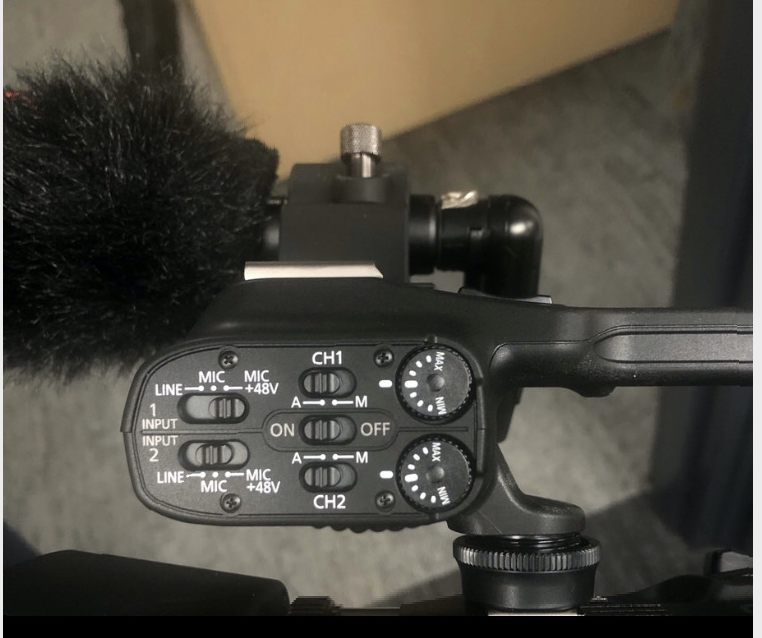
This camera supports external microphones using XLR cables.
- Plug the microphone into XLR Input 1 or 2
- Make sure the audio input switches are set correctly in the Menu
- Watch the audio level meters on the screen
- Levels should move but not reach the red
- To use one XLR microphone, ensure your settings match the below photo.
Helpful Tips
- Always check audio before recording
- Keep the camera steady using a tripod when possible
- Record in a quiet space
- When in doubt, ask for help before adjusting controls
You’re Ready to Record
The Canon XA11 is a more advanced camcorder that makes it easy to capture professional, high-quality video and audio. Start with simple shots, explore zoom and stabilization features, and connect professional microphones via XLR for the best sound. With practice, your videos will look polished and professional every time.
More information on using the Canon XA11 can be found here.