
Subtitles and captions make videos more accessible and easier to understand in noisy or quiet environments. YouTube provides automatic captioning tools that can be edited for accuracy, making it easy to add captions during or after upload.
This tutorial walks you through adding and editing captions after a video has been uploaded to YouTube.
1. Navigate to the Subtitles Section
- In YouTube Studio, select Subtitles on the left side
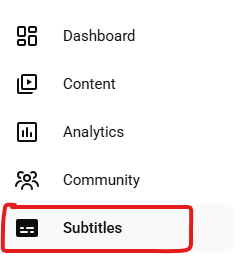
- Select the video you’d like to edit
2. Edit YouTube’s Automatic Captions
- With Subtitles selected on the left, under English (Automatic), click Duplicate and Edit
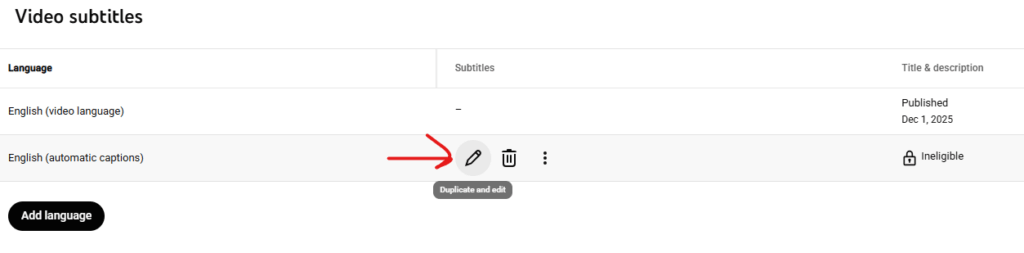
- From here, you can now edit the existing text
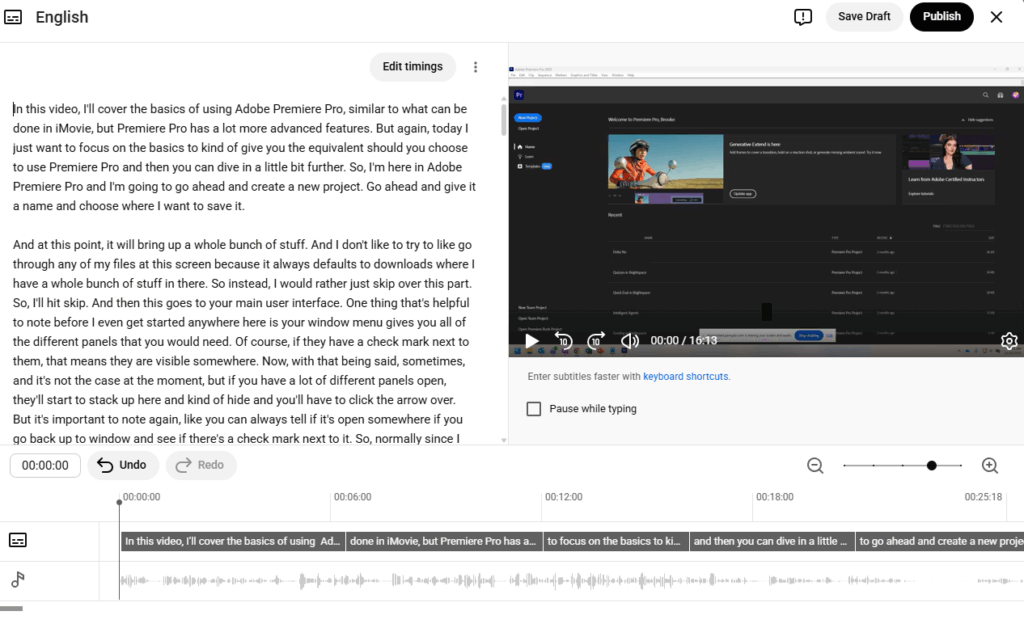
3. Publish Your Captions
- Click Publish when editing is complete
- Captions will now appear as an option on your video
- Viewers can turn captions on or off using the CC button
Helpful Tips
- Always review automatic captions before publishing
- Speak clearly in your video to improve auto-caption accuracy
- Captions should reflect spoken words, not paraphrases
- Include important non-speech audio when relevant (e.g., [music], [laughter])
- Captions improve searchability and viewer engagement
You’re Ready to Caption Your Videos
Adding captions to YouTube videos is one of the easiest ways to improve accessibility and reach. Start with YouTube’s automatic captions, make quick edits, and publish with confidence.
For more information, visit YouTube’s Help Center.