
The Zoom H4n Pro is a portable, high-quality audio recorder used for interviews, podcasts, music recording, and field audio. It features built-in stereo microphones and external microphone inputs, making it flexible for a wide range of recording situations where clear, professional sound matters.
This tutorial will help you record audio using the built-in microphones and save your files for later use.
1. Getting Started
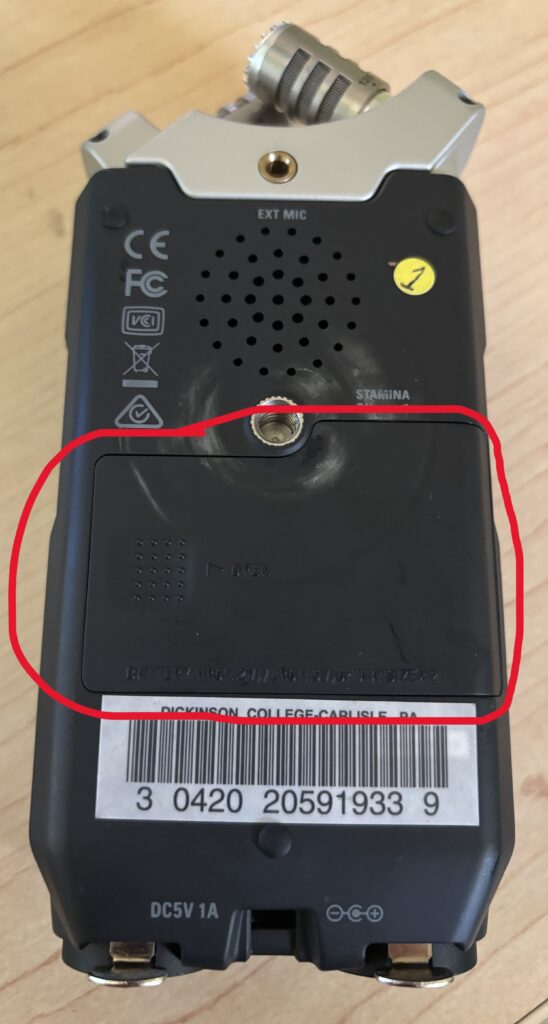
- Insert an SD card into the side of the recorder
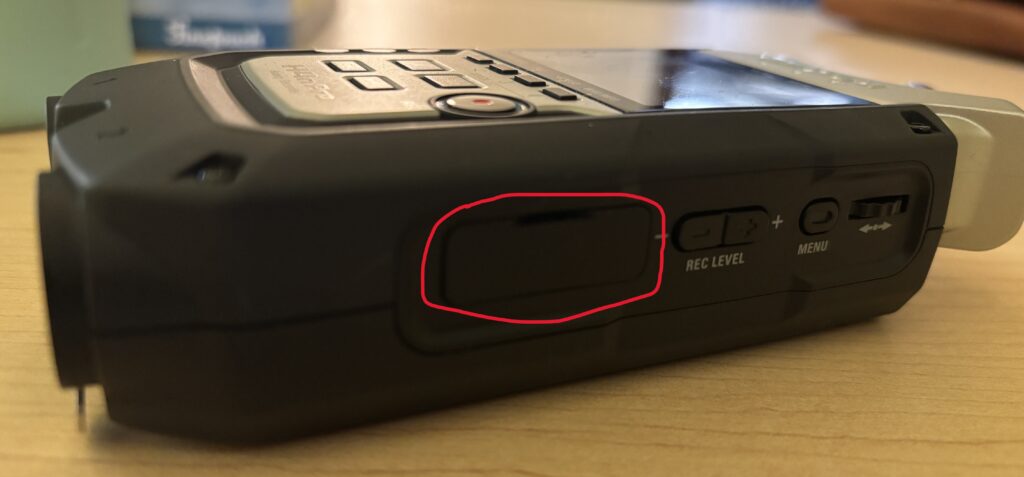
- Insert fresh AA batteries or connect the power adapter
- Slide the Power switch to turn the recorder on
- Wait for the unit to fully boot
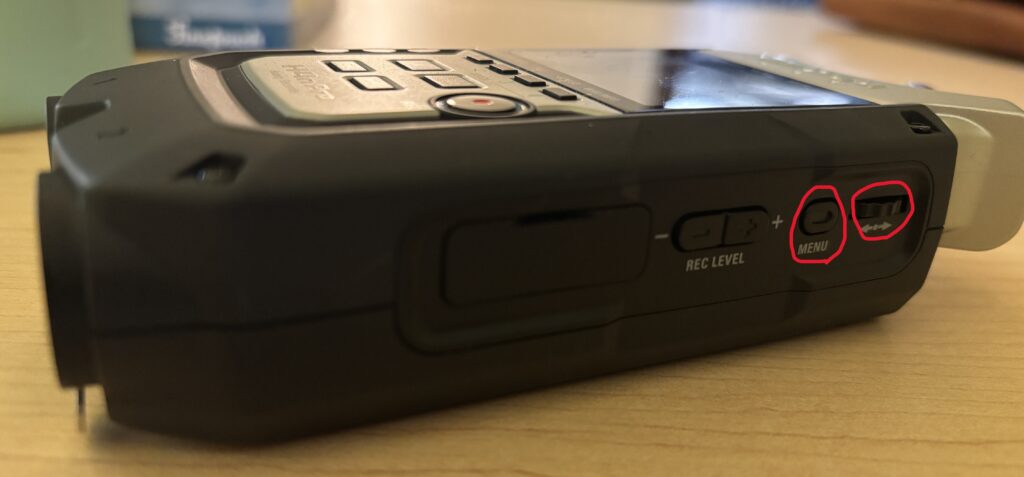
2. Choosing a Recording Mode
- Press the Menu button located on the right side of the device
- Use the wheel on the side to navigate to Mode
- Select Stereo and press the wheel to confirm
3. Positioning the Built-In Microphones
The H4n Pro has adjustable X/Y stereo microphones on top.
- Make sure those on pointed in the direction of your source
- Decide if you want the mics to pick up a wider area (120) or focus in more (90) by turning the mics
- Then, place the recorder on a table or a small tripod, or hold if necessary
4. Setting Input Levels
- Press the Record button once
- The meters will activate (standby mode)
- Speak at normal volume
- Use the + / – buttons on the right side of the device to adjust the recording level
- Aim for levels that peak between –12 dB to –6 dB
5. Recording Audio
- Press the Record button again to start recording
- The timer will begin counting
- Remain as still as possible during recording
- Press Stop when finished
6. Playing Back Your Recording
- Press the Play button
- Use the jog wheel to select your file
- Adjust playback volume using the buttons on the left side of the device
7. Using External Microphones (Optional)
External microphones provide better control for interviews and studio-style recordings.
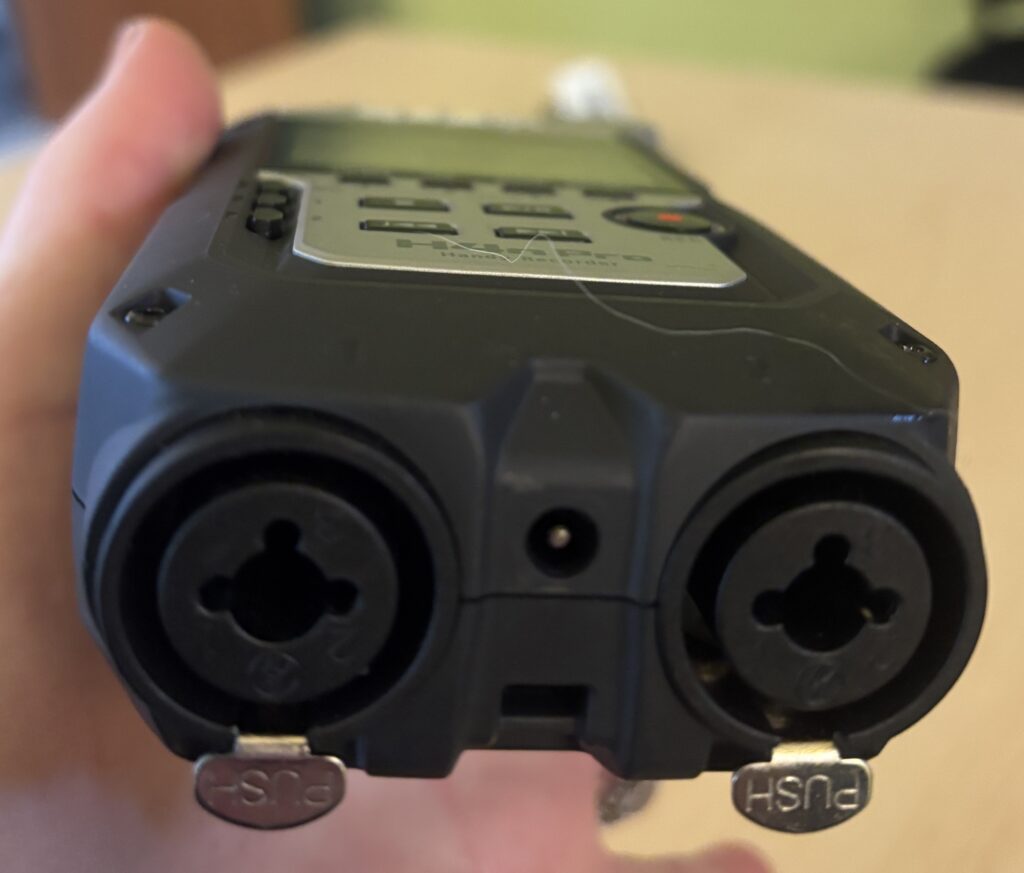
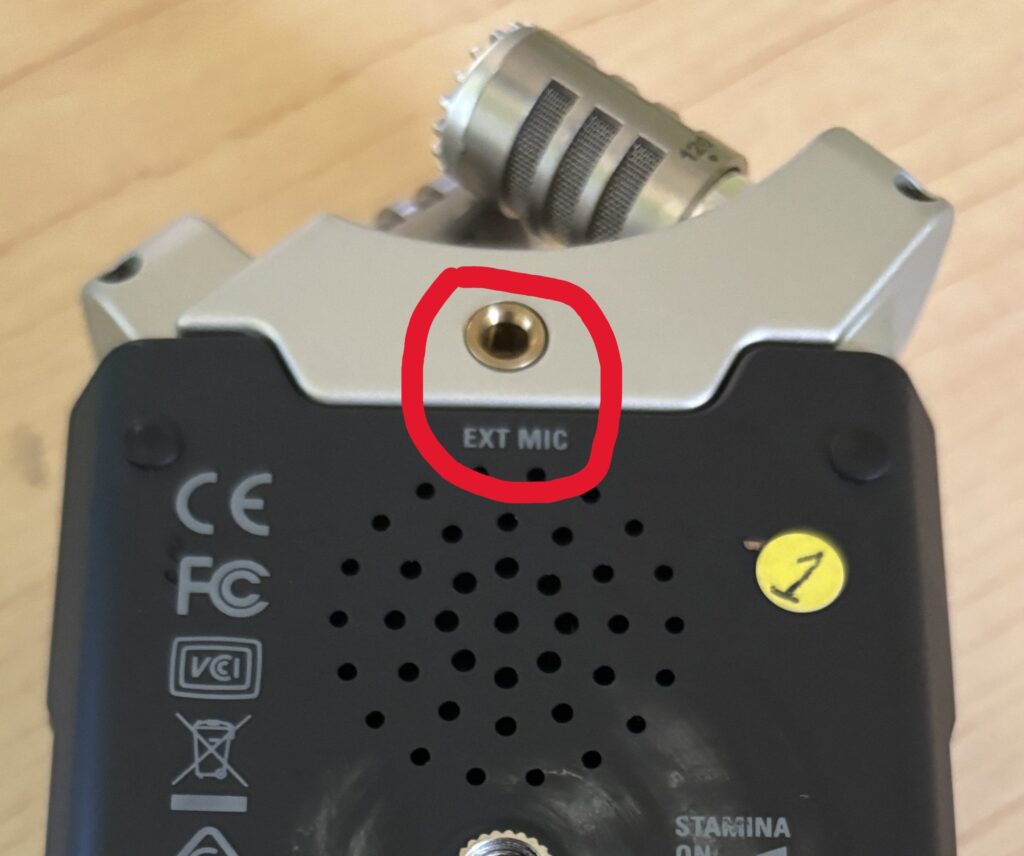
- Plug microphones into Input 1 or Input 2 (XLR or ¼”) or into the 1/8″ external microphone
- Press the Input button to enable the correct inputs
- Adjust levels for each input separately
- Monitor sound using headphones if available
8. Transferring Files to a Computer
- Power off the recorder
- Remove the SD card and insert it into a computer using an SD card reader
- Or connect the recorder via USB
- Files are typically saved as WAV or MP3, depending on settings
- Copy audio files to your computer for editing
Helpful Tips
- Always do a short test recording before starting
- Remember to have the microphones pointed towards the source (speaker)
- Monitor audio with headphones when possible
- Record in quiet spaces to avoid background noise
- Bring extra batteries for longer sessions
The below video walks you through the basics of setting up and using the Zoom H4n Pro Recorder.