-
- Before
-
- After
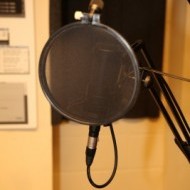
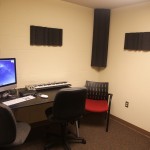
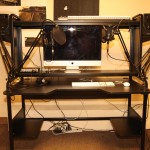
Over the course of alumni weekend, the media center has remodeled the podcast nooks with new desks from Ikea, bringing a new look, along with a brand new recording set-up. Each podcast nook is equipped with new speakers, bass traps, and condenser mics. They also each have new guitar stands for anyone who brings in a guitar to play in the nooks. This new set-up will optimize the recording experience with easy-to-use speakers that allow you to not only control the output volume, but also control the input volume of any mic connected to them. They also have dials that can control the bass and treble in any sound that’s being listened to or recorded. There are also adjustable arms for the mics,which record in stereo. The new bass traps will help absorb excess sound which provides for higher sound quality. The rooms are perfect for working on group or individual projects that require higher sound quality and minimal interference.
-

- Condenser Mic
-
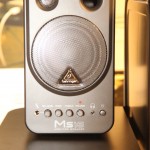
- MS16 Monitor Speakers