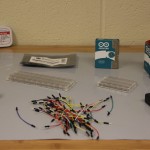
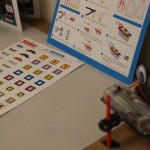
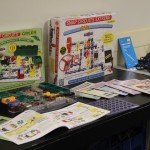
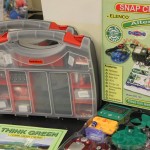
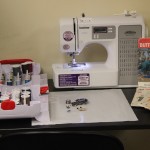
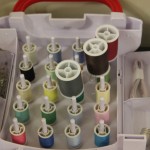
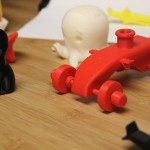
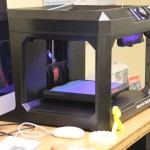
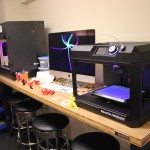
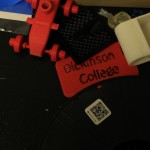
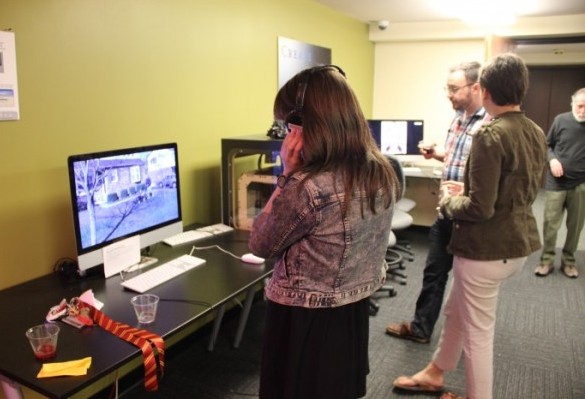
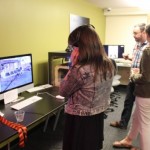
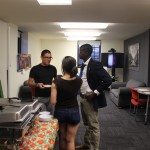
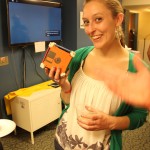
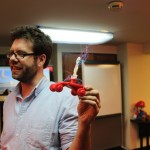
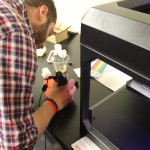
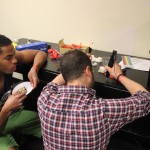
The makery took part in the Sustainability Expo with a scrunchie making table. Even if you missed the event, everything you need to diy your own scrunchie is in the makery!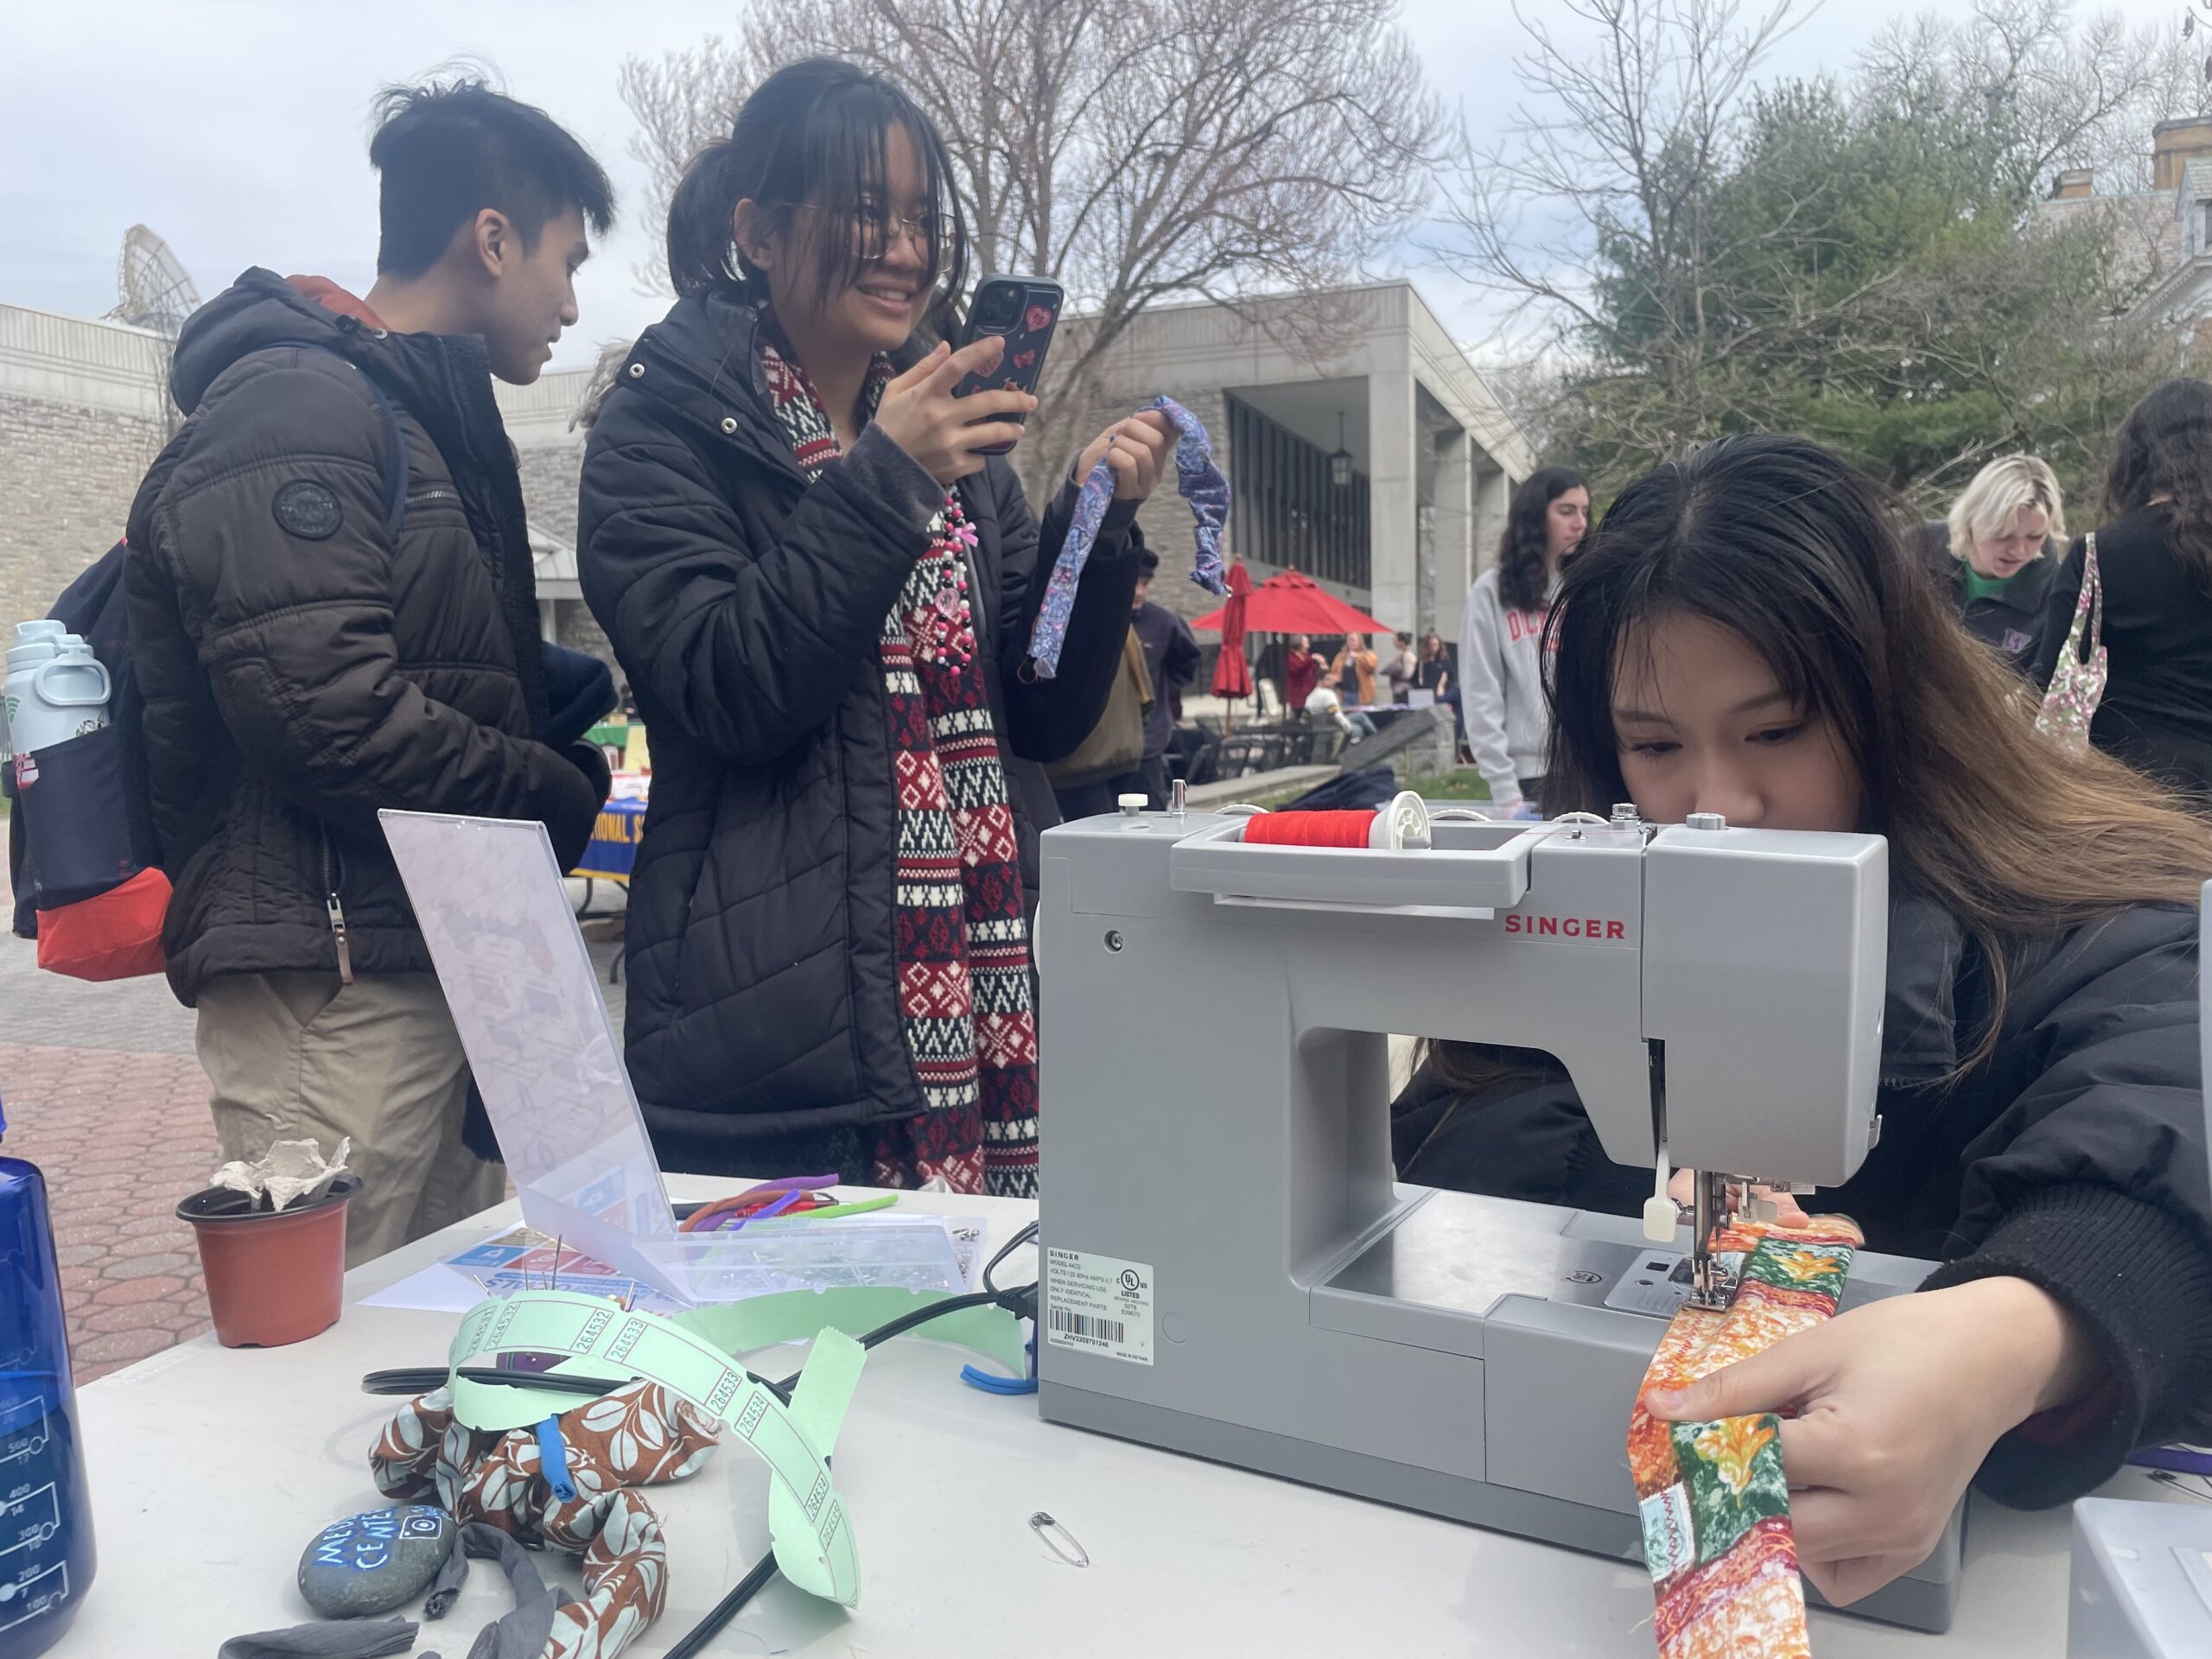
Category: Around the Media Center (Page 1 of 3)
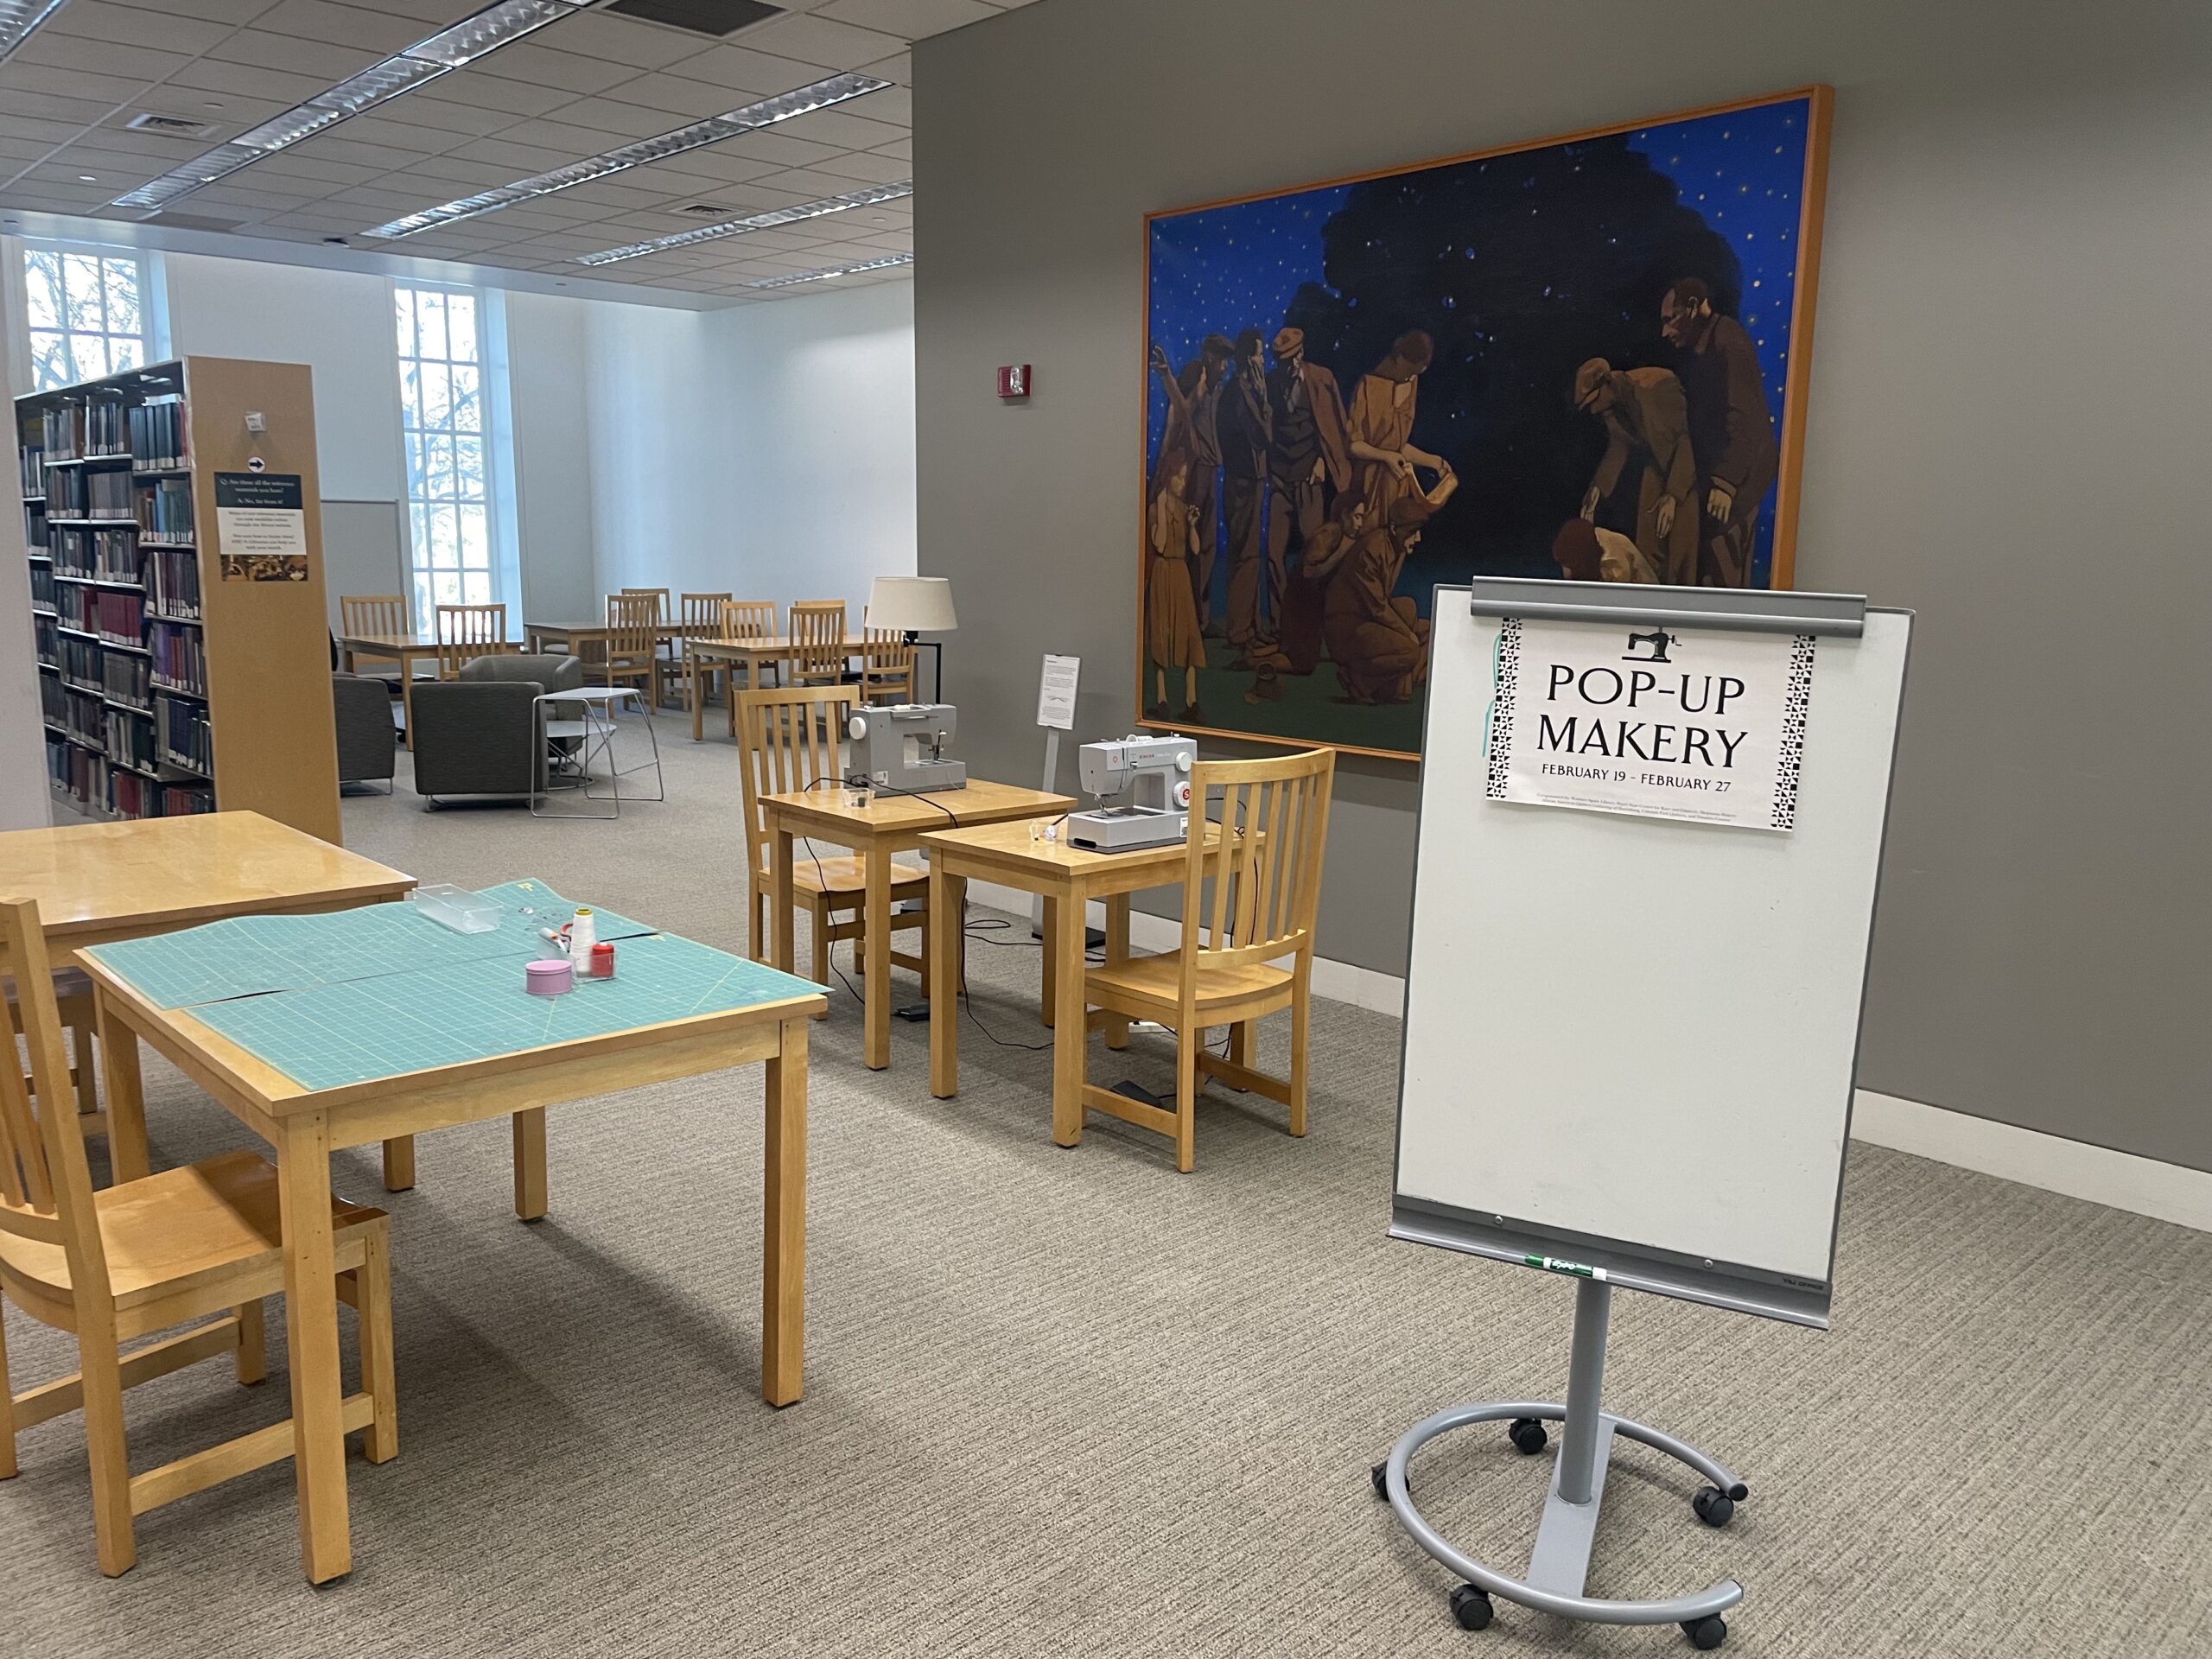
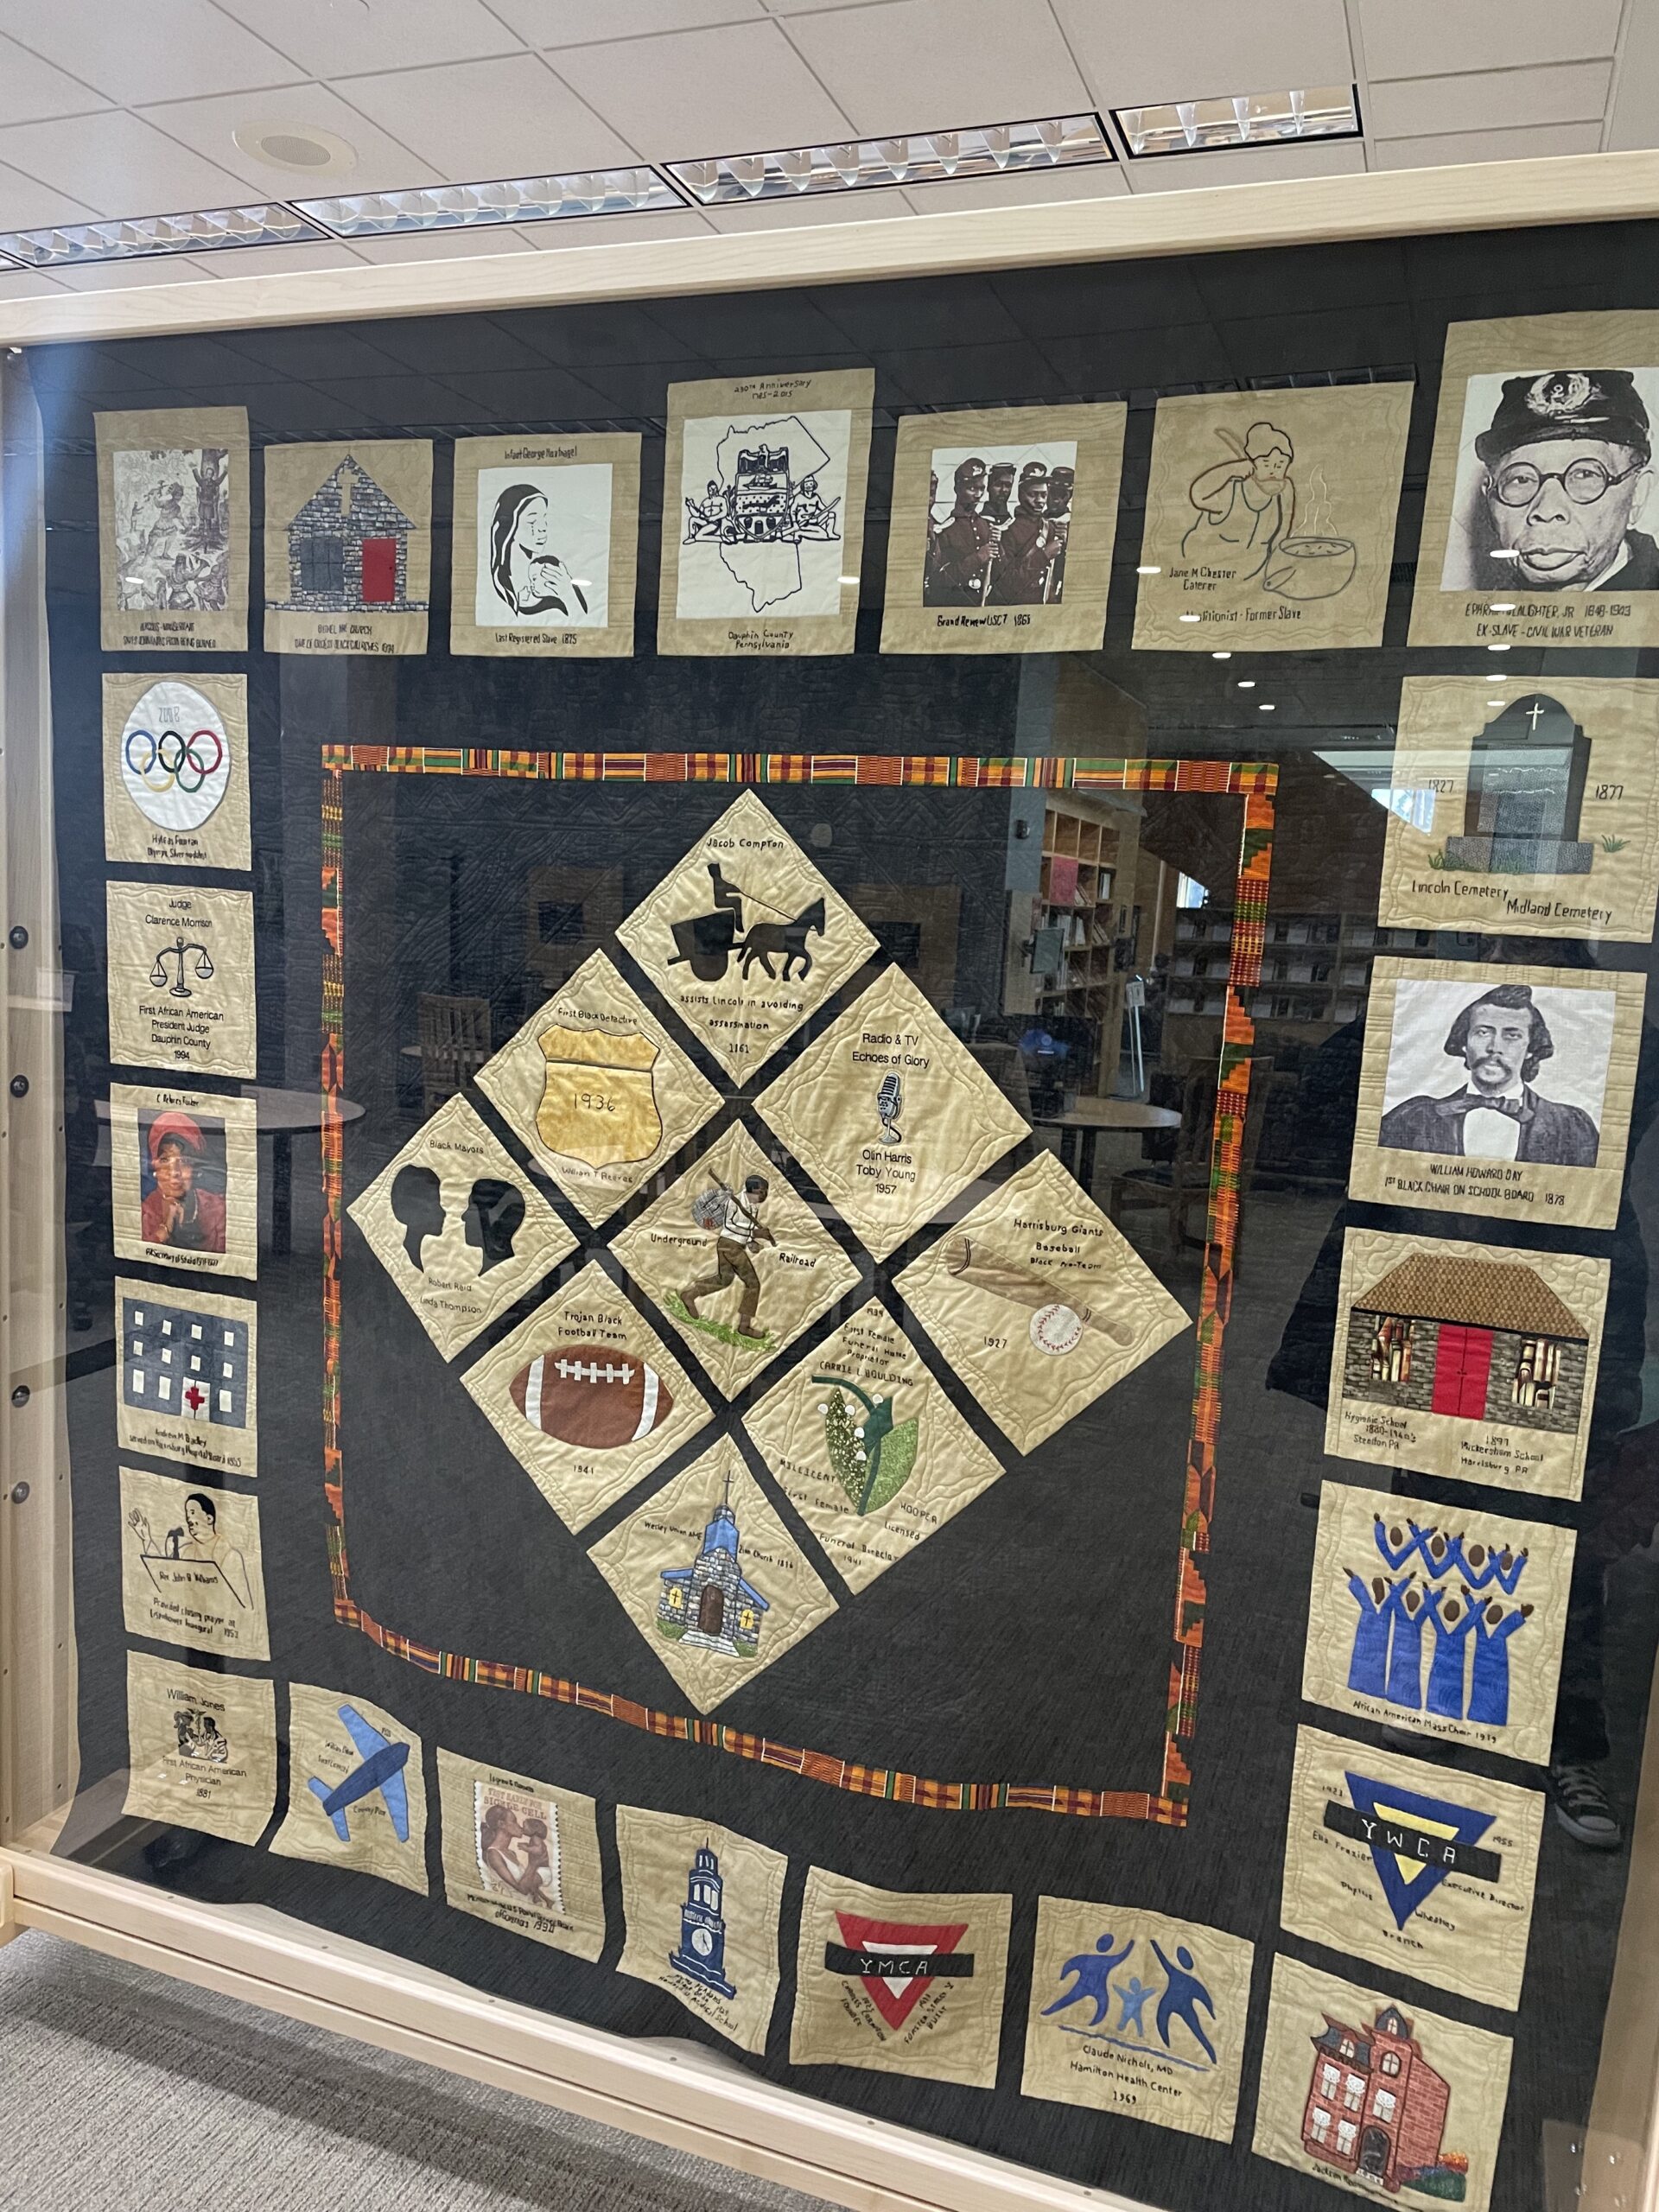
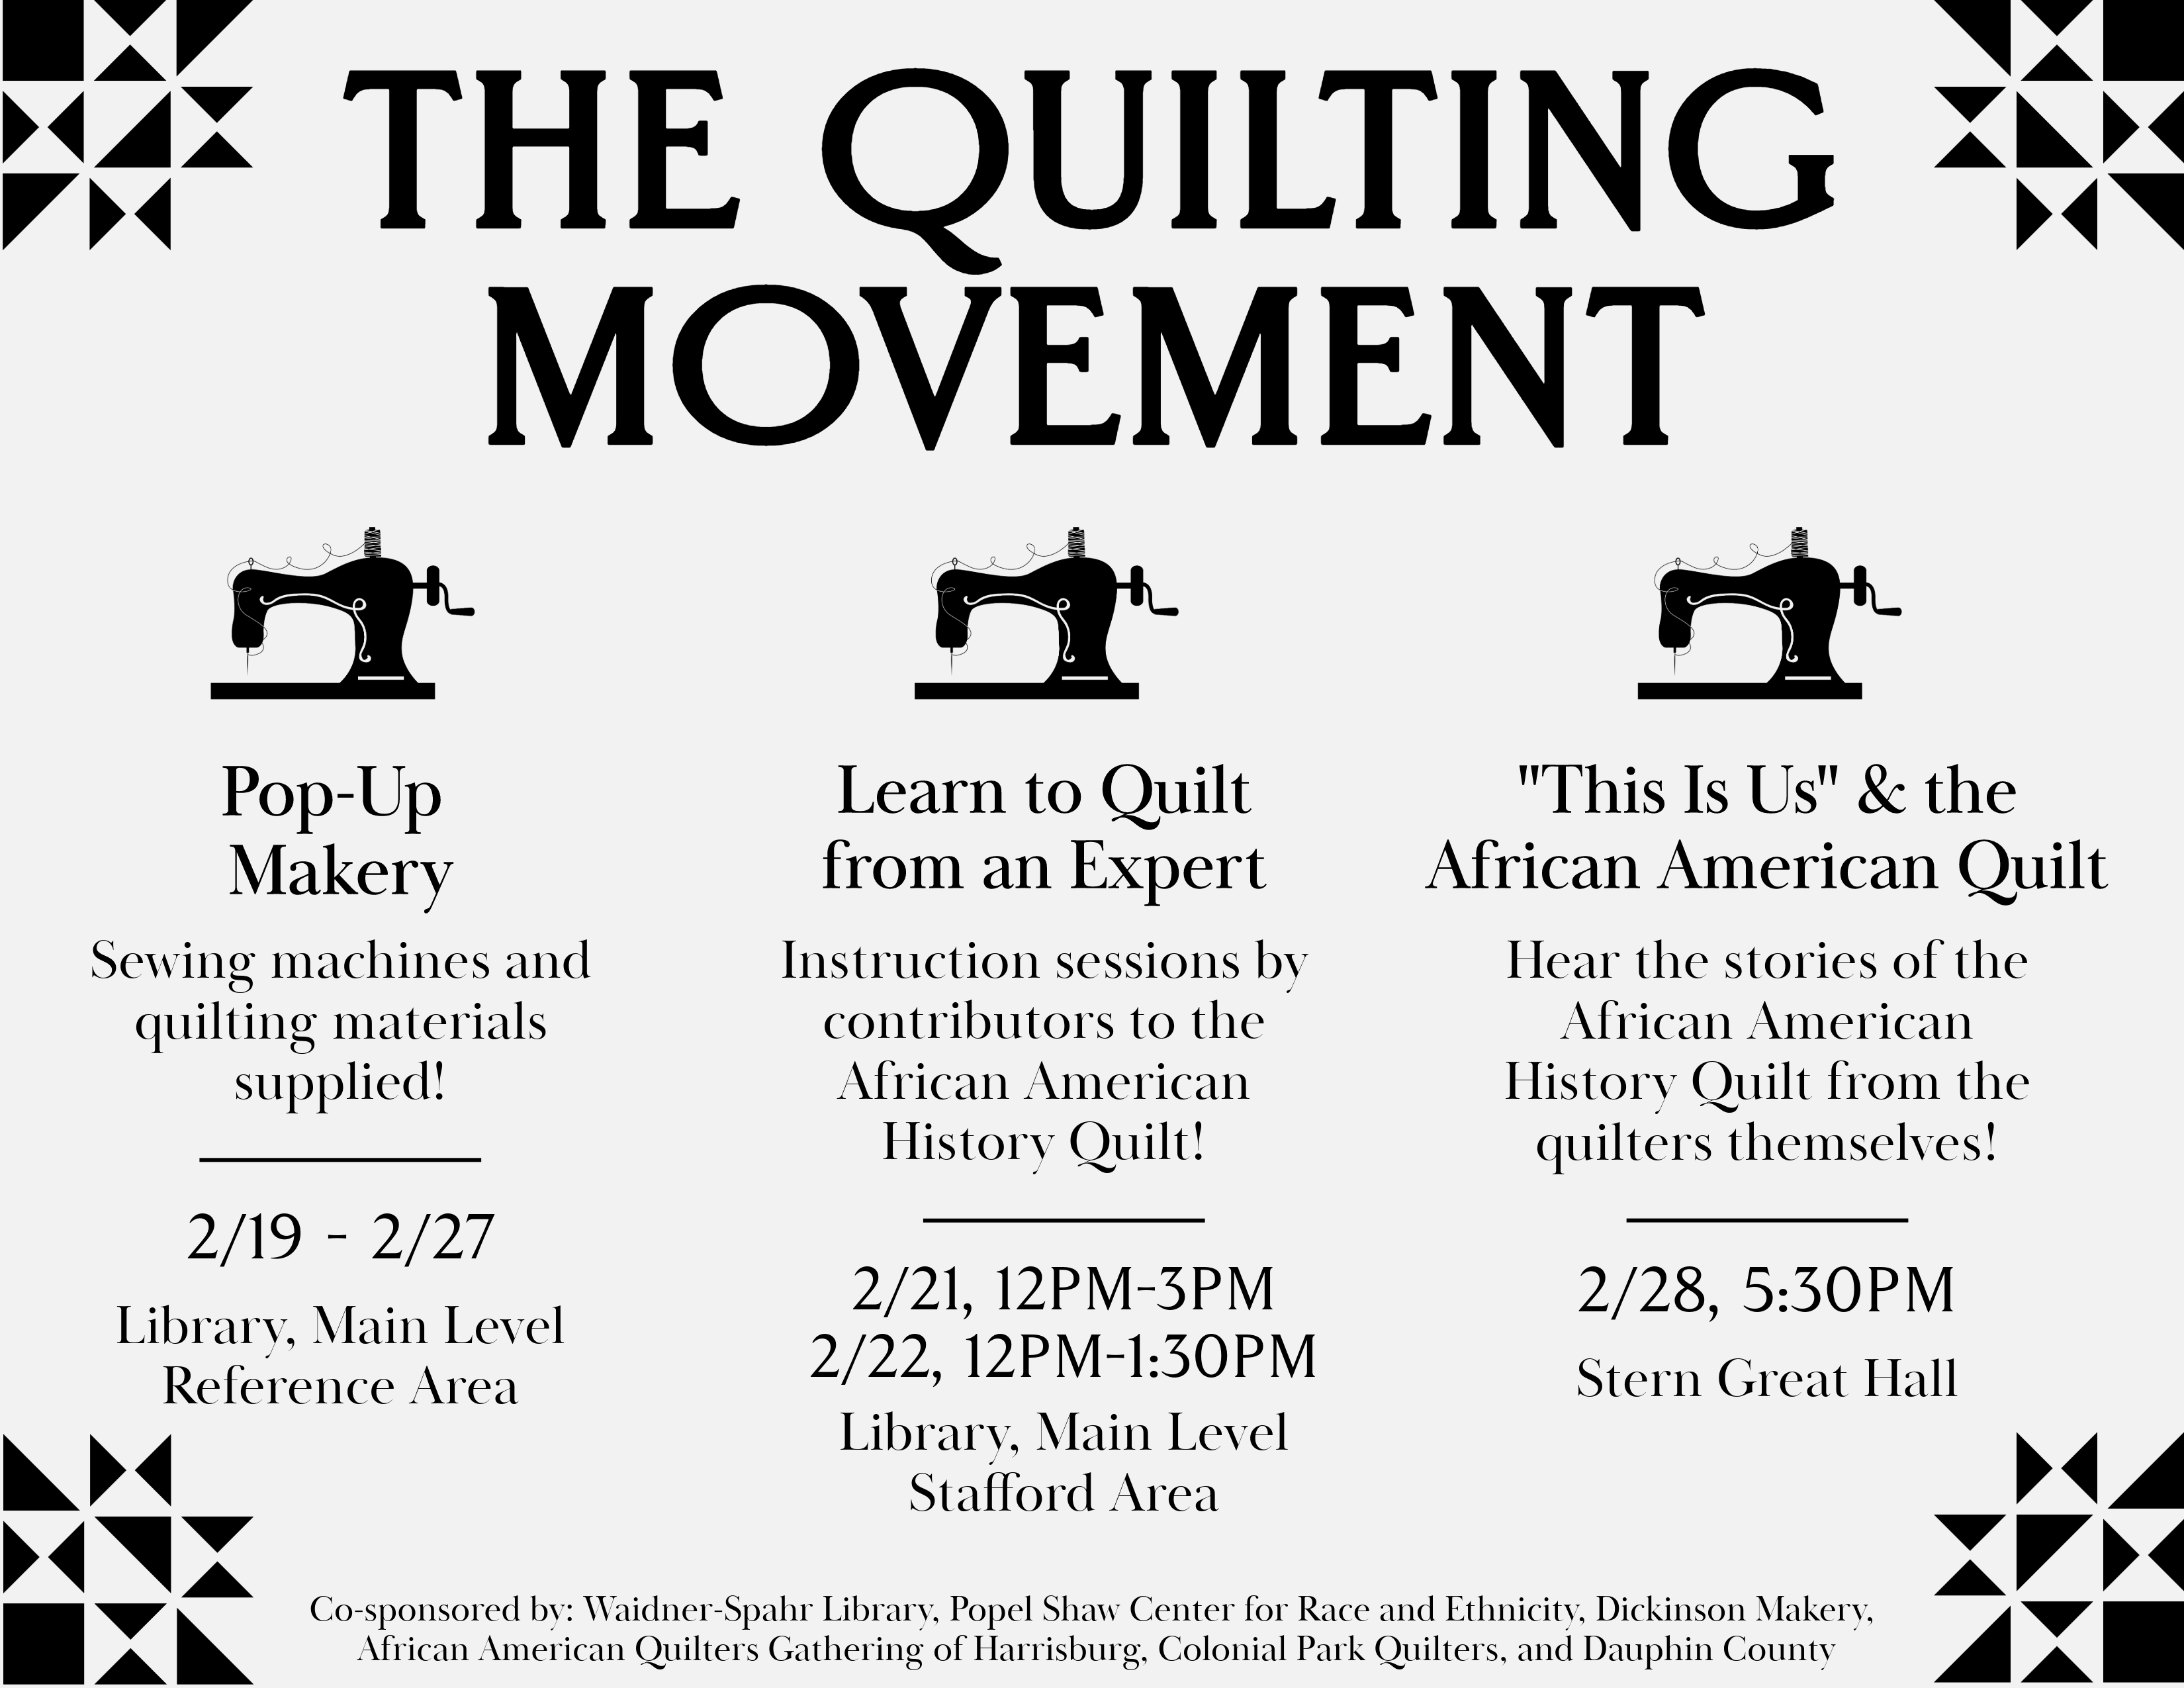
The makery is making its presence known in the library. From the 19th to the 27th, sewing machines will be present by the DVD section of the library. It is all part of the Quilting Movement. Stop by and view the beautiful piece on loan from the African American Quilters Gathering of Harrisburg and try your hand at making your own quilt block for a Dickinson quilt.
More Quilting Movement events are upcoming
.
- Before
- After
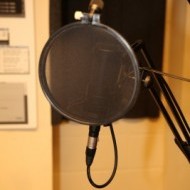
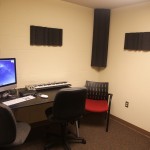
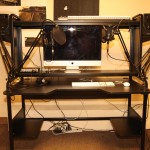
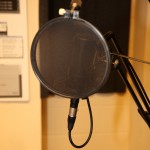
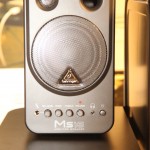
Over the course of alumni weekend, the media center has remodeled the podcast nooks with new desks from Ikea, bringing a new look, along with a brand new recording set-up. Each podcast nook is equipped with new speakers, bass traps, and condenser mics. They also each have new guitar stands for anyone who brings in a guitar to play in the nooks. This new set-up will optimize the recording experience with easy-to-use speakers that allow you to not only control the output volume, but also control the input volume of any mic connected to them. They also have dials that can control the bass and treble in any sound that’s being listened to or recorded. There are also adjustable arms for the mics,which record in stereo. The new bass traps will help absorb excess sound which provides for higher sound quality. The rooms are perfect for working on group or individual projects that require higher sound quality and minimal interference.
- Condenser Mic
- MS16 Monitor Speakers
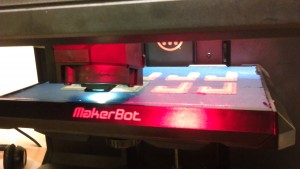
This week, as we move things around and rearrange the spaces here at the media center, I have taken on the job of designing and 3D printing table brackets/stoppers for the table. This will allow us to run the cables we use for the equipment behind the tables and they will keep the cables from getting mashed up against the wall. The process for this was simple and with my knowledge and experience with AutoCAD, I was able to design and print them in no time (well, in the many hours it took to print them).
As I said, the design for the brackets were fairly easy. Basically, all I had to do was measure the thickness of all the tables we were putting brackets on. Here at the media center, we have two types of tables, Gladiator and Ikea. Once I got the measurements for the tables. I went into the AutoCAD program and drew the bracket designs using three 3D boxes. Each bracket was going to have one leg that was longer than the other so that the bracket would latch firmly on the table. One problem that I had when finishing the design was making sure all the boxes were flush so that the printer would be able to print them correctly. However, I found out that all I had to do was use the align tool and everything would be okay.
Once I was finished designing the brackets, I would export the design file to an .stl file, which could be used in the Makerbot program, which is the program used to sync with the printer. Once I loaded the files up in the Makerbot program, I could set up the print layout and how many brackets I wanted to print at once. Once I was done doing that, I would export that print file to a USB Memory Stick that I would then plug into the printer. After that, bingo, I was printing functional brackets for our tables.
Now we didn’t do all this the first try, we did a lot of experimentation with different designs and tried to print using our old 3D printer. But as Thomas Edison once said, “I haven’t failed, I’ve just found 10,000 ways that won’t work”.
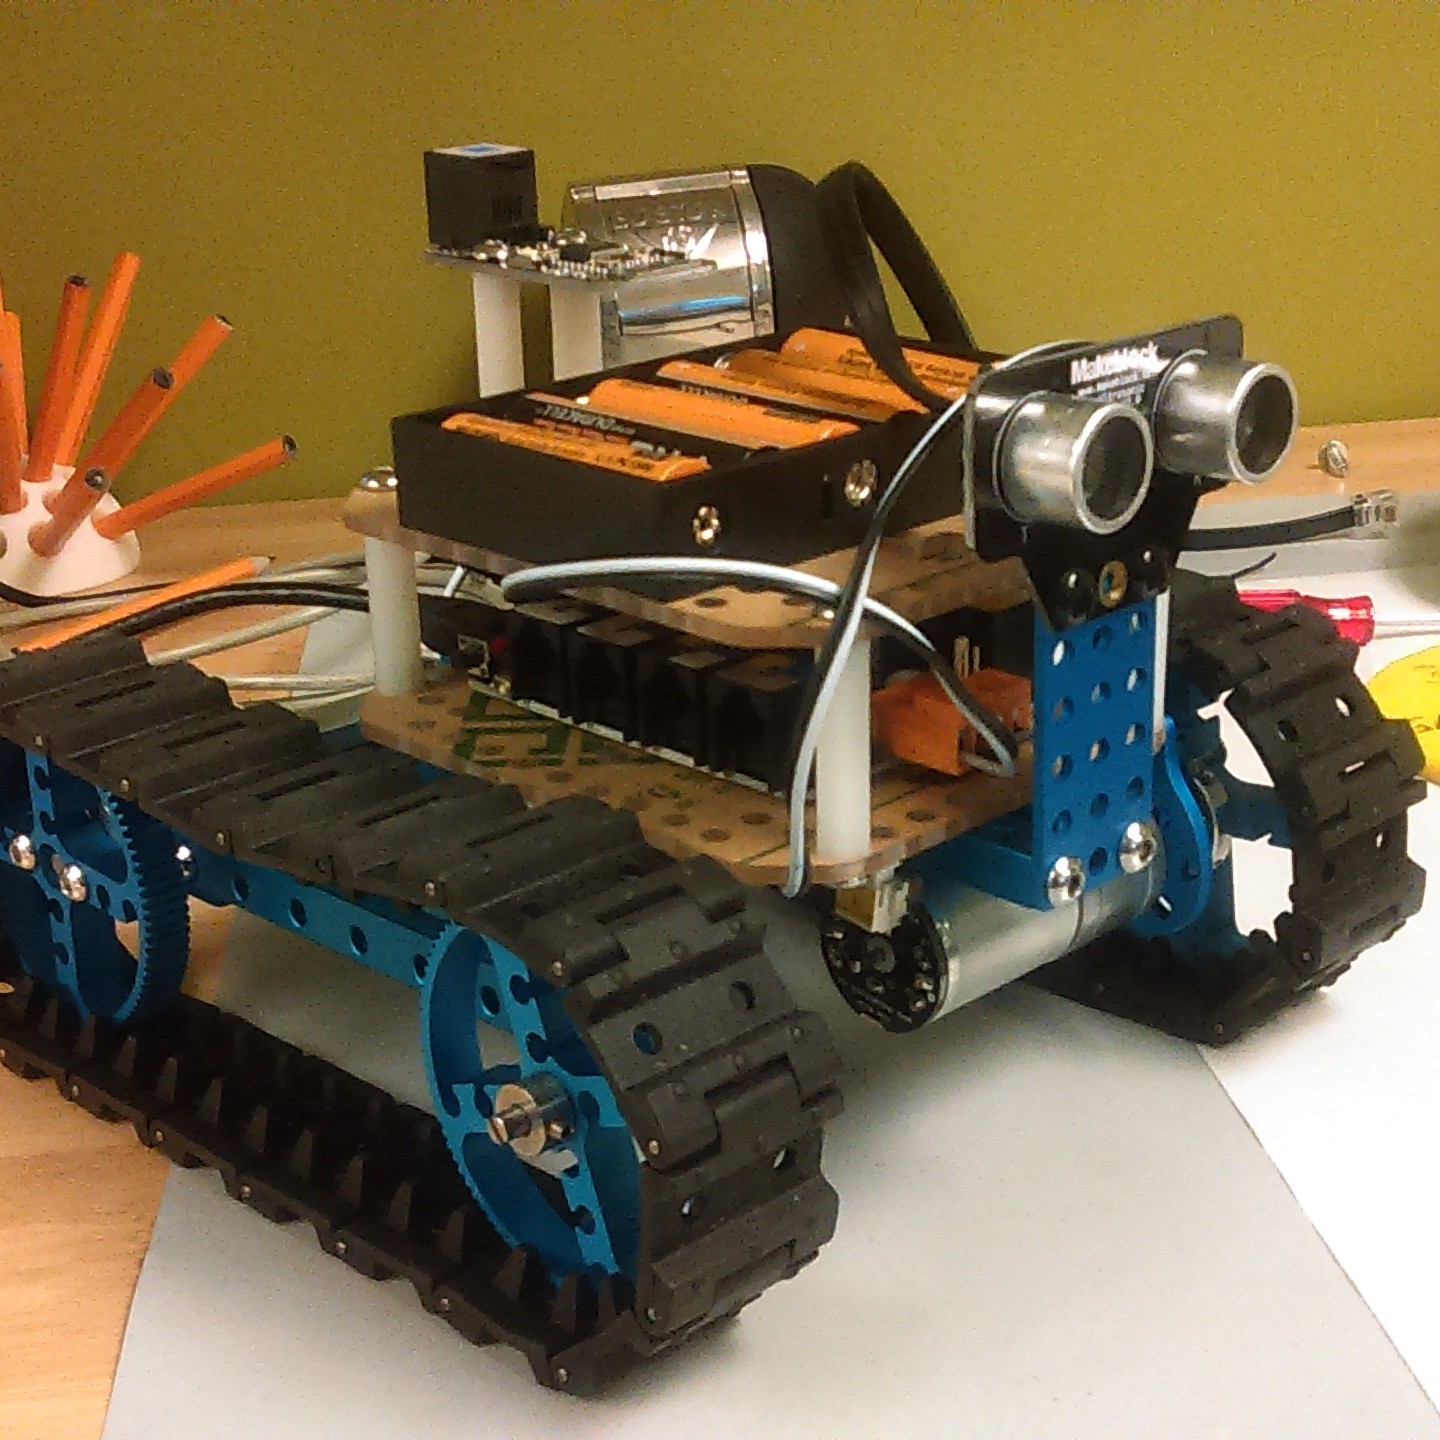
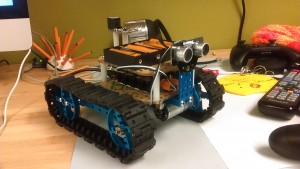 This past week, I have taken on the job of putting together and programming the media center’s very own Makebot robot. Last Thursday was the first day that I could get the robot to function on its own and even now there are still tons of tricks and codes that I have yet to learn and/or discover. At times the process was frustrating and there were many moments where I felt there was no where else to go with it. Then, out of no where, there would be a breakthrough. However, it all started with actually building the robot.
Building the Robot
This is by far the easiest part of the process. It took my fellow student assistant Bedrudin Becirovic and myself only an hour to fully assemble the robot. It also helped that the robot came with a manual that had step-by-step instruction on how to put it together. RadioShack, however, neglected to include a manual about the next step.
Programming the Robot
At first, we assumed that as soon as we plugged in the robot it would be already programmed for us to control over Bluetooth, since that’s what the box said it would do. 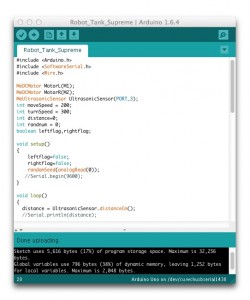 However, when we tried to set up the app that the manual recommended us to download, we found that the only thing we could control was the little buzzer on the command module that would go off every time we connect to the robot. We tried seeing if the manual could help us but it could not. It did, however, point us to the Makebot website, where there would be additional help and instructions. After a few hours of searching and browsing, we finally came upon some websites where we could download the necessary programming for the robot. We also had to download the Arduino programming software.
After downloading and re-filing everything where it should be on the computer, we were able to upload the example programming into the robot. Our next step was to learn how to program the robot to do exactly what we wanted it to. I continued to research and learn the programming language, C+, that was required to give commands to the robot. What I learned was that before you even give the commands to the robot, you have to tell it what it will be capable of doing. In the beginning, I tried to just give it commands such as, Motor_1.run, which would hypothetically make the first motor run. However, nothing happened and the Arduino software told me there was an error. It turned out that I was supposed to first declare in the program that the robot could use its motor and add a function that would activate the robot’s capability of using its motor.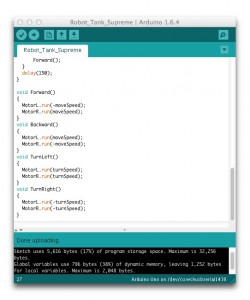 I did this by putting in MeDCMotor MotorL(M1);, MeDCMotor being the variable type, MotorL being what the variable will be called, and M1 being the motor variable itself. This setup also applied to the ultrasonic sensor for the robot, where I would have to declare that the robot could use the ultrasonic sensor. On top of that, through void setup/loop functions, I had to put in other information so that the robot would know which way to turn the motor to go forward, backward, turn, etc. I also have to setup the different speeds that the robot would go to when reacting to a certain situation, not to mention I had to tell the robot how to react to said situations by putting in “if/else” functions for when it picked things up at certain distances through its ultrasonic sensor.
After figuring out how that all worked, I began playing around with different numbers and parameters that could possibly improve the robot’s independent performance. So far, the robot can roam around the media center on its own. Whenever it comes upon something that it might run into, it stops, backs up, and turns to get around the obstacle. Of course, it still doesn’t do this perfectly and depending on the obstacle, it may not get all the way around it, but it’s a work in progress, and as my knowledge of C+ grows and my experiments bring more information, I hope to eventually be able to let the robot go and not have to worry about it breaking itself.
Controlling the Robot?
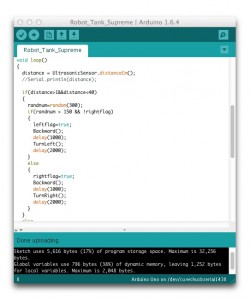 Since the beginning with the robot, I haven’t went back to try to program it to be controlled by a remote. However, I have learned that there are functions and program files that I can use to set it up. If successful, anyone would be able to control the robot with their phones through Bluetooth. My biggest hope with this development is that we can learn how to get that setup and running before we make the robot smart enough to enslave us.
Greetings, Comrades!
As the Media Center moves into the summer months, we have big changes planned for all the movers and shakers on campus. The room formerly known as the collaboration station will be renovated as a new Makerspace. What is a Makerspace you ask? To describe them simply, makerspaces are community centers with tools. Makerspaces combine manufacturing equipment, community, and education for the purposes of enabling community members to design, prototype and create manufactured works that wouldn’t be possible to create with the resources available to individuals working alone. All are united in the purpose of providing access to equipment, community, and education, and all are unique in exactly how they are arranged to fit the purposes of the community they serve.
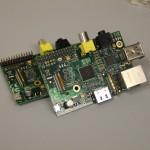
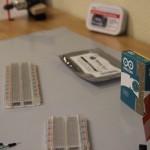
The Dickinson Media Center has a number of new tools at its disposal to assist in the “making” part of the new room. Along with two recently purchased 3-d printers and dozens of new instructional e-books on creating electronic apparatuses, we now have two rasberry pi single-board computers, a makey-makey, Arduino electronics, and a 3-d printing pen. Check out our cool new tech toys in action!
Check out the current state of the “collaboration station”, then drop by and see all the changes that are expected to be finished Summer 2014.
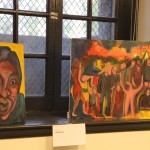
The Media Center held its first Media Exposé on Saturday 4/26 to showcase student work from the past academic year. Thanks goes out to everyone who submitted their work and also to those who showed up for the event itself.
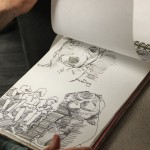
- Tesha Chai’s art on display
- De-Sterotype Me Videos
- Luke Kang art
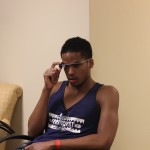
- Testing out the MC’s Google Glass
- Human Of Dickinson
- Bob Zeiff played one of the recordings he composed
- Justin McCarty Image Display
- Brennan and Cassie
- Prof. Ben Farrar used our new 3Doodle to transform and connect our 3d printed car and robot
- 3Doodling
- 3Doodling
- Post event decompression
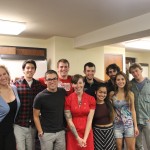
- These people make the MC run.
- Tis a silly place.
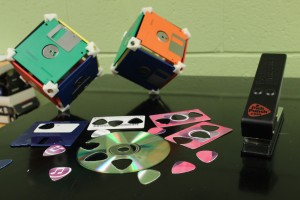
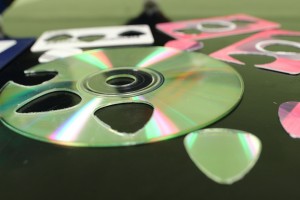
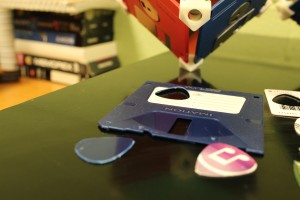
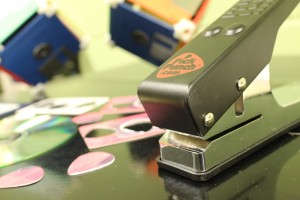
Today at the media center we’ve been playing with a new Pick Punch! We’re recycling old media storage devices, cards, and CDs to make guitar picks sustainably from unused pieces of hardware. Want a guitar pick with your face on it? Bring an old ID down here and punch out a pick! We’re always trying to come up with new ideas about how to use our equipment creatively, so come try your hand at making something new, original, and sustainable at the Media Center in the basement of Bosler! Also, come check out our upcoming event, the Media Exposé on Saturday, April 26! If you want to submit art to show for the Exposé, hurry! It’s past the deadline but we’re still accepting submissions!
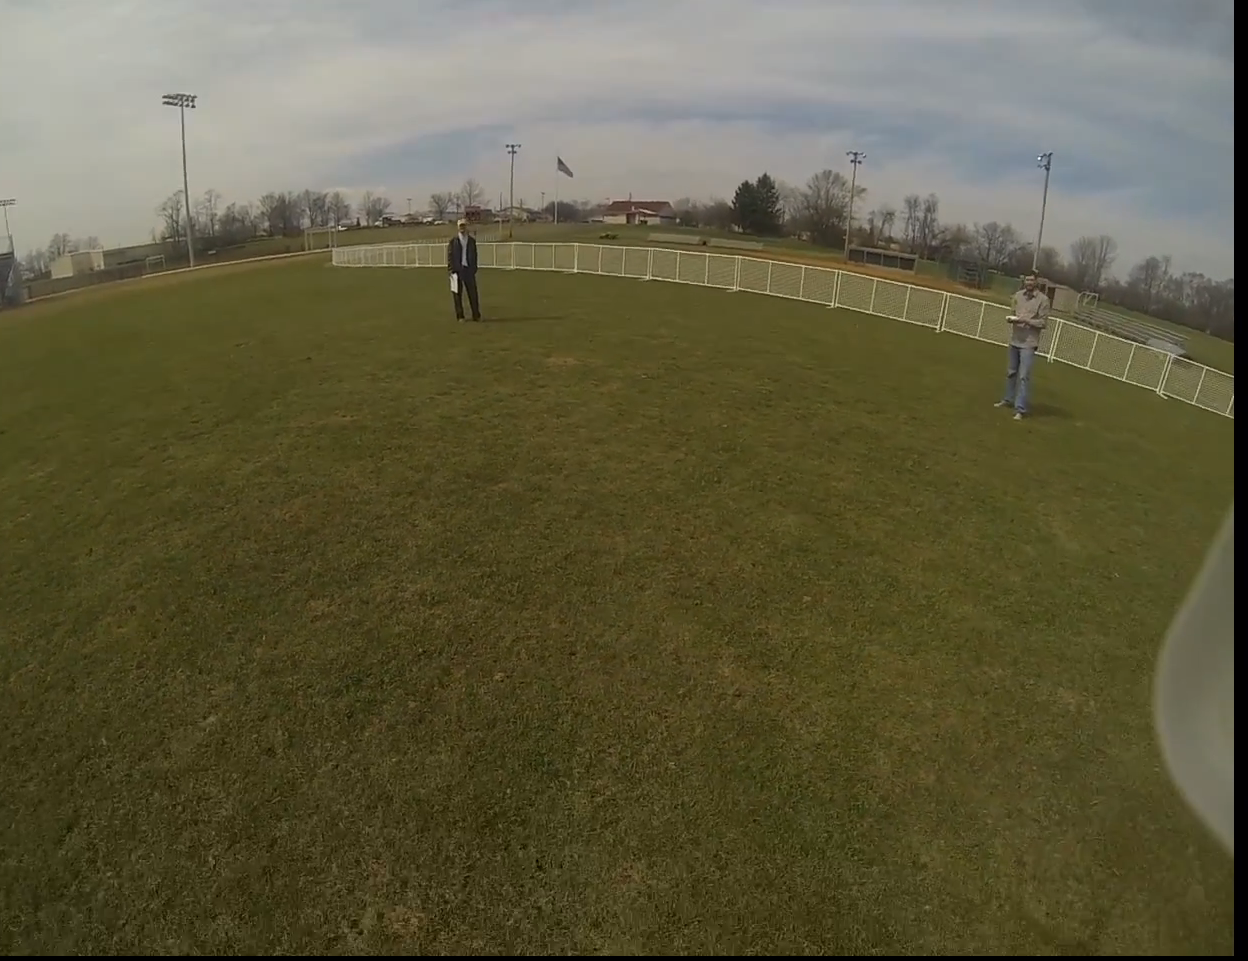
Check out the first successful flight of our DJI Phantom.
