Lots of video projects are coming due. The media center has iMovie on all its computers and is here to help. Learn how to import, edit, add titles, audio and more using the tutorial link below.
Posts listed as Software Tutorials for video editing programs
Lots of video projects are coming due. The media center has iMovie on all its computers and is here to help. Learn how to import, edit, add titles, audio and more using the tutorial link below.
Our computers now come with Snagit! Snagit is a screenshot program that captures video display and audio output.

How to use Snagit
Please ask a media center assistant for additional help.
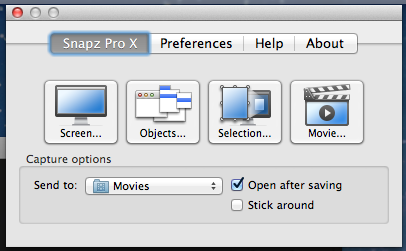
Snapz is an application for capturing video from the screen while also capturing the audio from the computer. It can be found on the Mac side of the computers in the Media Center. DISCLAIMER! This should only be used for the use of making short clips in which to make commentary directly related to your course work. This same method can be used to pull clips from YouTube by omitting step 1.


Login here: http://blogs.dickinson.edu/wp-login.php
Follow the “I lost my password” link on the login page. Fill in your email address and follow the instructions that are sent to your email.
How to create posts and best practices: http://codex.wordpress.org/Writing_Posts
Posts:
Pages:
To add a user to your blog go to Dashboard > Users > Add New
If a user has already been added to a blog on the Dickinson blogs add them as an existing user
Roles:
Some themes are already available to find them go to Dashboard > Themes
Additional themes can be found here: http://wordpress.org/extend/themes/
If you would like a new theme added please contact the media center.
Some plugins are already available to find them go to Dashboard > Plugins
Additional plugins can be found here: http://wordpress.org/extend/plugins/
If you would like a new plugin added please contact the media center.
Add descriptions to your images in the alternative text field.
When linking to content, describe the content page that you are linking to instead of using the raw url.
More information can be found here: https://www.w3.org/TR/WAI-WEBCONTENT/


© 2024 Dickinson College Media Center Academic Technology services: GIS | Media Center | Language Exchange
Theme by Anders Noren — Up ↑