Ever been to a friend’s house and wonder why all the picture frames are hovering mere inches from the ceiling or way above the couch? Or is that your house? Do you have trouble keeping your frames from sliding off center or have you put off that dreaded project of hanging all those pictures from your wedding and honeymoon? Well, fear not, my friends, this week’s Tales from the Vault will give you some insider tips from over 20 years of installing works of art in The Trout Gallery. I’ll even include hand-drawn illustrations, just like those I use in the museum.
First, let me say that hanging pictures is not inherently easy. For some unspecified reason the human eye can detect when something is even an 1/8 of an inch off level … a skill our prehistoric ancestors must have needed, though the reason escapes me. That level of accuracy also means that you can see when a picture is not centered on the wall, or not equidistant between windows, door frames, other pictures, etc. When you decide to add a piece to your wall, take time to position it so that it is balanced between the wall features and any other frames – find the mid-point on the wall between the existing features and mark it with a pencil (this is your horizontal mid-point). You will need it later.

Now for the height – don’t hang your pictures too high … seriously. It’s ok to have a lamp in front of the lower part of your frame. It’s ok to have flowers, a sculpture, a vase, your favorite vacation souvenir sharing space with your picture. And it’s really ok to have your frame hang a handful of inches above the back of your couch. “Eye height” is not six feet off the ground, it is about 60 inches from the floor. And that 60 inches is not the top of the frame, or the bottom, it’s the middle of the image. That said, remember using 60 inches is a general rule – not an absolute. If you are hanging something over a tall chair, a fireplace, or a stairwell, you will need to adapt.
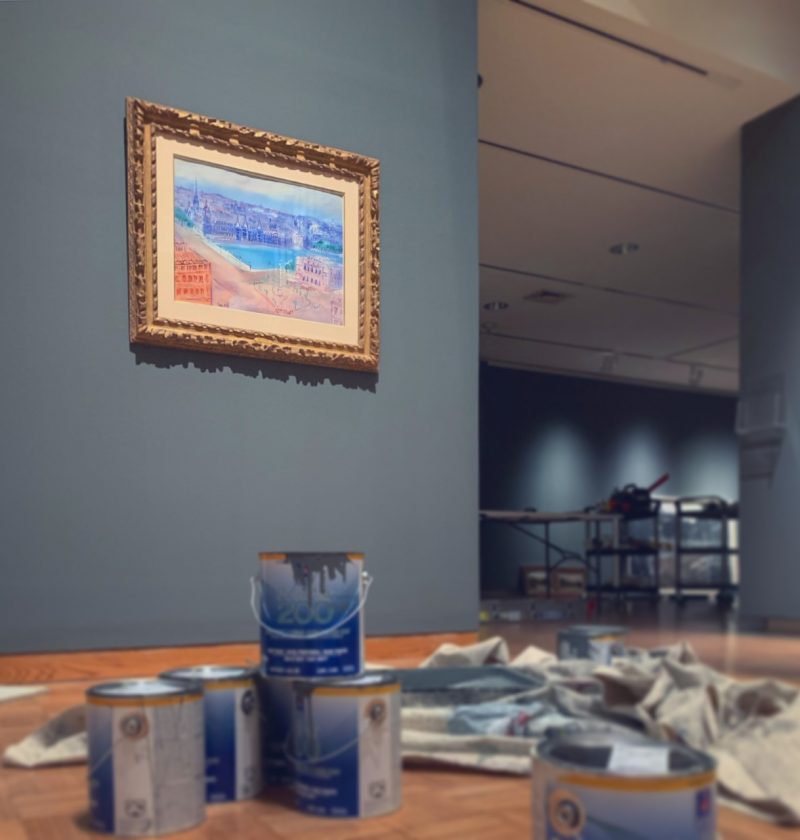
For our example, let’s take that nice picture from your trip to the shore that’s been placed in a 16 x 20 frame, horizontally. The middle of your image will be 60 inches from the floor, so the top of the frame will be at 68 inches (16 divided in half = 8, 60 plus 8 = 68). At this height, everyone coming into your house will be able to comfortably view your picture. Mark that 68” height with a piece of blue painter’s tape so that it won’t leave a pencil mark you can see after hanging (a pro tip).

From here it gets really technical, and I’ll admit it, a little boring to write about, so I’ll keep things high level (send me an email for the specifics on how you can hit that perfectly measured mark if you are interested). When you’ve got the placement for the frame all set, it’s time for the fun part – actually hanging the picture. Use two hooks to prevent the frame from slipping – yes, two hooks even if the frame weighs only a few pounds. Hold the frame wire with two fingers and measure the distance between your fingers and from the top of the frame to wire.

Measure down from your 68” the same distance that you had from the top of the frame to the wire. Put a level on the wall and mark the spots for the hooks using the measurement you recorded between your fingers.

Nail in the hooks, hang the picture, level it, step back and make the comment “It looks so good, you’d think I do this for a living” … I say this all the time.

Look around your house or apartment tonight and see if any of your pictures are floating up to the ceiling, drifting to the floor, or leaning like an old pirate. Rescue them and give them a better perch on the wall. They’ll love you for it.
More soon from Tales from the Vault.