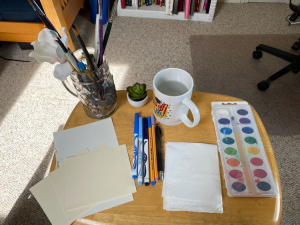
Recommended Materials:
- A rectangular piece of paper at least 3.5 inches high x 5 inches long, but no more than 6 inches high x 11.5 inches long
- Scissors
- Ruler
- Watercolors or watercolor pencils
- Paintbrushes
- Pencil
- Water and paper towels
- Calligraphy or ballpoint pens and markers (markers are optional)
- Envelope and stamp (if you plan to send yours to a friend!)
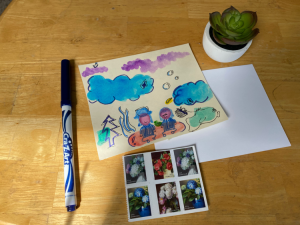
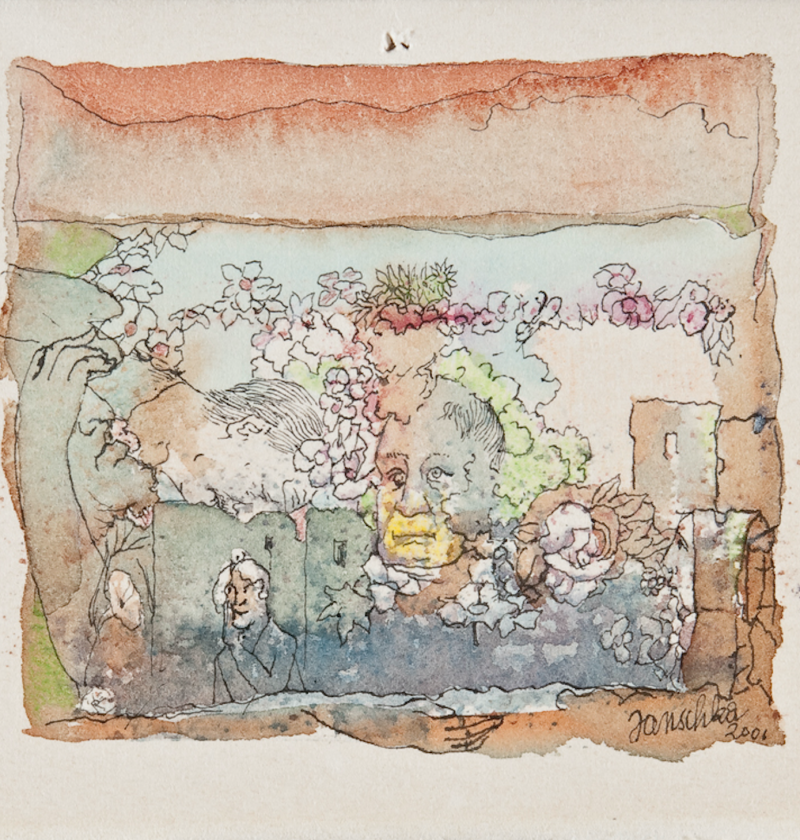
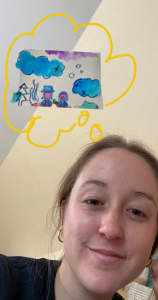
Hi everyone! My name is Emily Benson, and I am a senior American Studies major at Dickinson College. I work at the Trout Gallery, and today I’m going to share with you an art project I was inspired to make after I saw the greeting card pictured above made by the artist Fritz Janschka. Janschka was an artist from the town of Vienna in Austria. He was a part of a group of artists who used a style called Magical Realism. These artists liked to make pictures that looked like they were part of the real world and a magical world at the same time. Janschka often got ideas for his art from music, songs, and his dreams.
You can see the Magical Realist style in the Janschka greeting card from The Trout Gallery. The plants, faces and arm look real, but they are all crammed together is a space that doesn’t look like it’s from this world. Also, things are the wrong size. The arm on the left is very big, but the person at the bottom is very small. Janschka changes the size of things to make them seem more like something from a dream and not reality.
In this activity, we invite you to try out Janschka’s style by creating a greeting card of your own for a friend or family member. Like Janshka, you will use watercolors and pens to make your greeting card.
DIRECTIONS:
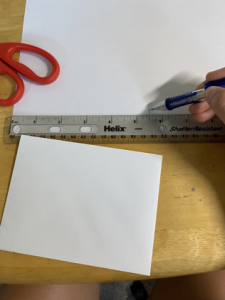
1- The first step is to cut your paper so it’s a size you can mail. Use a ruler to measure the piece of paper you have chosen.if your paper is longer than 11.5 inches or taller than 6 inches, you need to make it smaller. I recommend making your paper 5.5 inches x 4 inches so it can fit into a “Thank You” card style envelope. Mark the smaller length and height with a pencil on your paper using a ruler to measure.
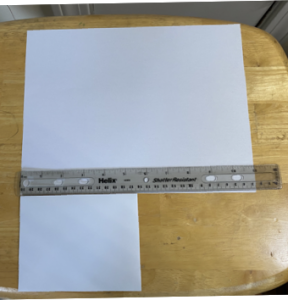
2- Then, draw the straight lines you will cut along and, finally, cut out your greeting card.

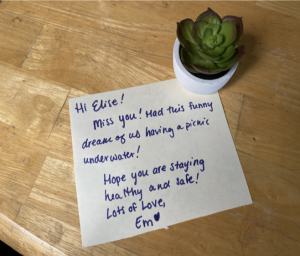
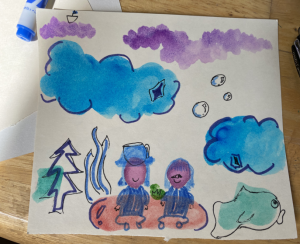
3- Next, think about a dream or a daydream you’ve had that you would like to make a picture about.It could be anything, maybe you had a dream you could fly or that you were a mermaid in the ocean! The possibilities are endless! I recently had a dream that I was in a magical underwater garden with my friends and COVID-19 did not exist, so we did not have to wear masks or social distance!
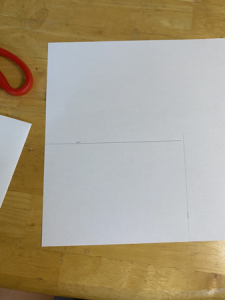
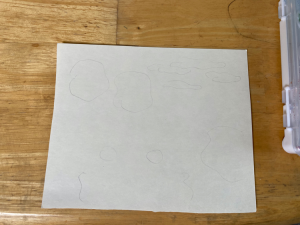
4- If you would like to make a sketch of the idea for your picture, you can do that with a pencil on the piece of paper you just cut out. For your sketch, you should outline where you would like to put shapes that you will paint in with watercolors, as well as where you want to put the main characters in your picture. For my picture, I outlined the shapes of some clouds, a few bushes, a picnic blanket, and two faces. These are the shapes I will paint in in the next step.
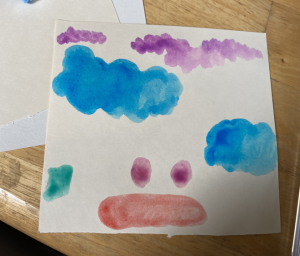
5- Next you will use watercolor pencils (or just regular watercolors) to paint on your greeting card. You can color in the shapes you sketched out in the step before and maybe add a few more if you would like. As you can see, I added a green rhombus to the left side that I did not have in my original sketch. I would recommend making these shapes relate to your dream.For instance, I made two purple circles because I want them to be the faces of my friend and I from my dream.
6- Let your paint dry and then use pens to fill in the details of your magical scene. One way to make a picture look more like a dream is to change the size of things. Maybe a person is very big, and a car is very small, or a hat is huge, and a tree is tiny. I decided to make a huge fish and give my friend a carrot for her nose! I also outlined my watercolor shapes in darker markers, like Janschka did in his postcard.
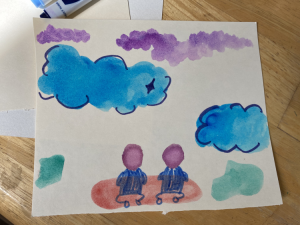
7- Then, I added smaller things in pen, like the carrot nose and the teacup in my hand.It would have been hard to draw these with something thick like a marker. Janschka would often use calligraphy pens to get the really tiny details you can see in his greeting card. By making things the wrong size and using real, everyday things in silly or weird places, like a carrot for a nose or the flowers that look like hair in Janschka’s greeting card, your artwork can feel more dream-like.
8- Finally, on the back of your card, write a note to a friend or family member.Particularly during quarantine, people love to get mail. You can describe your dream picture if you would like to or let them guess what’s going on in your picture. Don’t forget to put a stamp on your card and mail it. Now you have tried magical surrealist art and brightened someone’s day!