3Doodler Tutorial


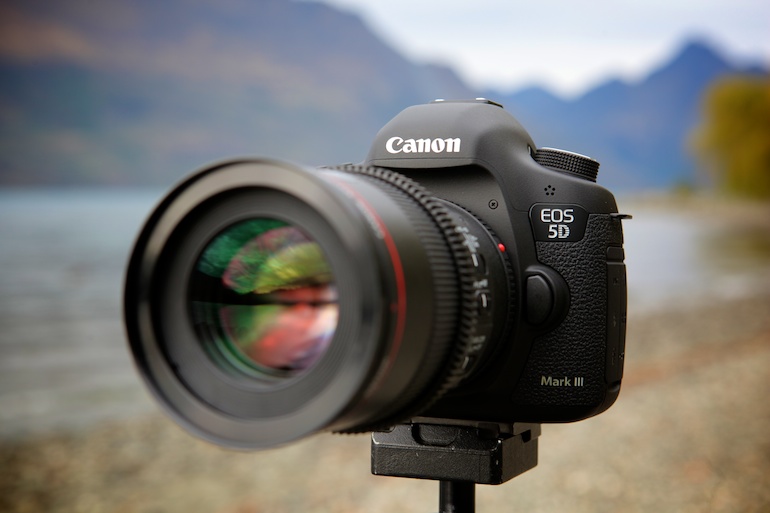
In order to have access to The Media Center’s 5d and 6d full-frame SLR cameras, one must pass a technical quiz. This quiz covers the basic technique that you would learn in an introductory photography class. If you are self taught, you can reference the articles below.
In order to pass the quiz you must get all the questions correct. It is “open book” and you can research answers that you initially get wrong.
You must take the quiz at The Media Center during business hours (M-F 8-5) . Either Josh, Brenda or Julie will grade the quiz and give instant feedback.
The following topics will be included:
f-stop
shutter speed
ISO
focal length
setting the video settings
If you would like to schedule an appointment to speak about your projects or get some technical advice you can also reach out to Julie to addresses your ideas/ concerns: savagelj@dickinson.edu
___________________________________________________________________
This article outlines the components of shooting manually in a very basic way.
How to Use Manual Mode to Make Artistic Choices for Your Photography
This article gives a bit more technical information about the same concepts:
http://www.cambridgeincolour.com/tutorials/camera-exposure.htm
This article outlines the basic concepts of focal length:
Understanding video settings:
_____________________________________________________________________________________________
This series of video lectures gives an extremely in depth look at the technical aspects of digital photography (not necessary for the quiz):
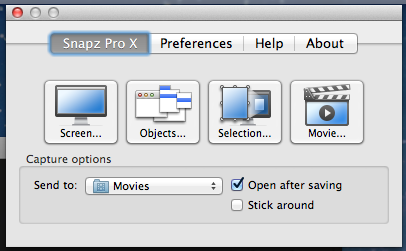
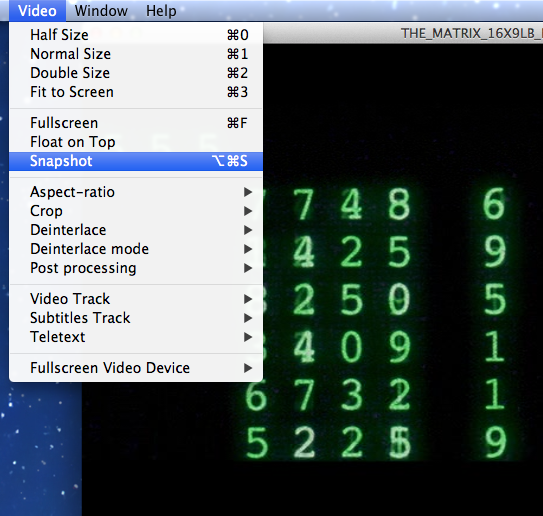
Snapz is an application for capturing video from the screen while also capturing the audio from the computer. It can be found on the Mac side of the computers in the Media Center. DISCLAIMER! This should only be used for the use of making short clips in which to make commentary directly related to your course work. This same method can be used to pull clips from YouTube by omitting step 1.


VLC is a free video player that anyone can download. http://www.videolan.org/vlc/ It is also installed on most computers on campus.
If the computer you are using doesn’t have a DVD drive, one can be borrowed from the media center.


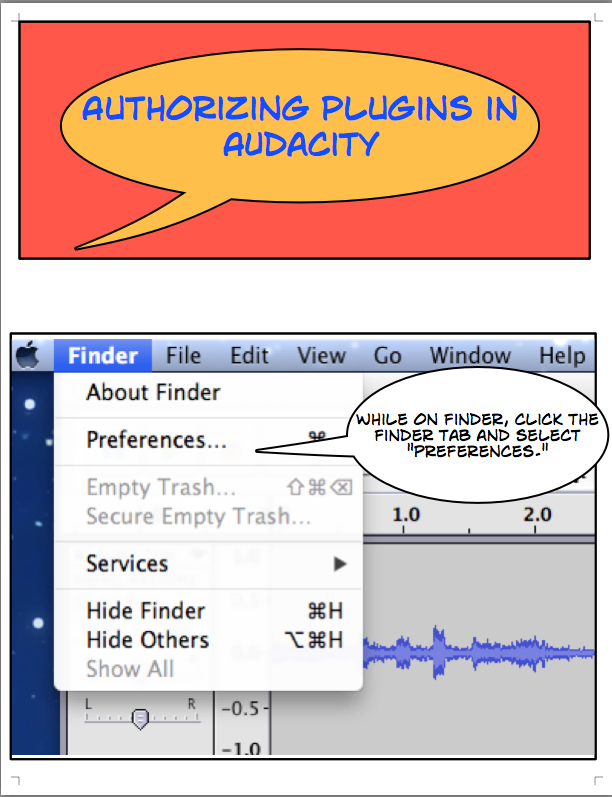
Click the link below to find out how to authorize plugins in Audacity! This is especially helpful for exporting your Audacity project as an MP3.
Click the link below for a tutorial on how to scan from our printer!
————–> Scanning Tutorial <————–
A great video on how to improve sound your films from Anders Øvergaard (Andyax)
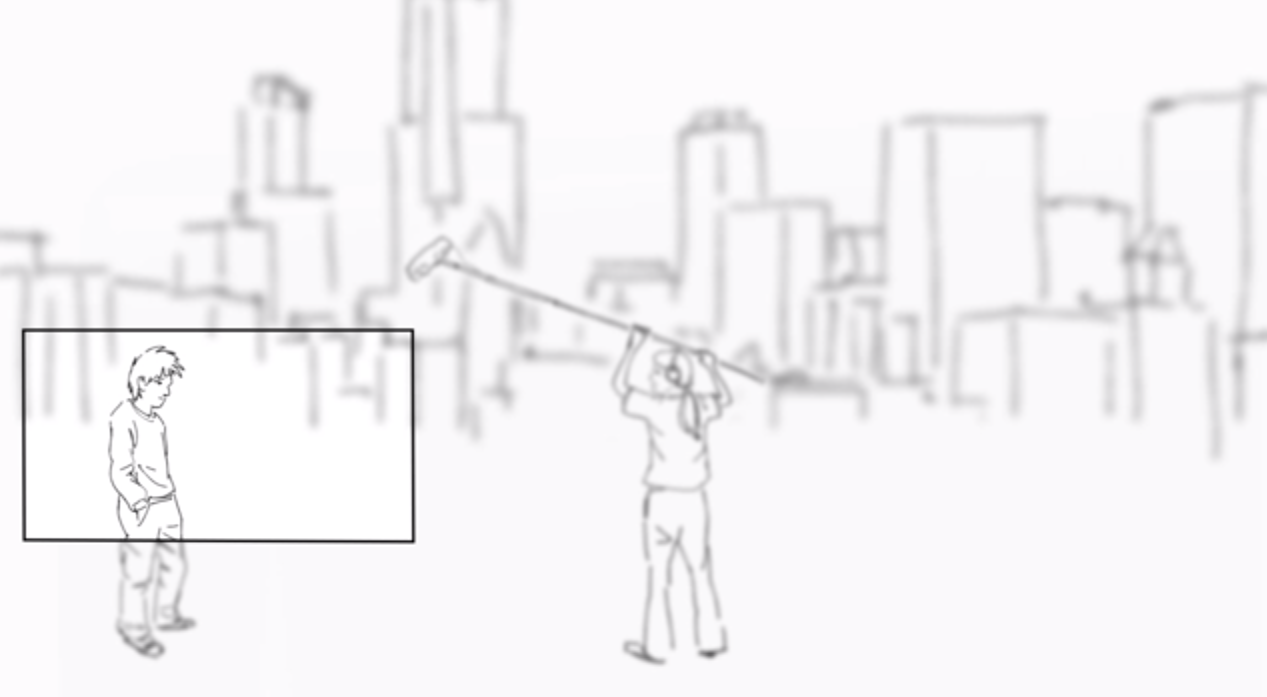
This odd and slightly annoying video hits most of the common missteps of first type videographers.
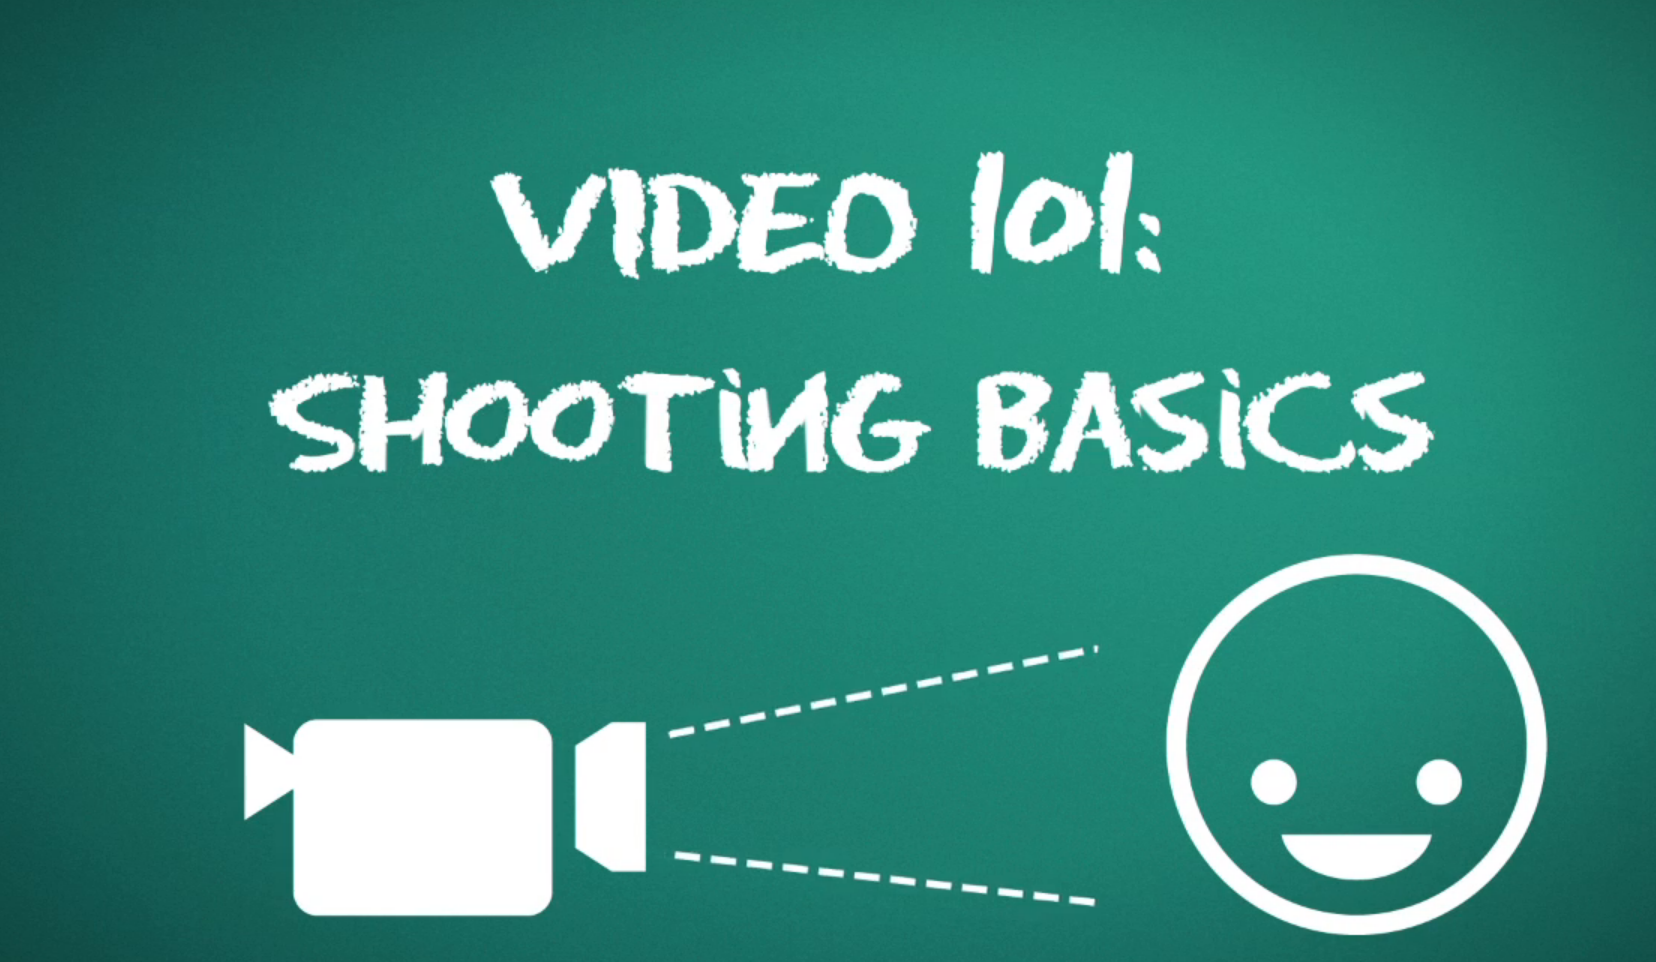
http://vimeo.com/videoschool/lesson/24/video-101-shooting-basics
This guy has many great how to videos, but this is one that many students ask about quite often.


© 2024 Dickinson College Media Center Academic Technology services: GIS | Media Center | Language Exchange
Theme by Anders Noren — Up ↑