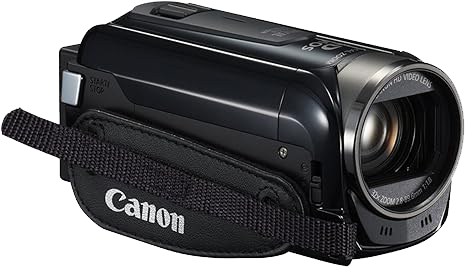
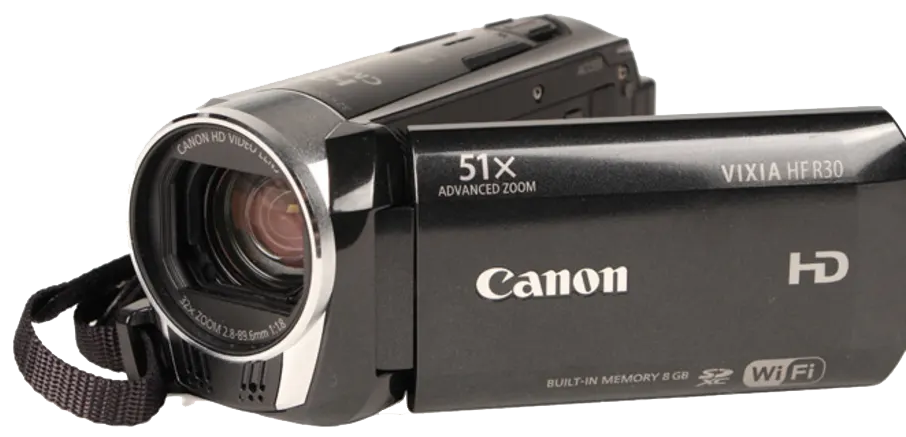
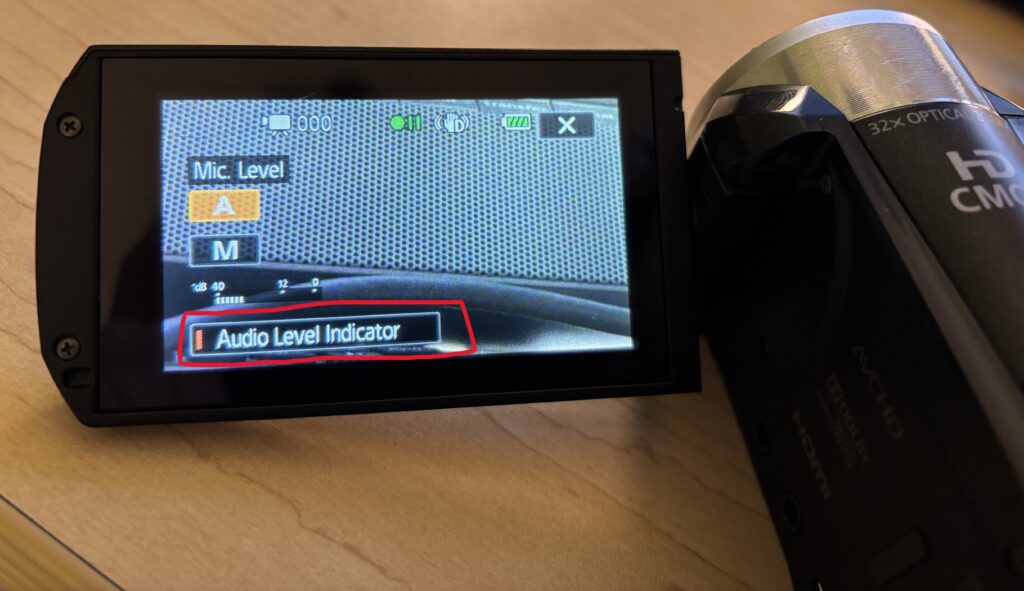
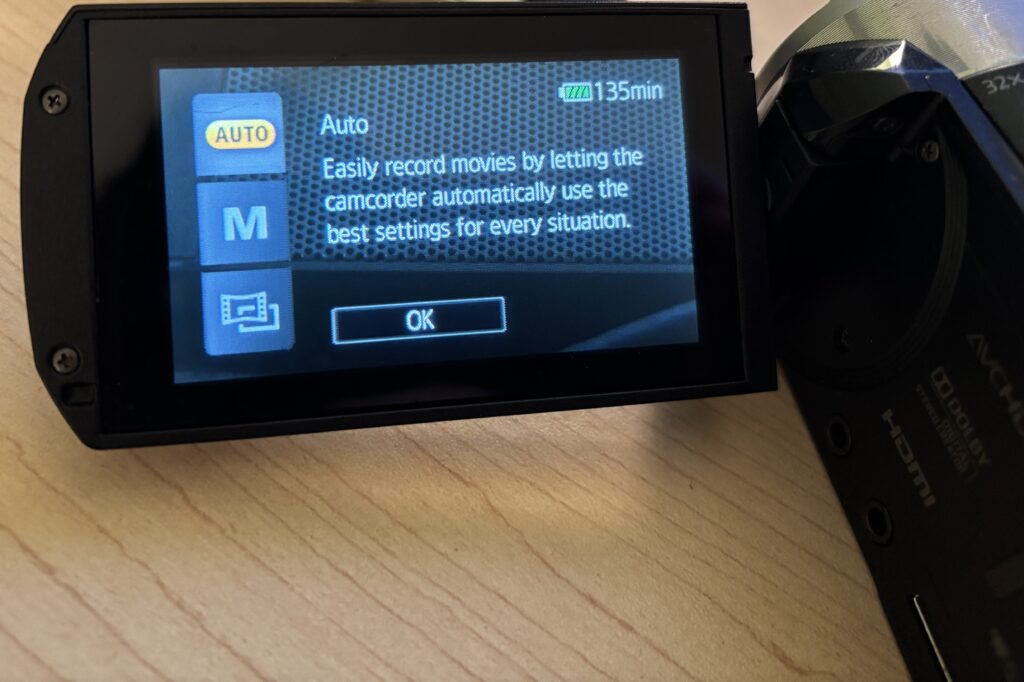
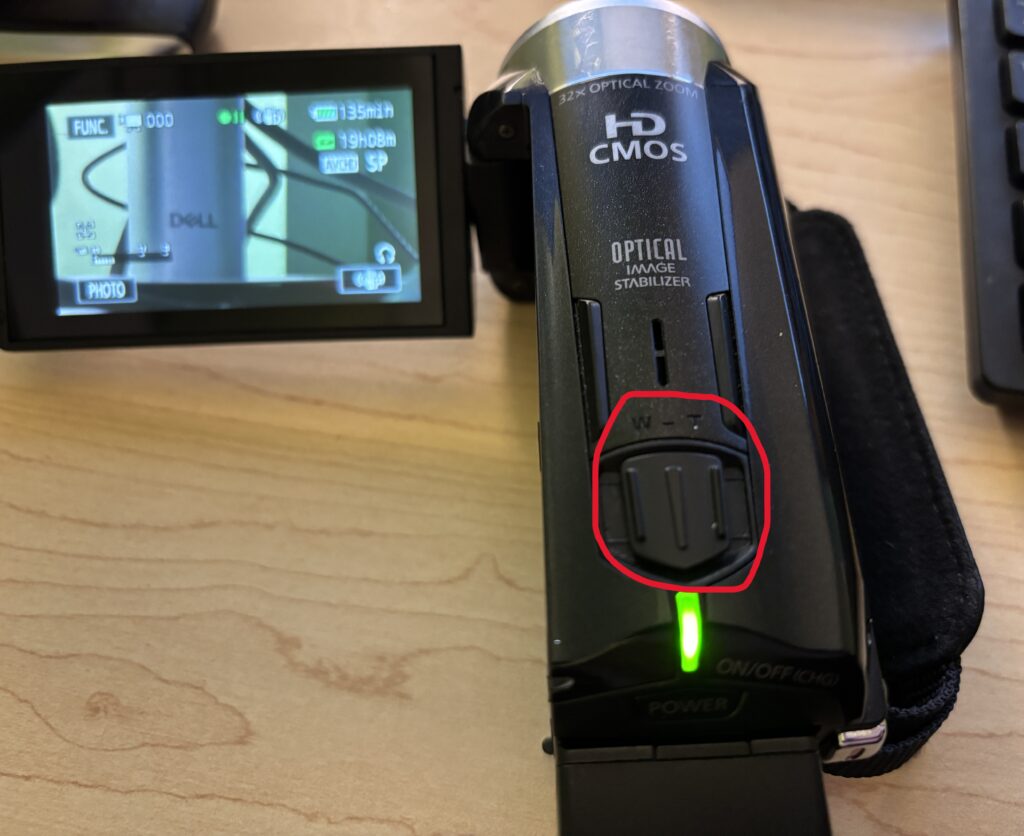
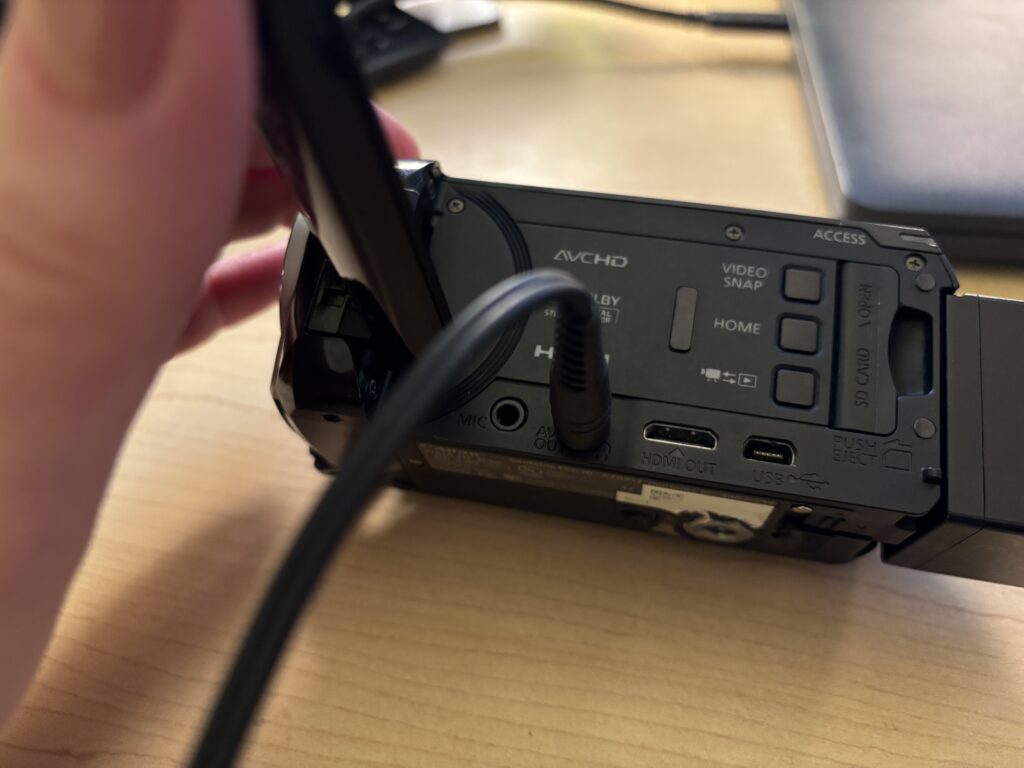
The Canon XA11 is a professional video camera designed for interviews, events, and documentary-style projects. It offers higher video quality and professional audio options than basic camcorders. This camera is best used when clear video and reliable sound are important. This is a more advanced camera and supports professional microphones using XLR cables.
This tutorial covers the essential steps students need to successfully record video and audio using the Canon XA11.
1. Getting Started
Remove the lens cover
Slide the switch on the left side to Camera to turn on the camcorder
Insert an SD card into the memory slot
Adjust the date and time if prompted
2. Preparing to Record
Use the LCD screen to frame your shot
Adjust the camera position as needed
Use the zoom slowly, or avoid zooming altogether
3. Checking the File Output Type
The Canon XA11 allows you to select your desired recording format before you start recording. By default, it may record as an mp4 file. This is fine as long as what you’re recording is less than 30 minutes.
Planning to record something longer than 30 minutes? You’ll want to change the format to AVCHD so that your recording isn’t broken up into multiple files. To do so:
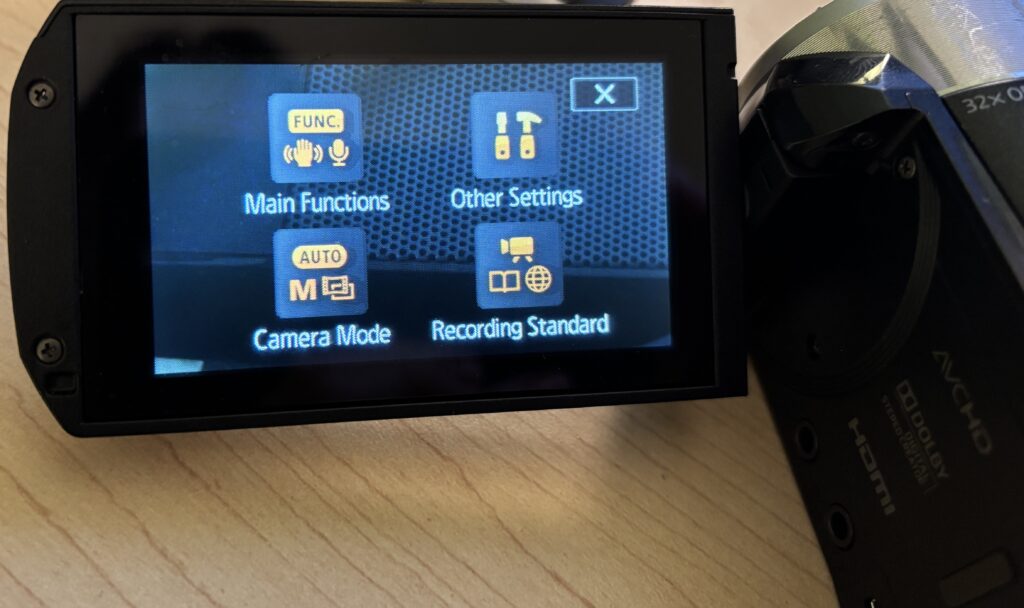
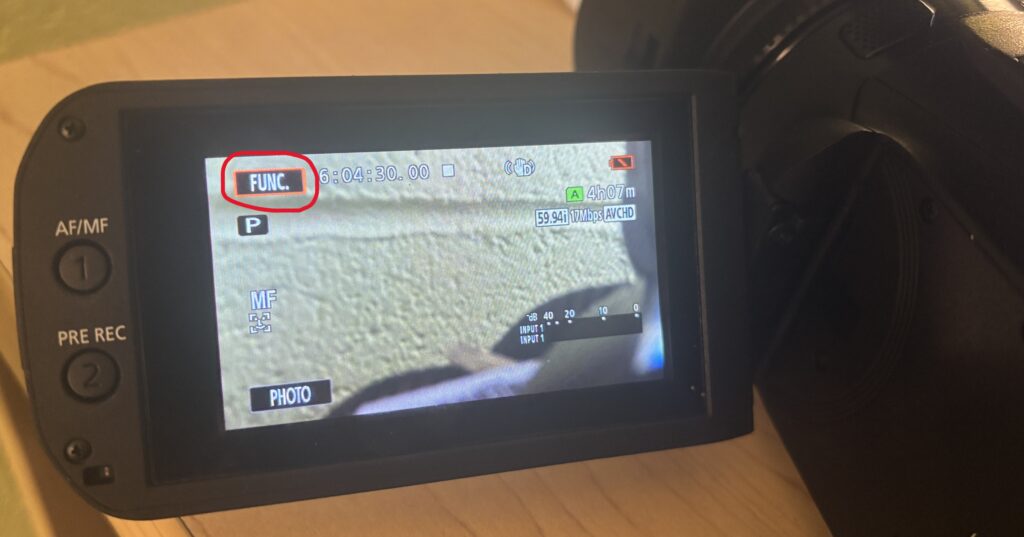
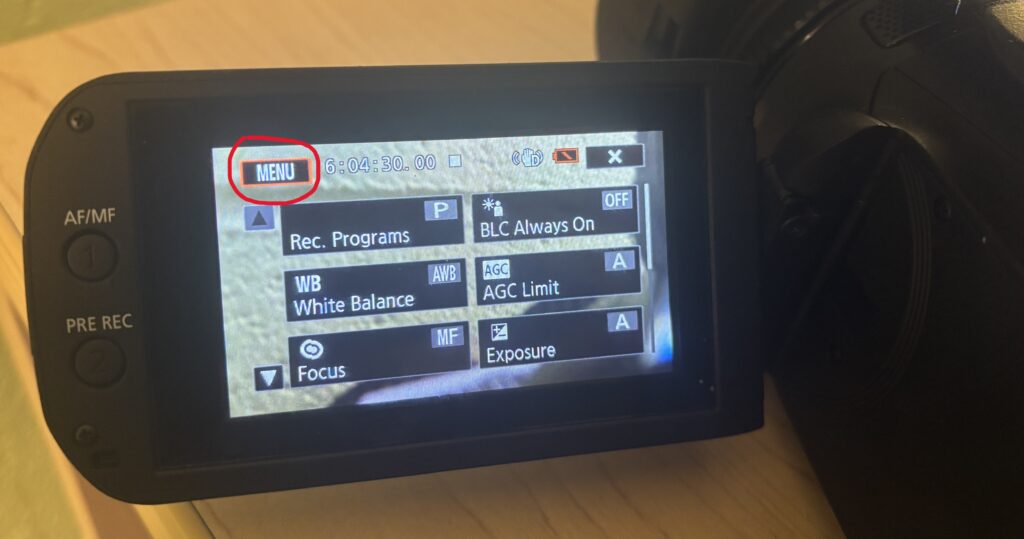
Press the Func button on the touchscreen
Press the Menu button that has appeared in the top left of the touchscreen
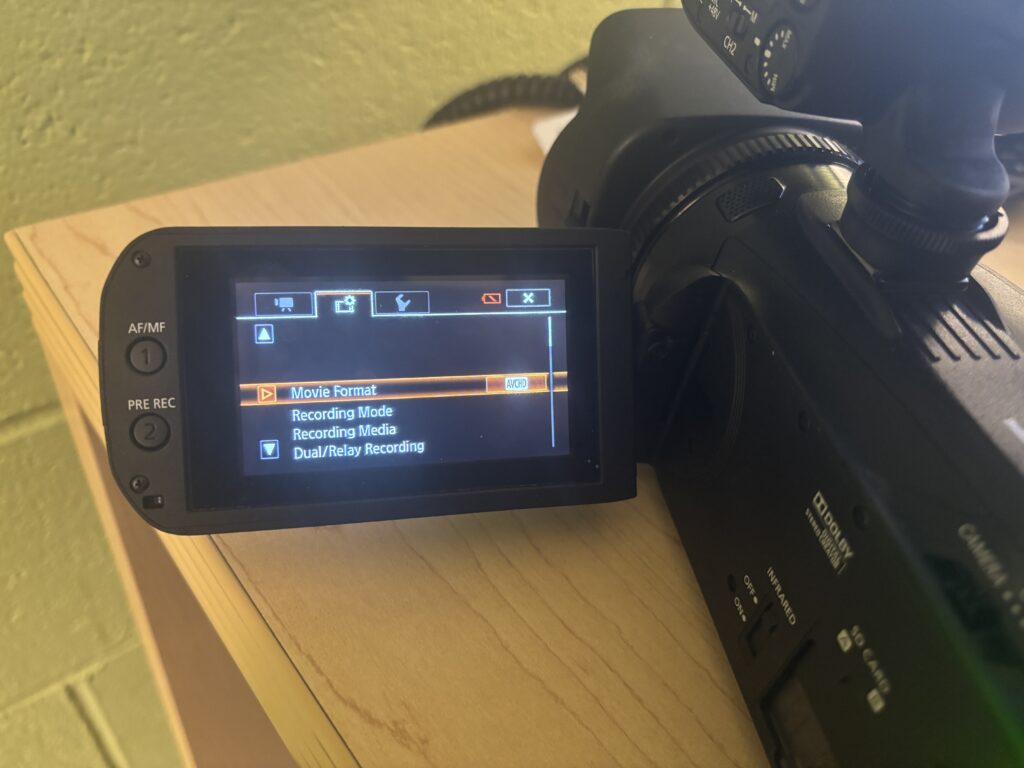
Select the middle tab that has the film strip and gear icon
Select Movie Format
Choose AVCHD
3. Recording Video
Press the Record button on the back of the camera to start the recording
Look for the red REC indicator on the screen
Press the Record button again to stop the recording
4. Audio Setup (Critical Step)
This camera supports external microphones using XLR cables.
Plug the microphone into XLR Input 1 or 2
Make sure the audio input switches are set correctly in the Menu
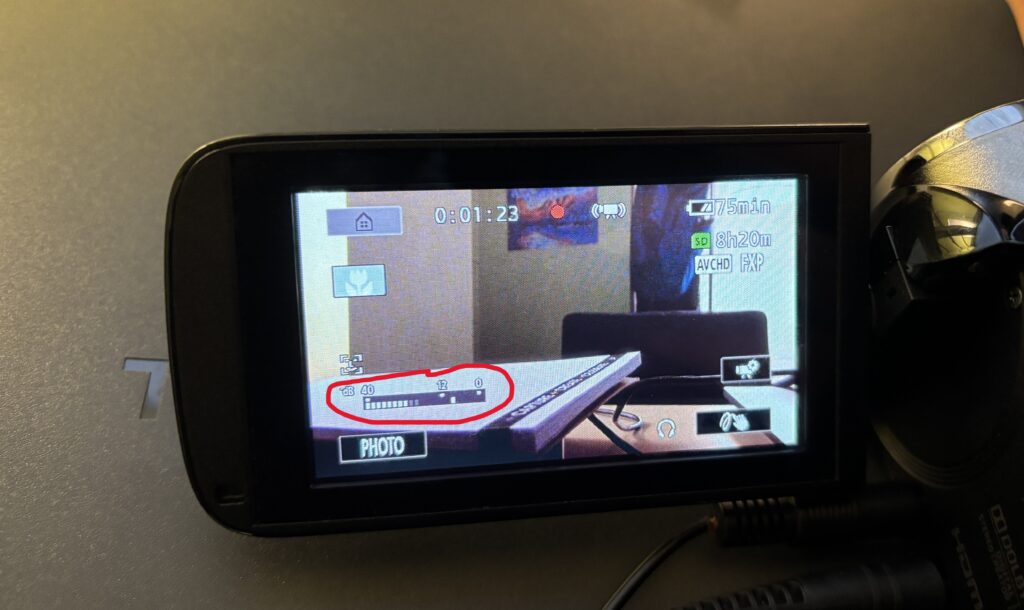
Watch the audio level meters on the screen
Levels should move but not reach the red
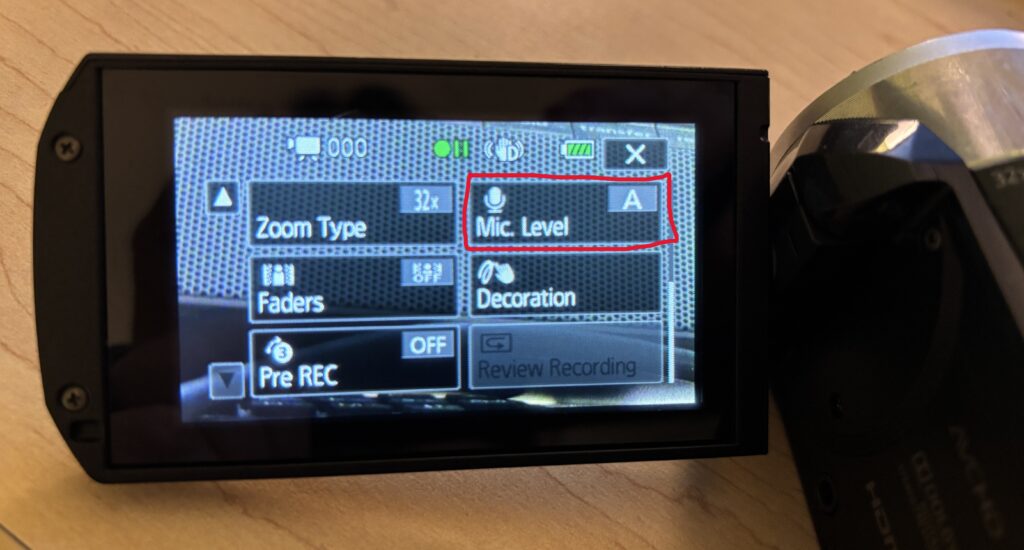
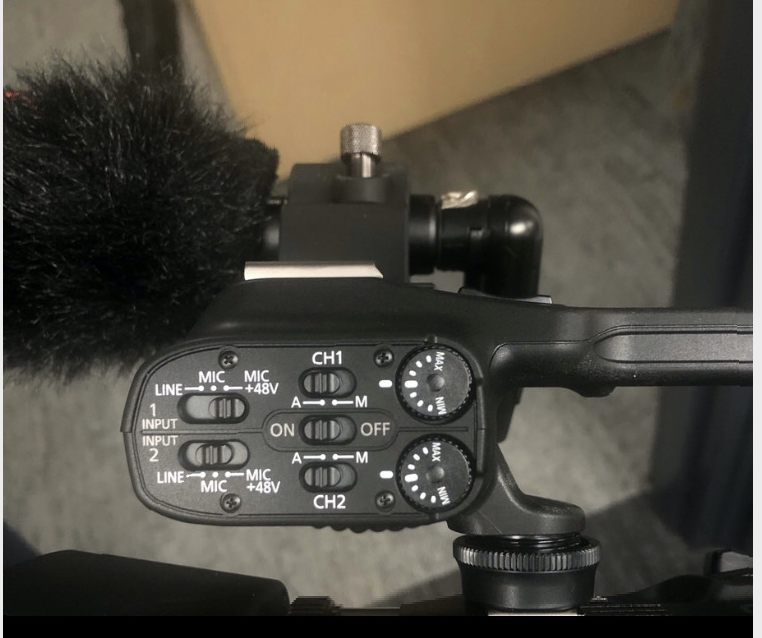
To use one XLR microphone, ensure your settings match the below photo.
Helpful Tips
Always check audio before recording
Keep the camera steady using a tripod when possible
Record in a quiet space
When in doubt, ask for help before adjusting controls
You’re Ready to Record
The Canon XA11 is a more advanced camcorder that makes it easy to capture professional, high-quality video and audio. Start with simple shots, explore zoom and stabilization features, and connect professional microphones via XLR for the best sound. With practice, your videos will look polished and professional every time.
More information on using the Canon XA11 can be found here.
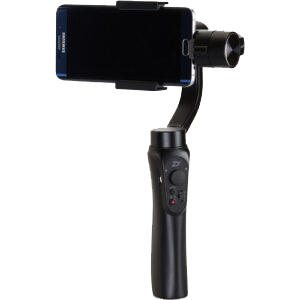
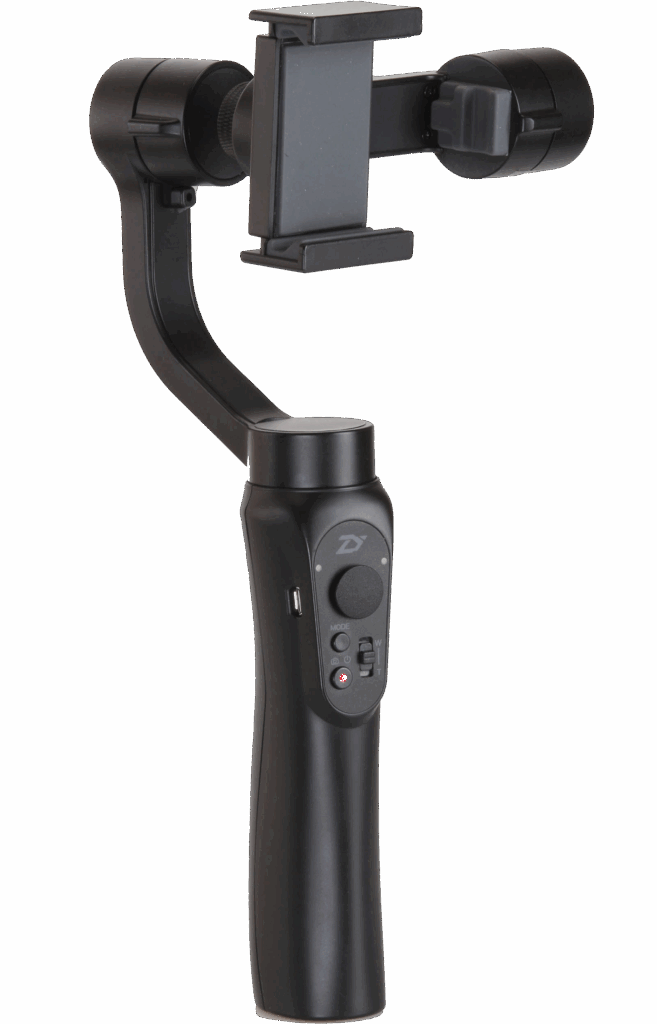
The Smooth-Q is a handheld gimbal that stabilizes your smartphone for smooth, professional-looking video. You might choose the Smooth-Q when you want to eliminate shaky footage, create cinematic movement, or record on the go with ease. It’s perfect for class projects, interviews, event coverage, or any mobile video where smooth motion matters.
This tutorial will help you get started with the Smooth-Q. Follow the steps below to set up, balance, and record stabilized video with your smartphone.
1. Getting Started
Charge the Smooth-Q fully using the included USB cable
Attach your smartphone securely using the clamp
2. Balancing Your Phone
Adjust the phone clamp so your device is centered
Tilt, pan, and roll the gimbal manually until the phone remains level
Proper balance reduces motor strain and ensures smoother video
With your phone balanced, turn on the gimbal by pressing and holding the power button
Through the app, connect your phone via Bluetooth to the gimbal
Explore camera settings and shooting modes within the app
4. Recording Video
Use the joystick and buttons on the gimbal to control pan, tilt, and zoom
Start recording via the app or gimbal button
Move slowly and smoothly for cinematic results
5. Modes and Features
Follow Mode: Gimbal follows your movements smoothly
Lock Mode: Keeps the camera fixed on one direction
Panoramic / Timelapse: Use app features for creative shots
Switch between modes using the gimbal’s mode button
Helpful Tips
Always balance your phone before powering on
Keep movements slow to avoid jerky footage
Use a lightweight case or remove it to improve balance
Charge both your phone and gimbal before long shoots
You’re Ready to Record
The Smooth-Q phone gimbal makes it easy to capture stable, cinematic video with just your smartphone. Start with simple shots, explore different modes, and gradually experiment with creative angles and movements. With practice, your mobile videos will look professional every time.
The below video walks you through the basics of setting up and using the Smooth Q.
Subtitles and captions make videos more accessible and easier to understand in noisy or quiet environments. YouTube provides automatic captioning tools that can be edited for accuracy, making it easy to add captions during or after upload.
This tutorial walks you through adding and editing captions after a video has been uploaded to YouTube.
1. Navigate to the Subtitles Section
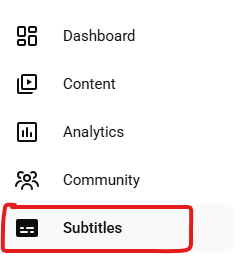
In YouTube Studio, select Subtitles on the left side
Select the video you’d like to edit
2. Edit YouTube’s Automatic Captions
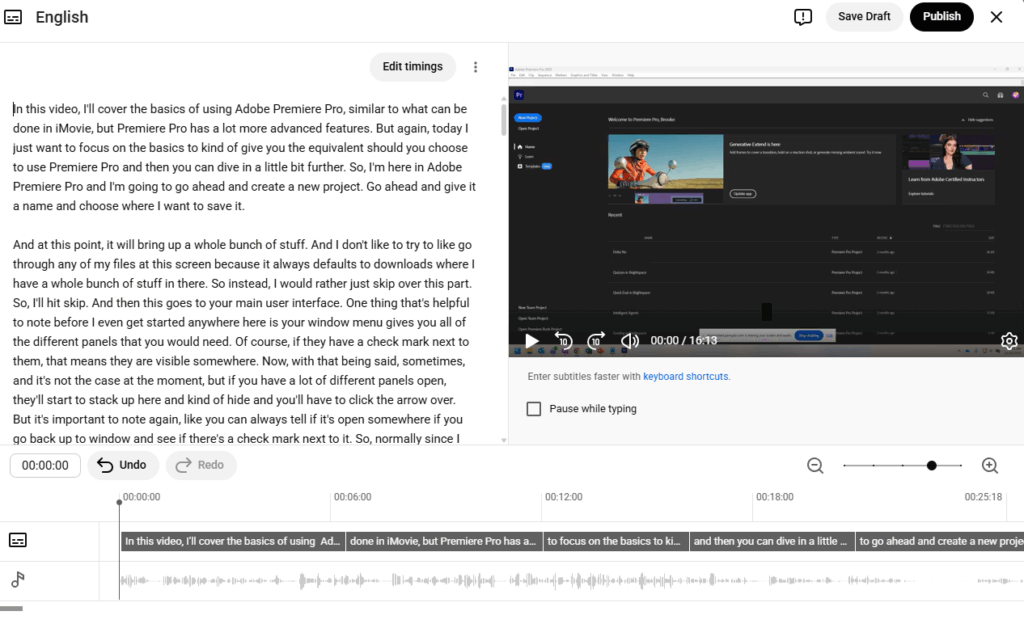
With Subtitles selected on the left, under English (Automatic), click Duplicate and Edit
From here, you can now edit the existing text
3. Publish Your Captions
Click Publish when editing is complete
Captions will now appear as an option on your video
Viewers can turn captions on or off using the CC button
Helpful Tips
Always review automatic captions before publishing
Speak clearly in your video to improve auto-caption accuracy
Captions should reflect spoken words, not paraphrases
Include important non-speech audio when relevant (e.g., [music], [laughter])
Captions improve searchability and viewer engagement
You’re Ready to Caption Your Videos
Adding captions to YouTube videos is one of the easiest ways to improve accessibility and reach. Start with YouTube’s automatic captions, make quick edits, and publish with confidence.
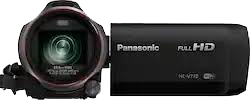
The Panasonic HC-V770 is a versatile camcorder ideal for capturing smooth, high-quality video for class projects, interviews, or creative assignments. You might choose the HC-V770 when you need full HD recording, built-in image stabilization, and a powerful zoom, along with flexibility for external microphones and easy playback. It’s great for students or instructors who want professional-looking results without complicated setup.
This tutorial will help you get started with the Panasonic HC-V770. Follow the steps below to learn how to set up, record, and manage your video projects.
1. Turning the Camera On
Make sure the battery is charged and an SD card is inserted in the slot on the bottom of the camera near the battery
Press the Power button located on the side to turn on the camcorder
2. Checking the File Output Type
The camcorder allows you to select your desired recording format before you start recording. The camcorder may be set to record as an .mp4 file. This is fine as long as what you’re recording is less than 30 minutes.
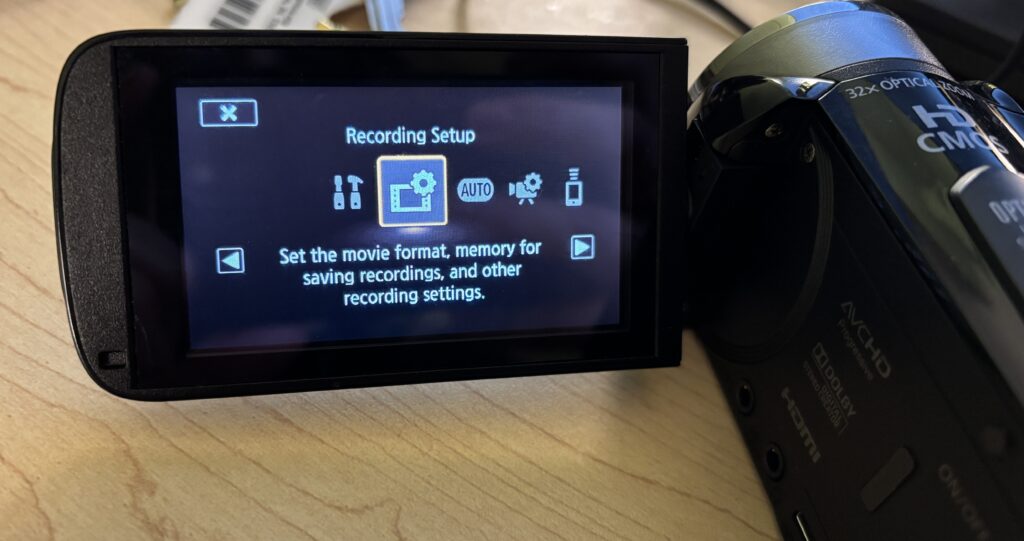
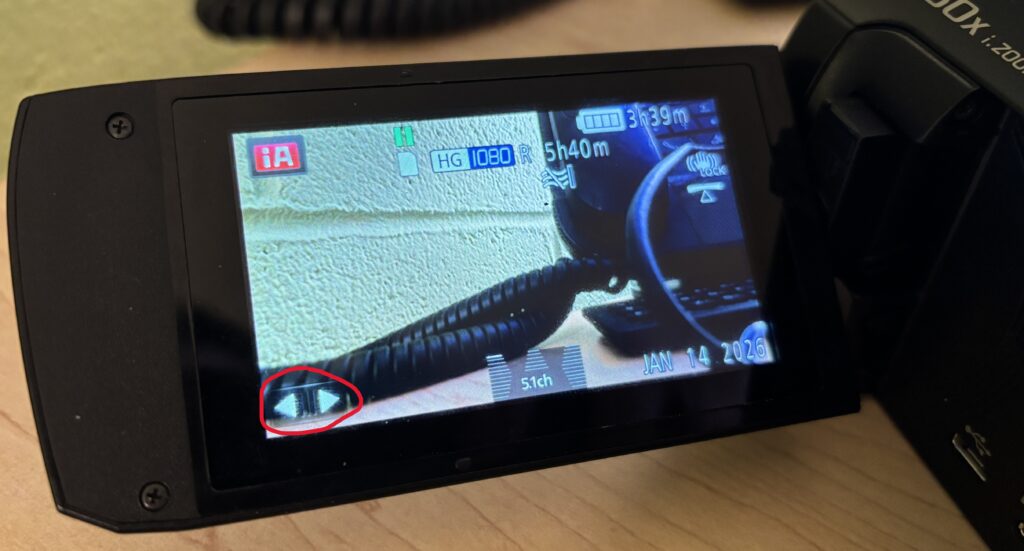
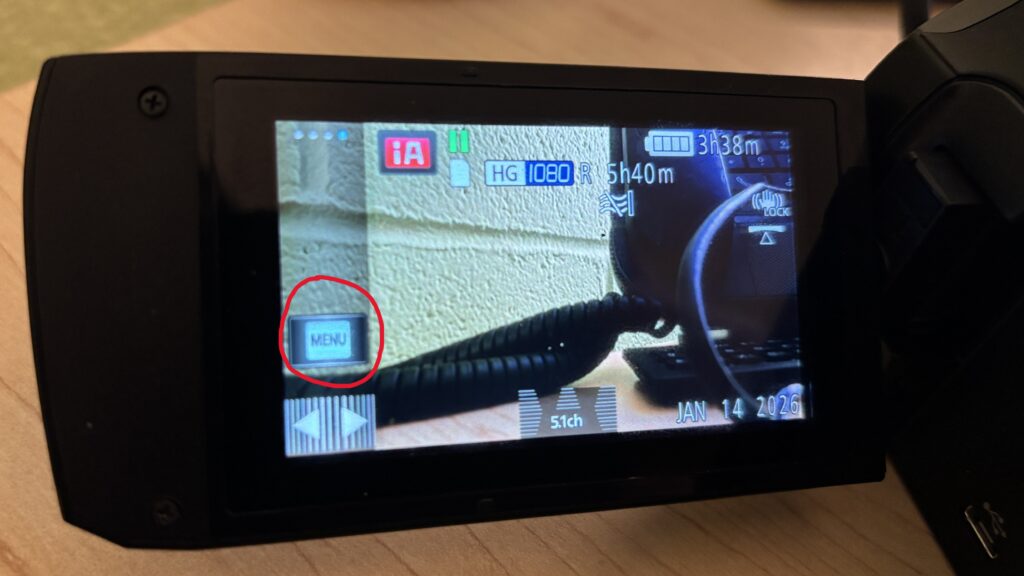
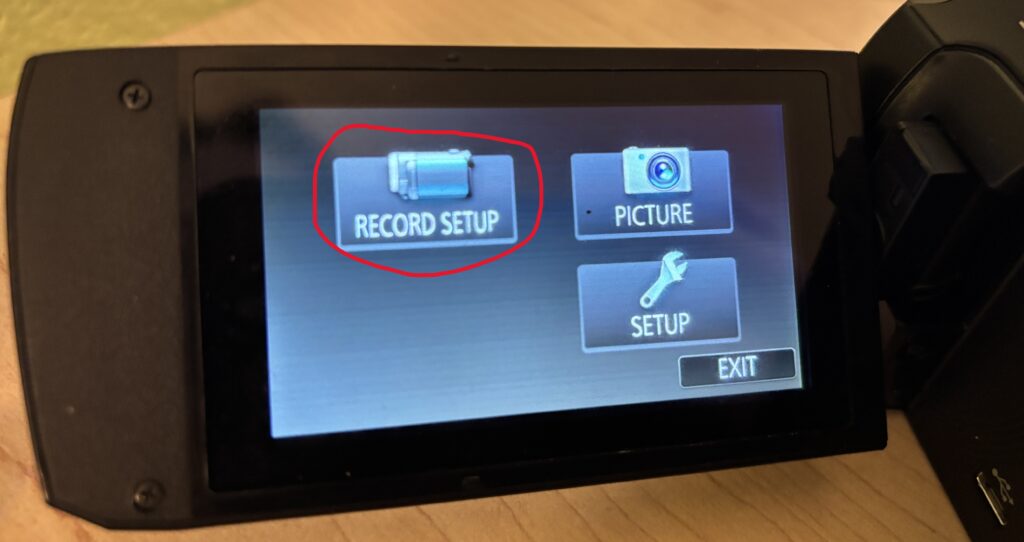
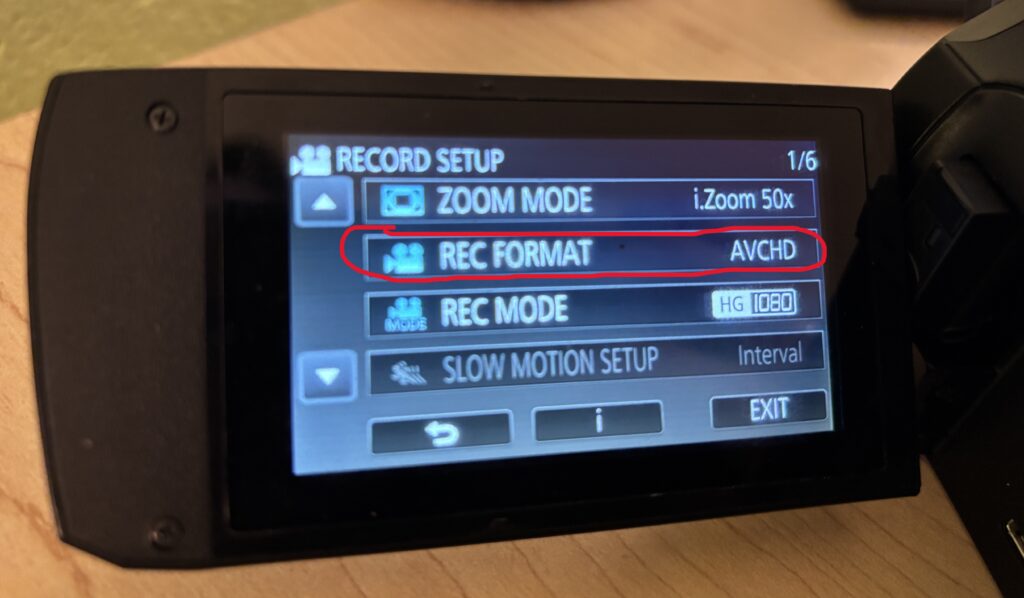
Planning to record something longer than 30 minutes? You’ll want to change the format to AVCHD so that your recording isn’t broken up into multiple files. To do so:
Press the Two arrows on the touch screen
Press Menu
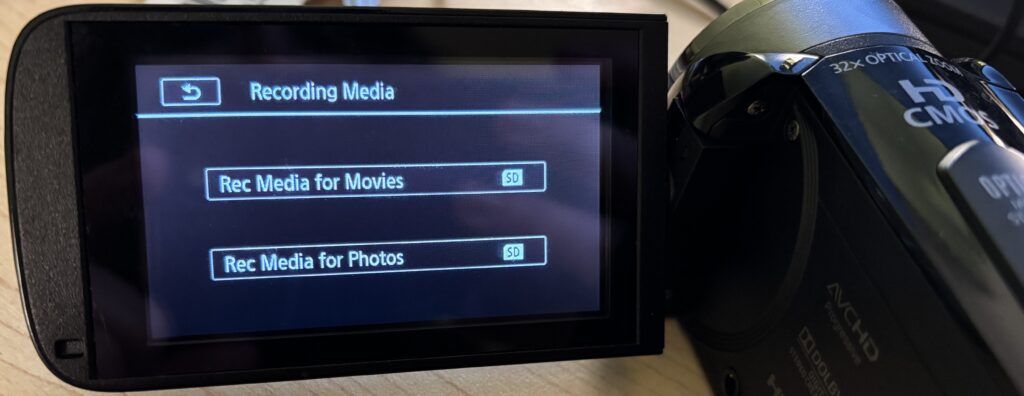
Choose Record Setup
Select Rec Format and choose AVCHD
3. Recording Video
Press the red Record button to start
Press the button again to stop recording
Stay steady while recording, and try to avoid sudden movements for smooth footage.
4. Capturing Audio
Connect an external microphone if higher-quality audio is needed
Adjust audio levels in the menu
5. Playback and Reviewing Footage
Press the Playback button on the side of the camera
Use the LCD to review your clips
Scroll through footage with the arrow buttons
6. Transferring Files
Remove the SD card and insert it into a computer via an SD card reader
Transfer and organize your files for editing or sharing
Using Headphones to Monitor Audio
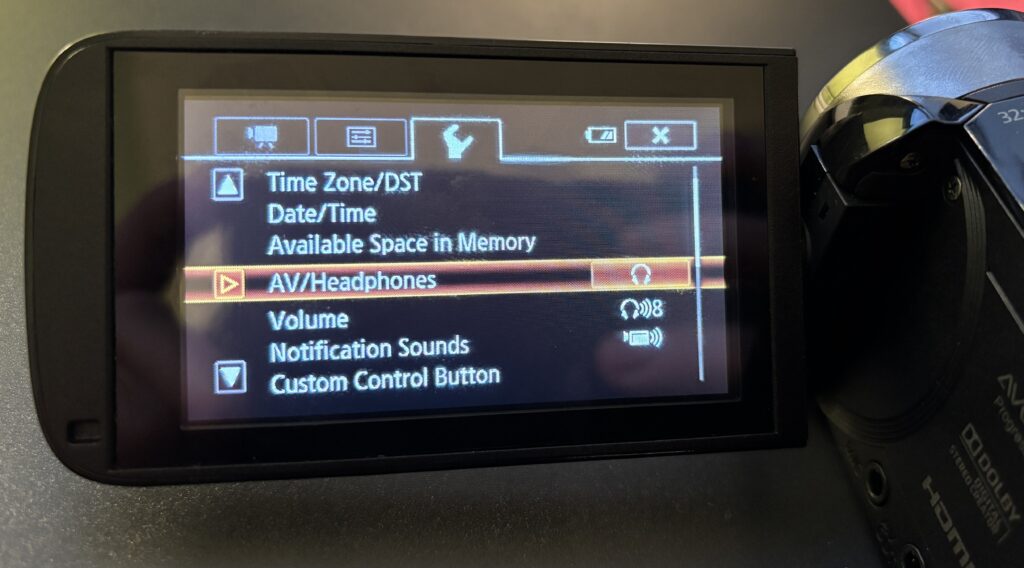
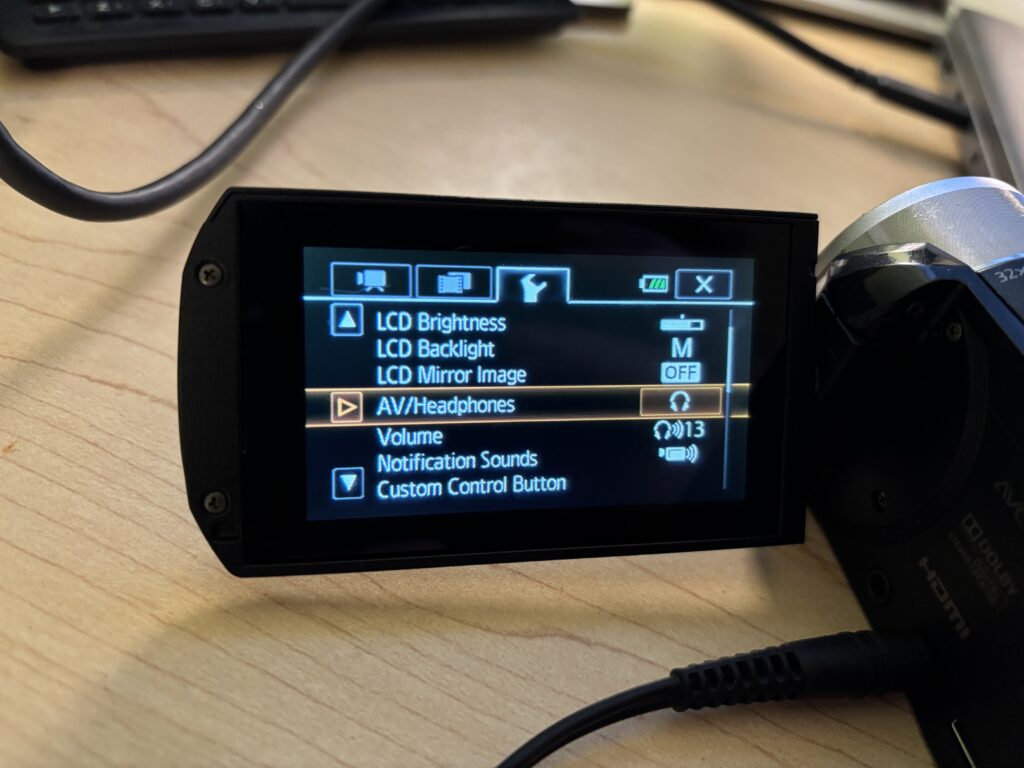
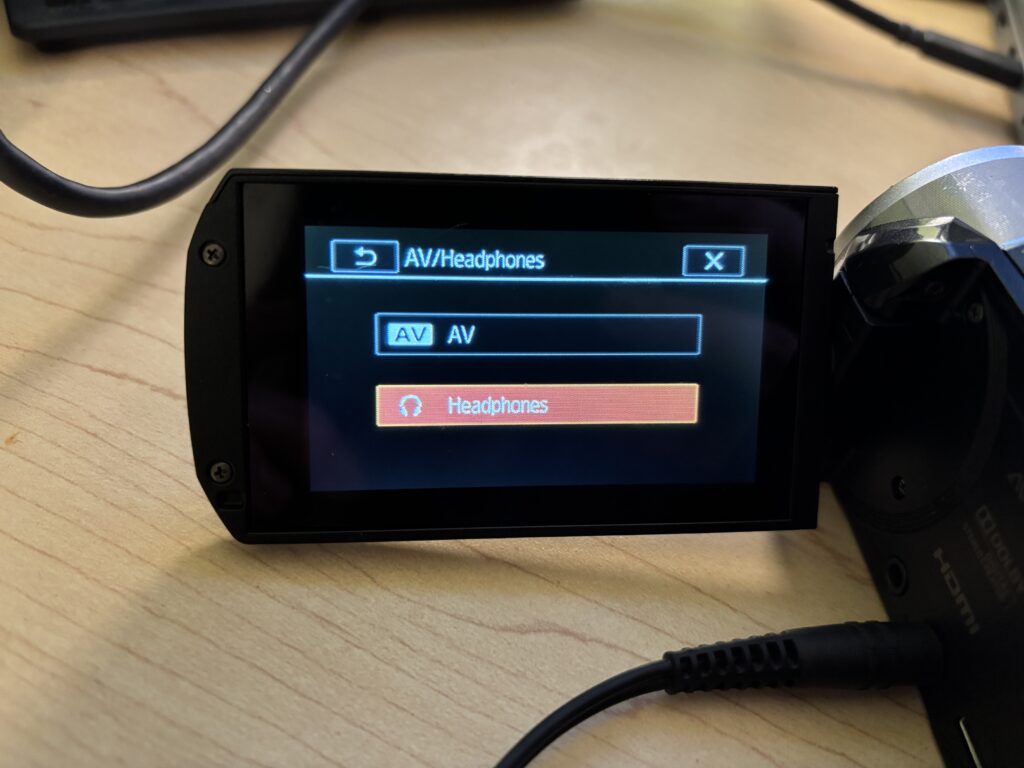
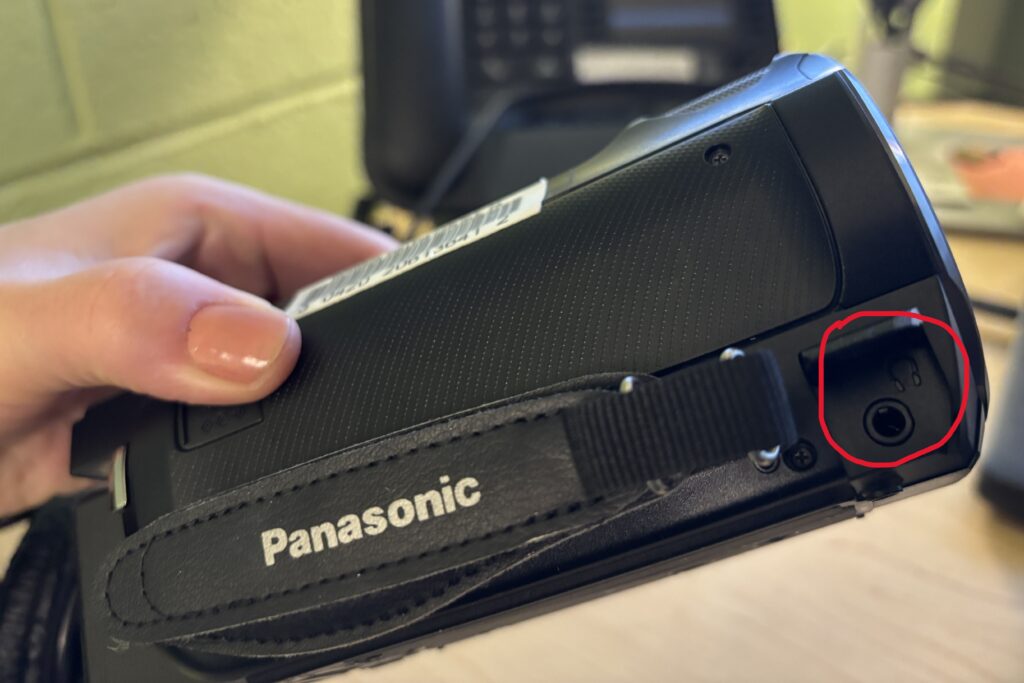
Unlike some of our other camcorders, the Panasonic HC-V770 has a separate port for headphones located in front of the hand strap as seen in the photo below. Make sure you plug the headphones into this port and NOT the AV port.
Helpful Tips
Use a tripod for long or complex shots to avoid shaky video
Keep the lens clean for the clearest image
Record a few seconds of extra footage before and after your main shot (for easier editing)
Always double-check SD card space before starting a project
Test external microphones before recording critical audio
Avoid over-zooming while handheld to maintain stability
You’re Ready to Record
The Panasonic HC-V770 makes it easy to capture polished, high-quality video. Start with simple shots, explore zoom and stabilization features, and gradually add external audio for professional results. With practice, your projects will look and sound great.
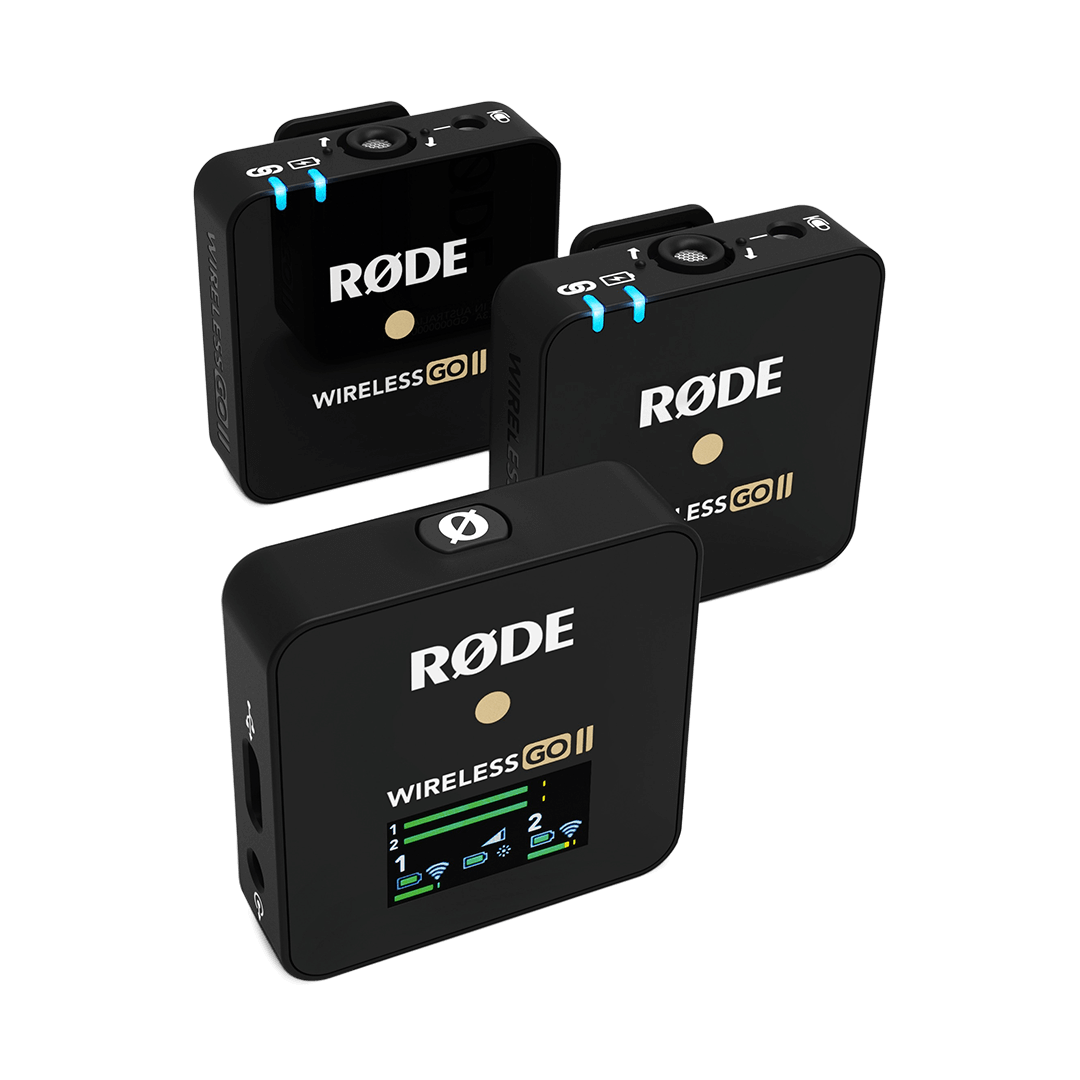
The Rode Wireless Go II is a compact, wireless microphone system that makes capturing clear audio simple for interviews, presentations, podcasts, and video projects. You might choose the Wireless Go II when you need freedom of movement, professional-quality sound, and the ability to record directly to the receiver or internal recorders. It’s ideal for classroom projects, campus events, or any situation where mobility and clear audio are important.
This tutorial will help you get started with the Rode Wireless Go II. Follow the steps below to set up, pair, and record high-quality audio.
1. Getting Started
Charge devices fully before first use using the included USB-C cables
Turn on each device by pressing and holding the power button until the lights on the device come on
2. Pairing the Transmitters and Receiver
The transmitters and receiver should automatically pair, but check the receiver’s display for connection status
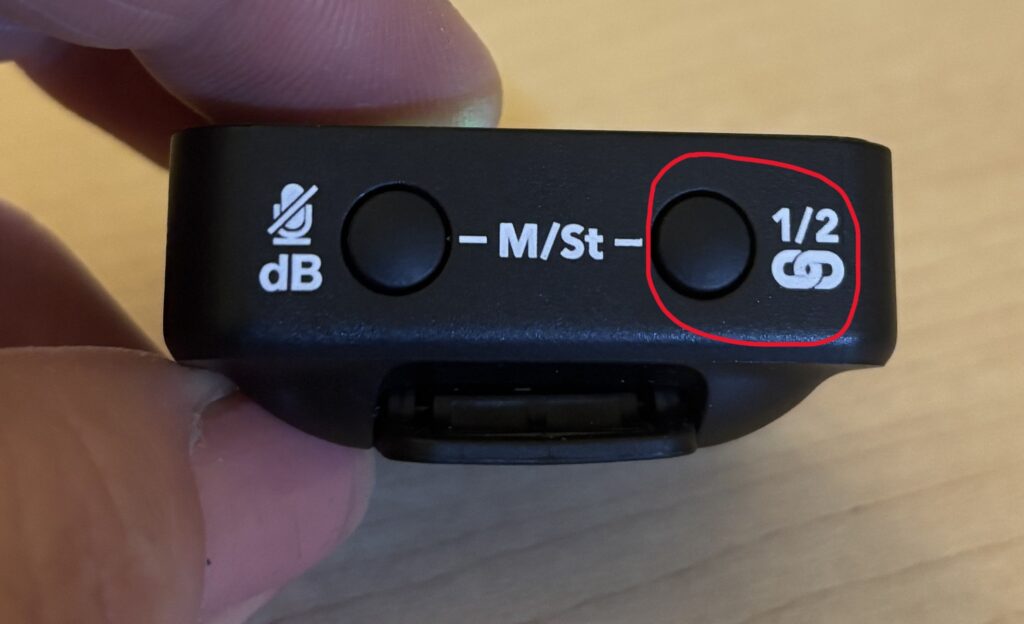
If needed, manually pair by holding the pairing button on each device until the connection is confirmed
3. Connecting to Your Camera or Device
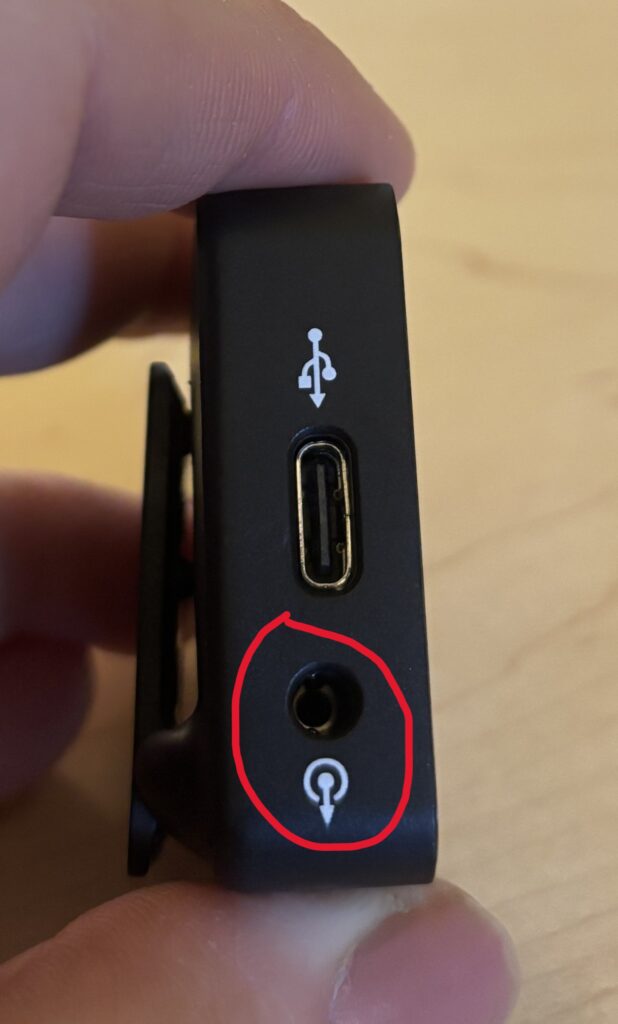
If using a camera, connect to your camera’s audio (mic) jack with a TRS cable and adjust your camera’s audio settings so the audio comes primarily from the mic
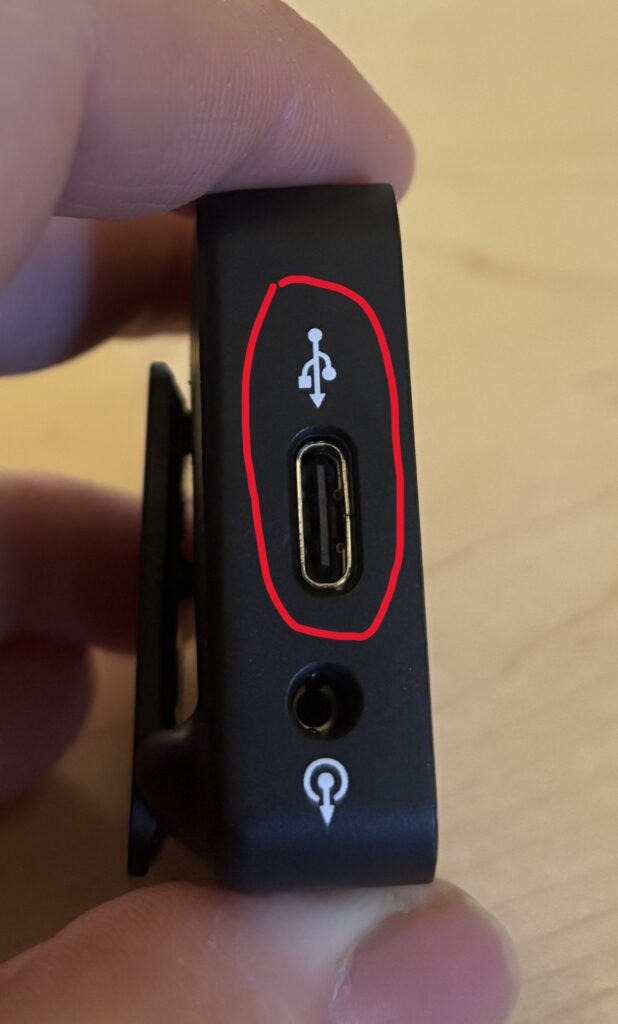
If using a phone, connect the receiver to your phone from the USBC port. Once connected, the mic should automatically work. This can be tested through any voice recorder app (i.e. Voice Memos or Voice Recorder)
4. Attaching the Wind Screens
To attach the wind screen to the transmitter, simply align the circles and turn
5. Using Rode Central
If desired, you can download the Rode Central app on any device for more controls
6. Recording Audio
Clip the transmitter to your subject
Press the record button on your device
Monitor levels on the receiver’s display and ensure the receiver stays nearby to the transmitter
Helpful Tips
Always do a quick sound check before recording critical audio
Keep transmitters within range (up to ~200m or ~650ft line-of-sight) of the receiver
Be aware of the battery levels as each transmitter (mic) should last for roughly 7 hours
Avoid placing transmitters near strong electronic interference
Use the included windshields outdoors to reduce wind noise
You’re Ready to Record
The Rode Wireless Go II makes it easy to capture clear, professional audio without being tethered to your camera. Start with simple setups, monitor your levels, and explore wireless recording for presentations, interviews, or creative projects. With practice, you’ll get crisp, reliable audio every time.
The below video provides a walkthrough of getting started using the Rode Wireless Go II.
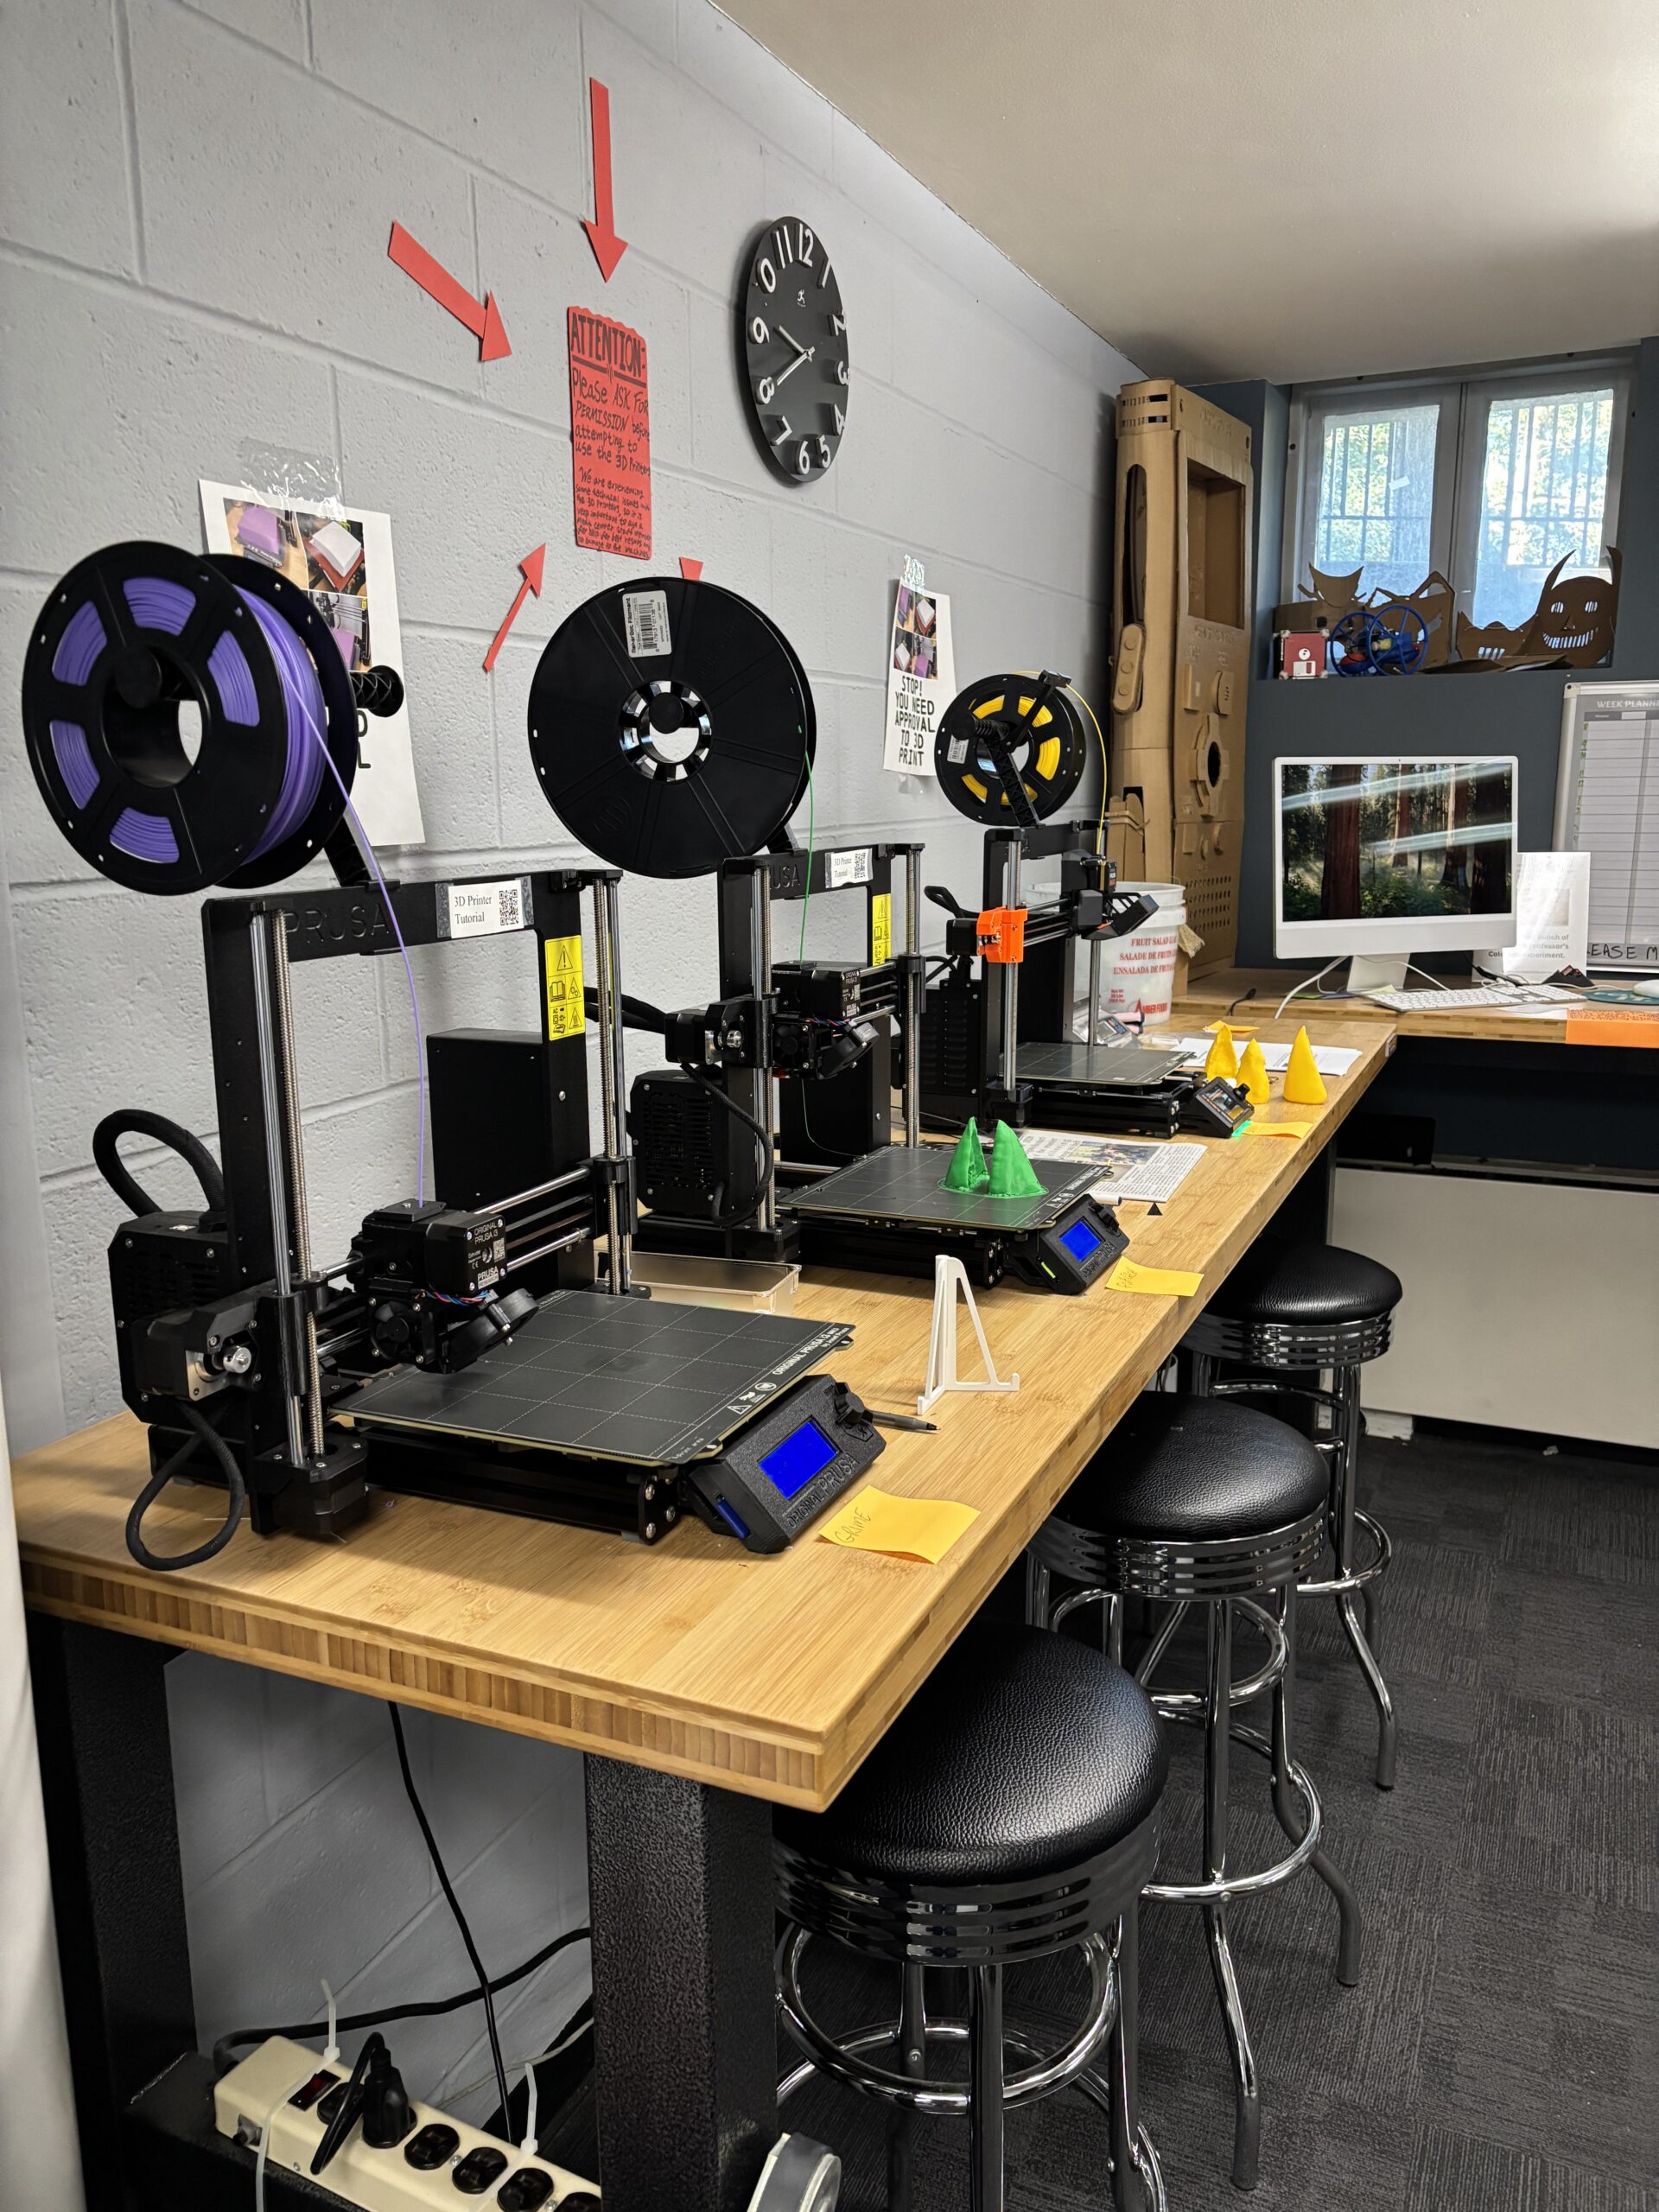
3D printers are powerful tools for visualization, invention, and creation. In the Media Center, we are pleased to offer you access to these printers, but ask that you please contact a member of the Academic Technology department to learn proper use and ensure we can continue to offer access to 3D printing to all.
1. Saving your Object
You will want to make sure the object you want to print is saved as an STL, OBJ, X3D or 3MF file type. The file type is listed after the file name as shown below. You will need to transfer the file to the computer in the Makery via email, OneDrive, or an SD card.
2. Preparing your Object for Printing
On the computer located next to the 3D printers in The Makery, sign into the Temp account using the below login information:
User: Temp Pass: dson1223!
3. Opening the PrusaSlicer Software
From the desktop, select the Prusa Slicer icon.
The software should open a blank project. If it instead loads a previous project, select File > New Project.
4. Importing your file into PrusaSlicer
In PrusaSlicer, click on the box with the plus at the top of the screen and select your item from the computer’s files. The object should appear on the screen in green. You can also click and drag the file in from its folder. Note: you can select multiple files to import by holding Ctrl/Cmd on your keyboard, but you will need to properly arrange the objects on the platter prior to printing (see step 6).
5. Placing Objects on the Build Plate
The build plate is the grid under the object that defines the area that the printer is capable of printing within.
To create a 3D object, the printer stacks layers from the bottom up which means that each layer must be supported. This usually involves placing the large, flat side of the object onto the build plate.
For example, if printed the table in the below image, you would want to flip the table onto it’s surface to ensure there is ample support for the print.
To ensure the object is properly placed on the build plate:
Select the object.
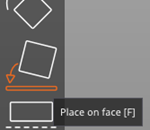
Press the F key or select the Place on Face button from the toolbar.
6. Manipulating your Object
The menu on the sidebar displays the types of manipulations you can perform.
You can Rotate the camera by clicking and dragging anywhere in the window.
Rotate the camera. Hold the Ctrl/Cmd key and click and drag anywhere in the window.
Move an object. With the object selected, click the M key on the keyboard or click in the toolbar on the box with four arrows. Drag the arrows in the direction that you want the object to move.
Scale an object. With the object selected, press the S key on the keyboard or click the dotted box tool in the toolbar. Adjust the object by dragging the orange squares. Scale on one axis by dragging either the red, blue, or green squares.
Rotate an object. With the object selected, press the R key on the keyboard or click the angled box with the curved arrow tool in the toolbar. Drag each square in the direction you would like the object to rotate.
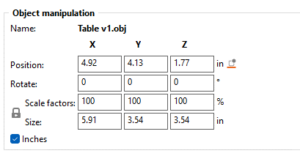
Precise control. Use the object manipulation values on the right side of the window. You can change between metric and imperial by checking/unchecking the box in the bottom left.
7. Resetting Printer Settings
Before printing an object, the printer settings should be set to default.
Be sure that the Printer option on the left-hand side of the screen is set as follows:
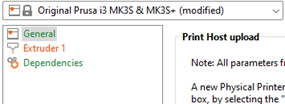
Then, click through the tabs at the top of the screen labeled “Print Settings”, “Filament Settings”, and “Printer Settings.” Ensure that each box looks like the screenshot below without a “(modified)” label.
If a modified symbol does appear, click on the orange page on the left. In the below example, it’s Extruder 1.
From the page, click the orange lock to reset to default values. After clicking it should turn grey, indicating the value has been reset.
Repeat this process until all modified indicators have been removed.
8. Deciding on Supports
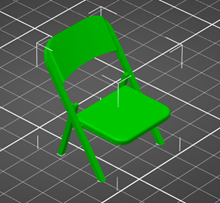
If a part of your model exists without support directly beneath it, it needs supports. For example, the chair seen in the below screenshot cannot be rotated in an orientation where every piece is supported from below. In other words, it needs supports.
Although some prints can be rotated to avoid using supports (see the screenshot in step 5), oftentimes, you will need to add supports. To do so, check the box next to Generate Support in the right side of the Print Settings menu.
Supports can be pulled away once the print is finished.
Note: even if using supports, the object should still be placed in an orientation that minimizes the amount of supports needed for the object (see step 5).
9. Determining the Infill
Infill provides support from inside the object. Most objects should have between a 5% and 15% infill. The more infill you add, the stronger your print will be and the longer it will take to print.
To change the infill, adjust the Infill from the dropdown located on the right side of the screen.
10. Preparing for the Printer
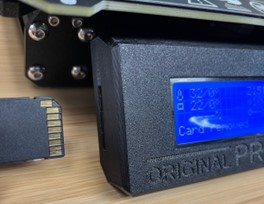
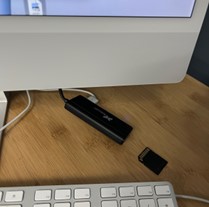
SD cards for the Prusa 3D printers are in the SD card slot located on the left side of the printer’s screen. Remove the card and insert it into the computer using the black adapter plugged into the back. Then, follow the steps below.
In the PrusaSlicer software, click the Plater tab at the top of the screen, then click the Slice Now button in the bottom right.
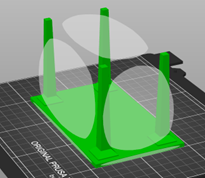
Sliced objects show each layer that the printer will print. Orange parts are the objects and green parts are the generated supports (if applicable).
Once your object has been sliced, click the Export G-code button in the bottom right. Select the SD card as your folder.
Note: If you receive an error stating that there is an object with no extrusions in the first layer, this means that the object needs supports before it can print. Refer back to step 8 to see how to add supports.
11. Starting your Print
Insert the SD card with your G-code generated by the PrusaSlicer software into the SD card slot located on the left side of the printer’s screen.
Press the dial in to wake the printer.
Rotate the dial on the printer to navigate to Print From SD.
Press the dial to select that option.
Find your file from the list and press the dial to start the print.
The printer will heat up and begin its calibration process.
Once it’s ready, it will begin printing. Please wait at the printer to ensure your object actually begins printing. If your print does not start, ask a Media Center employee for help.
12. Removing your Object from the Build Plate
Peel up the build plate from the printer. Remove your object by gently bending the build plate and pulling the object off the surface. If it’s stuck, you may have to use something to carefully scrape it off the surface, paying extra attention to not damage the plate.
Remember to remove any and all filament from the print surface so that the plate is completely clean before being placed back onto the printer.
If you used supports, you may have to use pliers to carefully remove them from your print.
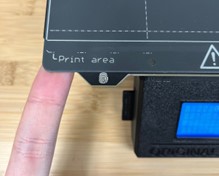
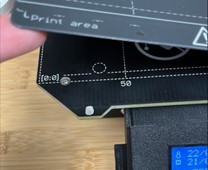
Place the plate back onto the 3D printer and push it back ensuring the screws align with the indent on the back of the plate.
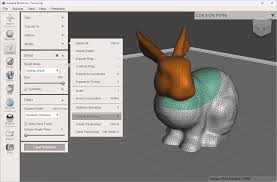
Meshmixeris a free 3D modeling and mesh-editing tool commonly used for preparing files for 3D printing. You might choose Meshmixer if you want to modify existing 3D models, repair files, add or remove details, or customize objects without starting from scratch. It’s especially useful for learning practical 3D workflows and turning downloaded models into something uniquely your own.
In the below video, we walk you through the basics of using Meshmixer focused specifically on modifying bird beaks for a class project.
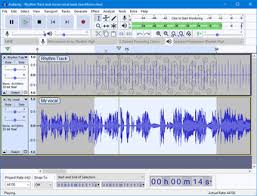
Audacity is a free, open-source audio editing and recording tool that’s widely used for podcasts, voiceovers, and basic sound editing. You might choose Audacity if you want a straightforward way to record audio, clean up sound, remove background noise, or edit clips without needing expensive software. It’s a great option for learning core audio concepts and producing solid-quality audio for class projects, presentations, or creative work. And the best news is, it’s free to download on both Apple and Windows devices.
In the video below, we walk you through how to edit audio and we share some tips and tricks for using Audacity effectively.
iMovie is a free, user-friendly video editing app available on all Apple devices that’s great for getting started with video projects. You might choose iMovie if you want to edit quickly, learn the basics of storytelling and timeline editing, or create polished videos without a steep learning curve. It’s ideal for simple projects, class assignments, and personal videos, especially if you’re new to video editing and want professional-looking results with minimal setup.
In the video below, we walk you through everything there is to know in iMovie.
Adobe Premiere Pro is a widely used, industry-standard video editing program found in film, television, marketing, and online content creation. You might choose Premiere Pro if you want a familiar, timeline-based editing experience that integrates seamlessly with other Adobe tools like Photoshop, After Effects, and Audition. While Premiere Pro does require a paid student subscription, it offers powerful editing features, strong collaboration options, and skills that translate directly to many creative and professional media workflows.
In the video below, we walk you through basic video editing using Adobe Premiere Pro.